Tuesday, December 19, 2023
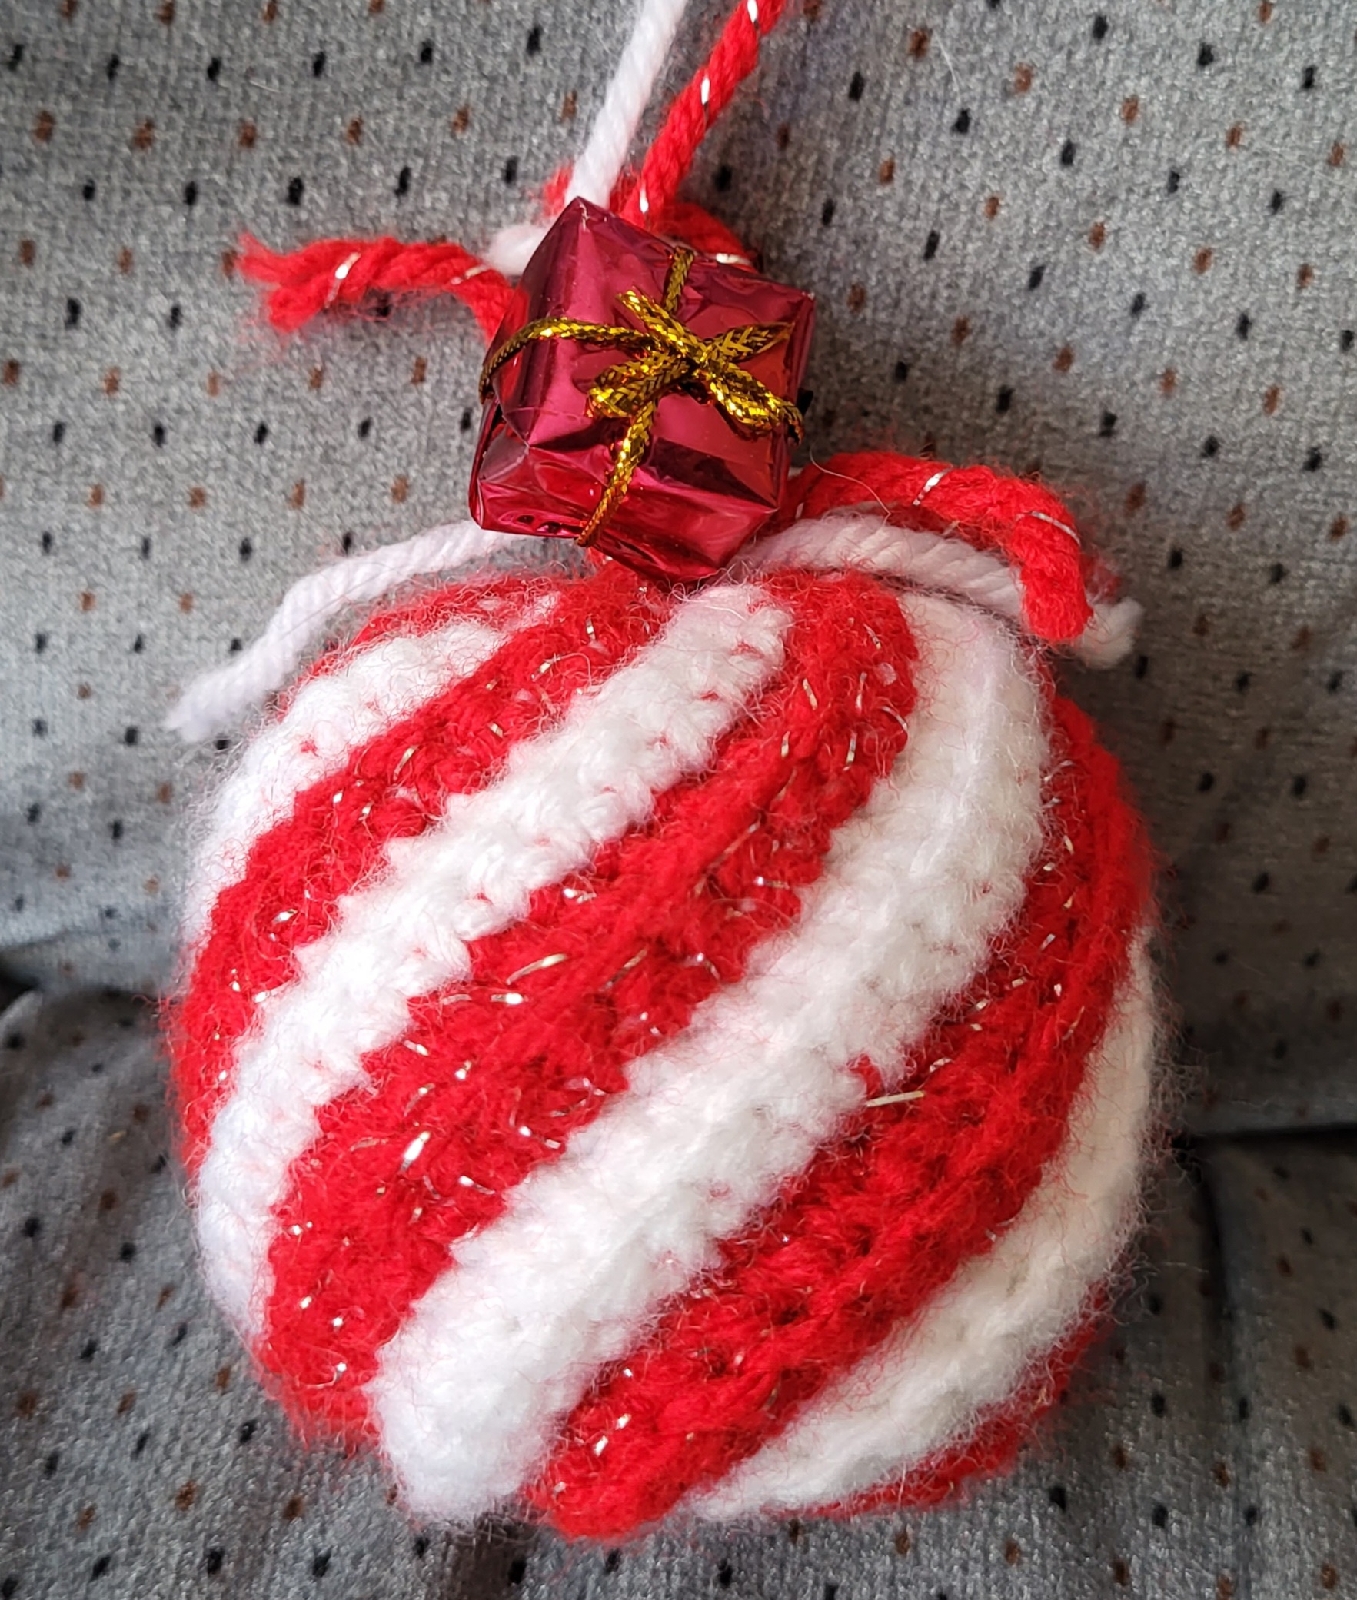
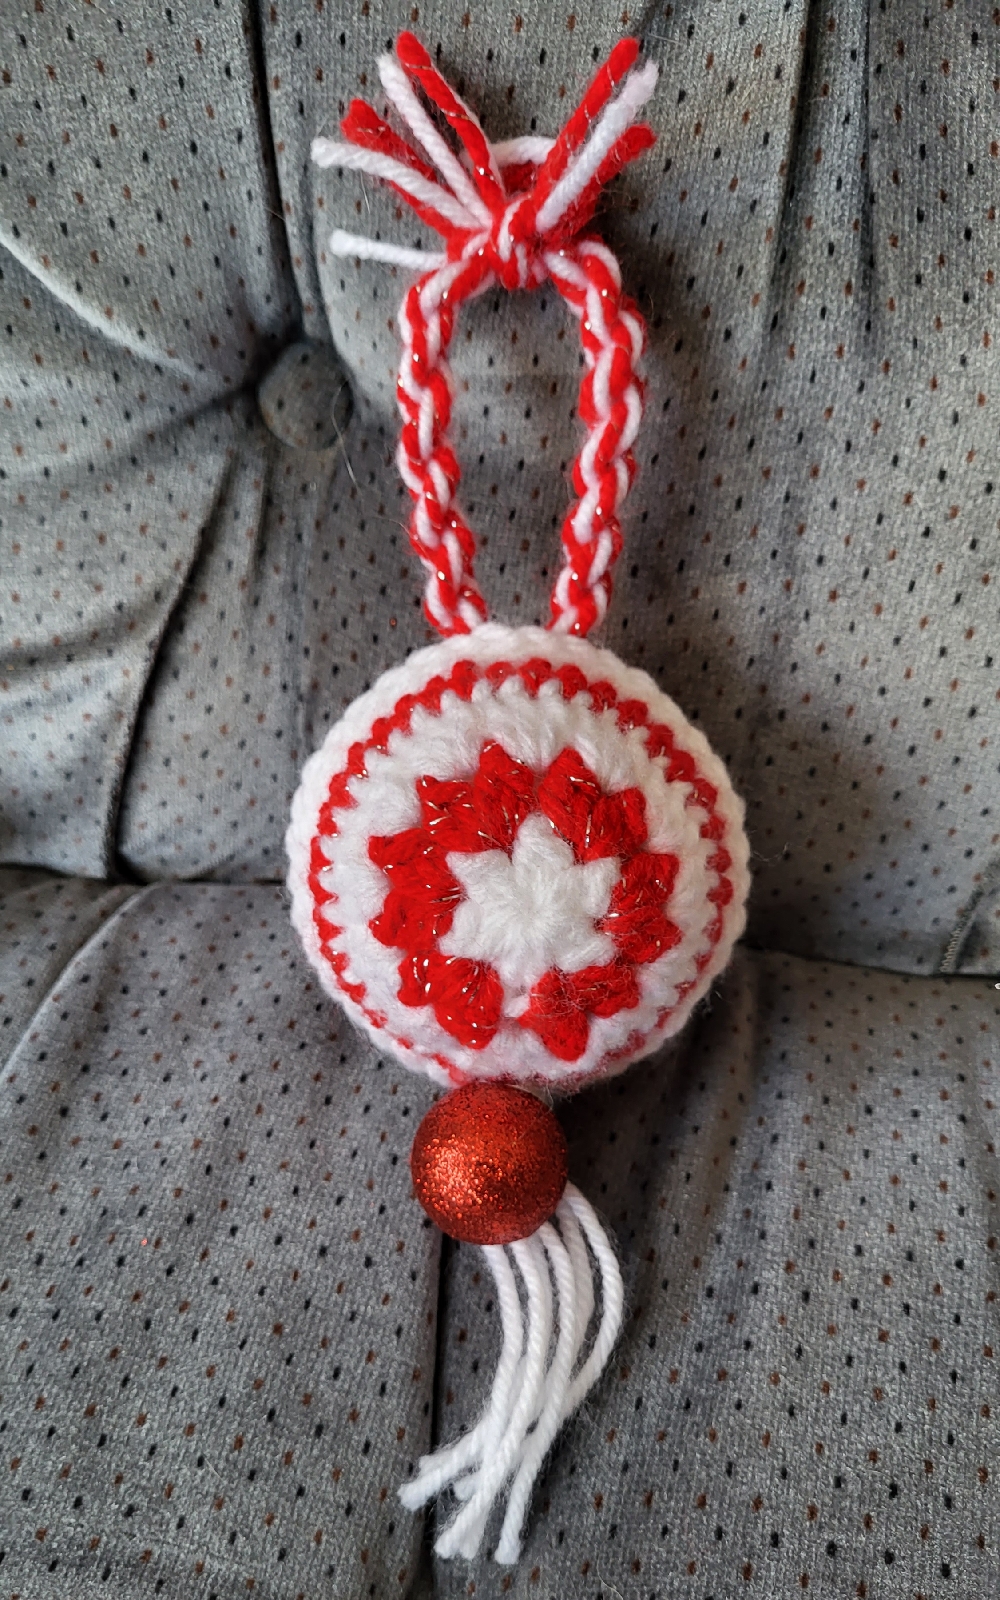
Crochet Christmas ornaments
Friday, October 27, 2023
A variation
Wednesday, October 25, 2023
An experiment
Tuesday, February 7, 2023
Ponytail hat with reflective accents
I was able to do some actual crafting, today! I decided to crochet a ponytail hat, using the reflective thread my husband found for me, as an accent.
In this shot, you can see the hole for the pony tail to be pulled through. It was made in a single crochet round by chaining 5 and skipping 5 stitches. The next double crochet round was worked into, rather than around, the chain stitches.
The brim of the hat is just 4 rounds of single crochet.
I then wasted a bunch of yarn trying to make a pom pom, which I almost never do with my hats, on a pom pom maker, using templates from the card that each package of yarn came with. The templates are basically circles, with a chunk missing. The instructions said to wrap the yarn around the two, back to back templates, until the card could no longer be seen. Then the wrapped yarn would be cut by sliding the scissors between the templates. Yarn could then be wrapped around the middle to tie it off, and the templates removed.
Except that as soon as I started cutting the wrapped yarn, it basically started falling apart. I even tried to thread the yarn to tie it off with, in between the templates and try and salvage the uncut wraps, but ended up cutting the tying yarn by accident. So I ended up just using a rectangle of light cardboard, folded in half, with the tying yarn tucked across in the fold. Once I was done wrapping, using up the last of the yarn, I tied it off, removed the cardboard, secured the tying yarn some more, then cut the loops. It's looser and floppier than I originally wanted, but it works. After trimming the cut ends to make them neat and even, I used a crochet hook to draw the two lengths of tying yarn through the top of the hat, then just tied it off on the inside with a shoelace knot. This way, the pom pom can be easily removed for washing. I'm pretty sure it would fall apart completely if it went through the wash!
The finished hat has a cozy stretch to it, and is comfortable to wear. I plan to give it as a gift. I hope the planned recipient likes it!
Wednesday, November 9, 2022
A prototype
It has been ages since I've posted anything here!
There are a few reasons for that. One of them is that life in the real world has been busy, and I've been doing more gardening and yardwork than crafting. Another is more of a problem. This year has been bad for my osteoarthritis, particularly in my hands. It is affecting every finger joint, and I am starting to lose the use of my hands. I can still do a lot, but I find myself dropping things a lot more often, and my grip has gotten to the point where, on bad days, I've had to get family members to do things like open jars, or even turn door knobs, for me. I've already replaced the door knob to my office/craftroom/bedroom (it's a big room!) with a lever style, and we will slowly replace others around the house as well. I knew this time was coming, considering the sorts of stress and strain my hands have gone through over the years, but I'd hoped to have a few more years yet. Ah, well. It is what it is, and we do what we can!
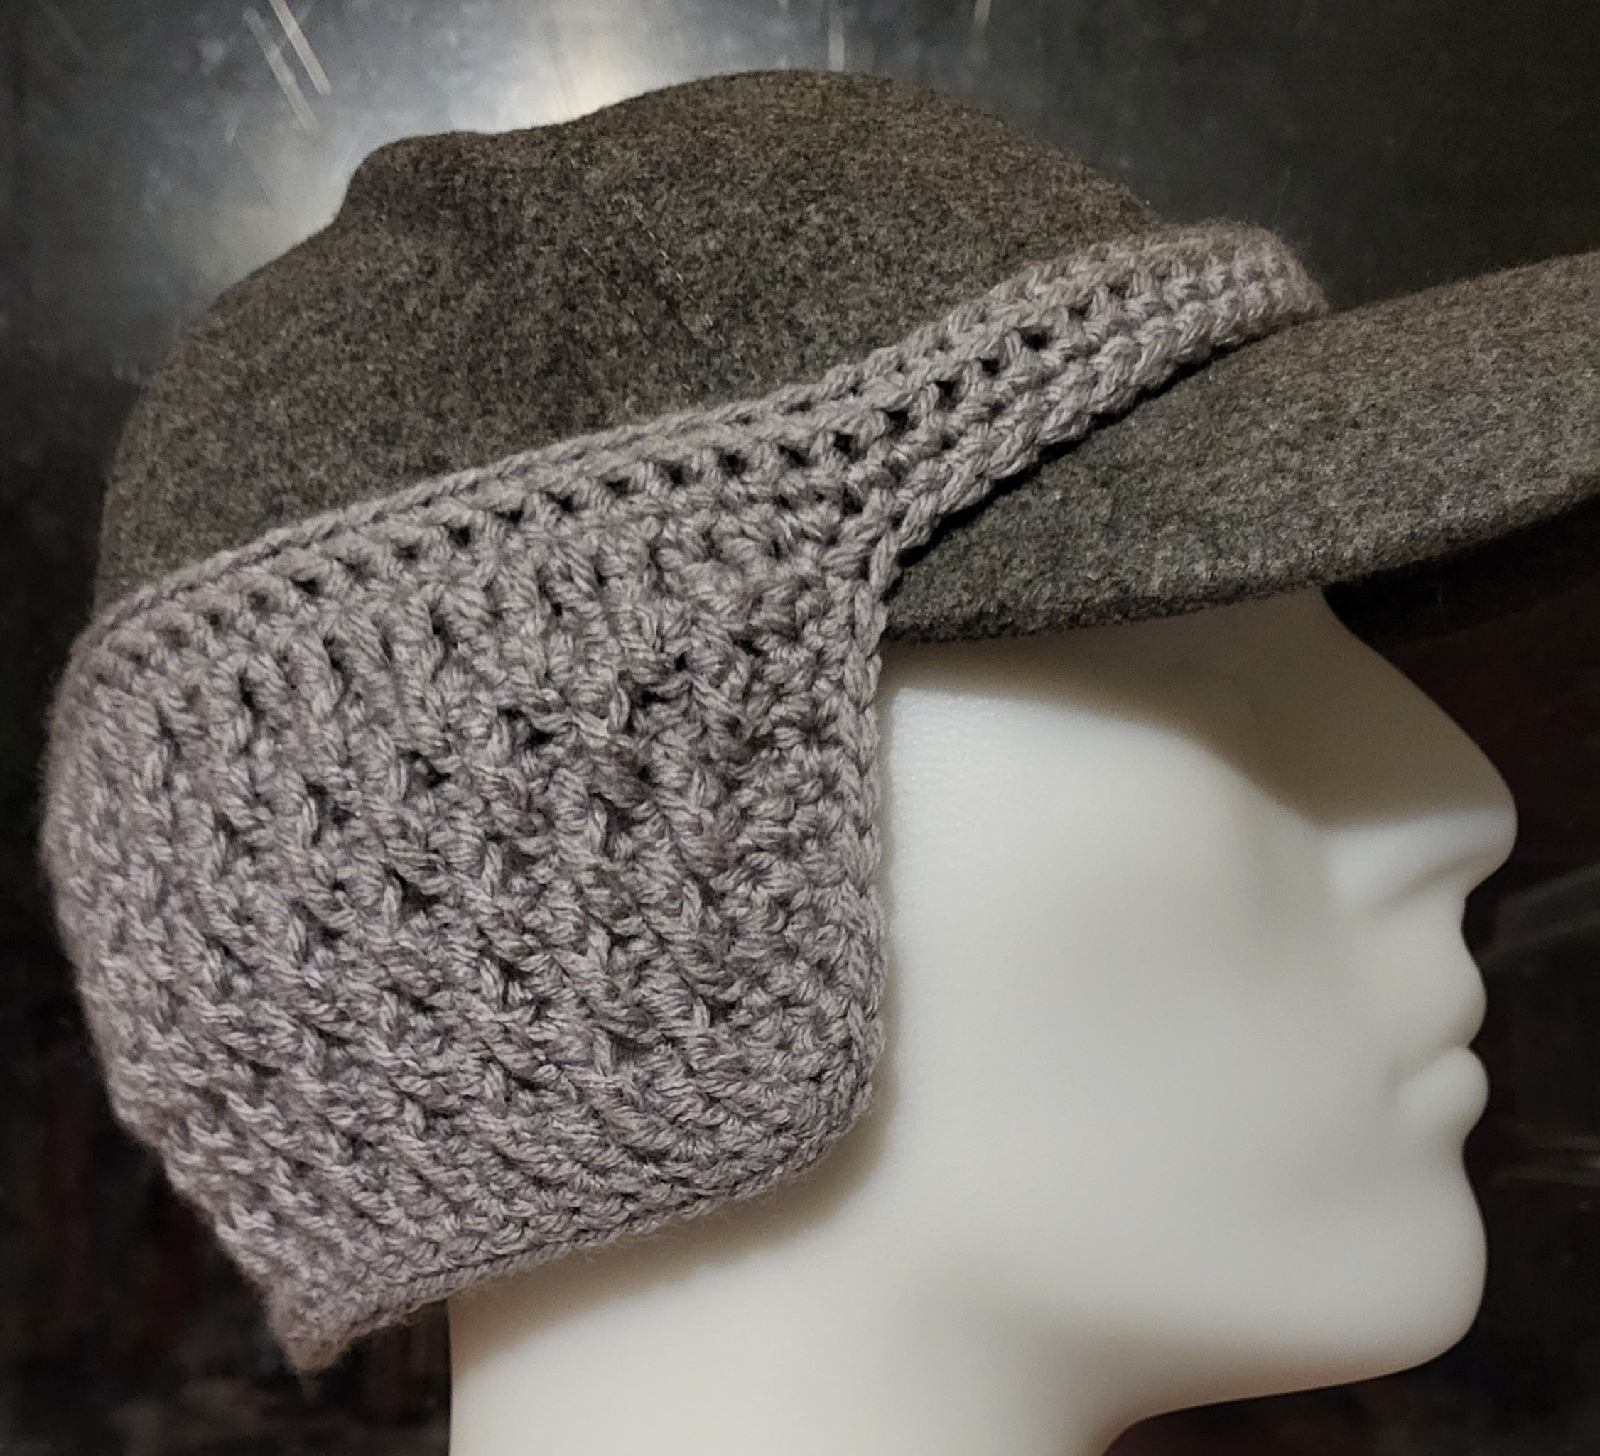
Some days are better than others, though, and I do still manage to make things. Usually things to use around the house. Winter is coming, though, and things are getting chilly out there. For most of the year, while working outside, I've been wearing a ball cap. It keeps the sun out of my eyes, and protects my head, but it doesn't do a thing to keep my ears warm! So today, I dug out the hooks and yarn, and made myself an ear warmer to go with my ball cap.
I spent some time looking online at different styles. Of course, there were always things I liked or didn't like about each one, but it gave me ideas to accomplish what I was after.
This is my prototype, modelled by Dolph.
The ear warmer fits my head better than it fits Dolph in the photos. The edging along the bottom helps it sort of cup around the ears, which is both comfortable and warming.
I will definitely make more of these, and will eventually make some with reflective thread added as well.
This is going to be quite nice to wear when I'm out doing my chilly morning chores!
Monday, March 7, 2022
Reflective
One of the types of yarn I enjoyed using was the Red Heart reflective yarn. Here is an example of my using it as a contrasting band in a hat.
I've also used it in entire hats, as well as to make high-visibility wrist bands.
Unfortunately, none of the local yarn stores carry it anymore, and while I can buy it online, I really prefer not to, if possible.
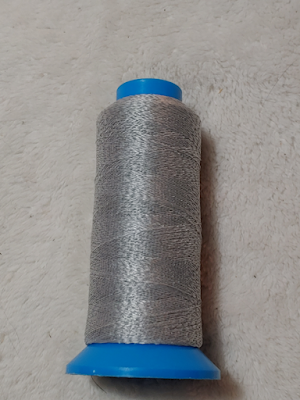
Instead, my darling husband found an alternative for me.
Wednesday, February 27, 2019
Waffle Weave
I have, however, actually managed to get some crafting done, in between moving my office/craft room to another room.
One of the things I recently finished, having put it aside to complete other projects, is something I intended to use as a chair seat cover.
Our cat has other ideas.
In moving back to the family farm, we are using some of the furniture that was already here, including the mish-mash of dining chairs. All of which have big granny squares my mother made, covering the seats and some of the backs, as well. Unfortunately, my mother did not have access to good yarn. She also used whatever scraps were at hand. So... they're a little hard on the eyes.
I was entertaining the thought of replacing them with different covers, all using the same yarn - blanket yarn was used in my tester - and done in a dense waffle weave stitch.
No, not waffle stitch. Waffle weave stitch. I found the stitch featured in a crochet magazine some time ago, and have since seen it with a different name. I've completely forgotten what that name was. I was, however, able to find a tutorial for a waffle weave baby blanket, so here it is.
The end result is a very thick, insulating fabric. I ended up using the stitch to make a scarf, headband and hat set for a friend. They are incredibly warm; perfect for the blistering cold temperatures we've had this winter!
As a note about working up a hat; the stitch can be done in the round, but the work must be turned after joining each round. Which makes working from the bottom up, much more practical. I normally work my hats top down.
It also helps to use a larger hook than you normally would for the yarn weight. I couldn't really do that for the blanket yarn I used for the test chair seat cover. I used a 10mm hook, because the next size up I have from that is 25mm, which I use mostly as a nostepinne when reballing yarn into centre pull cakes. If I'm going to do this stitch with this yarn again, I would need to pick up some larger hooks.
I don't think I'll be doing that. At least not to make chair seat covers. For the cost of yarn and amount of work involved, it would make more sense to just buy a set of chair pads. Especially since I would want to get some extra thick ones, to make it less painful for my husband to sit at the table.
I will definitely use this stitch for other things, though. The super thick fabric it makes would be perfect for things like hot pads, using cotton yarn. The insulating qualities makes it perfect for warm winter hats.
As for my test chair seat cover...
Looks like it's going to be a cat blanket!
Wednesday, April 18, 2018
Blocking Comparison
I happened to also be experimenting with blocking baskets using a stiffener I've never tried before. Epsom salts, dissolved in water. It was recommended by someone who used it to stiffen snowflake Christmas ornaments. Basically, Epsom salts are dissolved into hot water until the water is saturated (no more will dissolve into it), then the items are soaked in the water and pinned out, like the usual wet blocking.
Having mixed up enough to soak several larger items in it, I was left with a bowl full of dissolved Epsom salts, and I didn't want to waste it. So when I made the bracelets and was ready to block them, I wet one with water, as usual, while the other got a quick dip in the Epsom salt saturated water.
This is what they looked like, after drying overnight.
Here, you can see that the Epsom salt soaked one is slightly stiffer and keeps its shape more when the bracelet is folded in half. I was somewhat concerned that it would be somewhat scratchy, as well, but it isn't at all.
The Epsom salt bracelet was MUCH easier to put on one handed. That slight stiffness made putting the toggle through the loop so much easier. In the plain water blocked one, the loop tended to get easily pushed away while trying to get the toggle through. It was also harder to put it on without twisting the bracelet.
Overall, I think I prefer the Epsom salt soaked bracelet. The only thing I would change in the future is to not stretch it out as much when pinning it down. I'm used to it bouncing back again slightly, like the plain water blocked one did. With the Epsom salt one, the length it's pinned to it the length you get! So it's a bit longer than I intended it to be. Still, I would definitely recommend using it for blocking jewelry items, or anything that would normally be starched to hold its shape.
Until next time;
Get Crafting! :-)
Tuesday, January 16, 2018
By Request
My daughter asked me to make a carafe cozie for her, so she can use it for hot drinks and not burn her hand.
So this is what I came up with.
The yarn is Aunt Lydia's "Denim" Quick Crochet. 75% cotton, 25% acrylic. I used a 4.25mm hook. The cozie is a sort of sampler of stitches working with a base of 40 stitches around. I wanted to get some texture in there, to make it less likely to slip in the hand.
I've got it blocking on the carafe itself. It should be dry by morning. I think my daughter will like it. ☺
Thursday, April 27, 2017
On my hook... Planned colour pooling interrupted
Tuesday, April 11, 2017
Crochet Rope Basket... with cat
Instead, I decided to use it to make a rope basket. I found instructions online that I used as a guide, crocheting the coiled rope in place with white cotton crochet thread and a 3.00mm hook.
A little while ago, I finished it. It's a bit wonky, and there are things I would do different, but that's okay. I've got two more lengths of the same rope remaining and will likely use them to make a larger version.
It doesn't seem to glow very well, but perhaps it just hasn't had enough exposure to bright enough light, yet. I'll have to test it out better, another time.
After showing it to my husband, he suggested I get a picture of it by our cat, Freya. So I did. She was curled up on the spare bed with her boy, Finnigan. Finn ignored it completely.
My husband also predicted that she would immediately try and go into the basket.
He was right, of course.
She does this with pretty much everything. Even the case for my glucometer.
I love our crazy cats.
As for the basket, I am quite happy with it and will definitely work up another one. I will probably do another oval, though I haven't decided if I will make handles like this again, or make one with a lid.
Saturday, March 11, 2017
A bit of an update, plus a teaser
There are a few things in the works. Among them is that I will be working towards getting my domain name and a web host to move away from blogger. Not a big hurry on that right now, though, as those real life things still need to be taken care of. One of those is to replace our van, which has died a glorious death, but only after getting me safely home. I already miss my Lulubelle! We depended on that vehicle a lot. Unfortunately, getting a replacement we can afford has turned out to be more difficult than expected. We need to stick with getting a van, as we need something that can fit all four of us, plus his walker, and it tall enough for him to get up into. A smaller vehicle is much more painful for him to get into and sit in.
Enter my wonderful daughter. She has been focusing on her art online a lot more. She's started up a Patreon account, her new web comic, Borrowed Bones, is now live, and she is still taking commissions.
She has told me that all proceeds from her commissions will go towards acquiring another van.
You can see her rates, with samples, here.
You can also follow her tumblr posts here.
You can also get her art printed onto various things at her Redbubble shop. I've got "All Sun Dappled" on a tote bag and phone cover, and I just love the quality of the products, as well as how well her art looks on it. My younger daughter got "Darkening the Stars" on a phone case and "The Prophet" on a tank top.
Meanwhile, here is a sneak peak at one of my newest hats, which will go onto my Etsy shop, Treasures Down the Road, as soon as I can take some decent photos ready. The photo does not do justice to how incredibly sparkling it is! And so comfortable to wear, too!
I'm working on another one that's going to be even more sparkling, with metallic strands and sequins. It's going to be awesome!
Wednesday, February 24, 2016
How to block a crochet lace crown: Part 2
Okay, so my crochet crown has been pre-blocked to open up the lace. Now it's time to block it to shape, using a glue based liquid that is supposed to be permanent.
First thing to do was make sure I had everything I needed handy. Here are my materials.

The plastic bin that I used as a form.
Plastic food wrap.
White glue. (150 ml bottle)
a jar with lid to mix the glue with water.
a container to saturate the crown in.
laytex gloves.
Plastic drop cloth to cover your
work surface.

My older daughter also offered some glitter from her vast collection. I ended up using all three colours.
There was one other item that I found I needed rather unexpectedly. A spray bottle of water.
Make sure you've gone one handy. You'll need it!! Having to get one while in the middle of things is not fun.
Trust me on this.
You'll also need tape to fasten the plastic wrap in place. I also ended up needing to use elastic bands large enough to fit around the bin.

First order of business was to wrap the bin in a layer of plastic wrap. The plastic wrap, of course, stuck to itself really well, but not to the bin at all. It takes a bit of doing to get it well covered.

After wrapping the bin, I poured the glue into the jar, then filled the glue bottle with water to get a 1:1 ratio. Some "recipes" has a ratio of 2 parts water to 1 part glue, but it all depends on just how stiff you want the final product to be. Given the longish chains around the triangles, I decided the 1:1 ratio would be best.
Then I added the trio of glitter. I used the purple the most, with a fair bit less of the almost black purple, then a bit less of the reddish gliter.
Then it was time to close up the jar and start shaking.

Here is the glue misture after a whole lot of shaking.
As you can see near the bottom, there was still some that didn't really mix.
That done, I set the jar aside and got back to the crown.

On sliding the crown over the bin, I found that, while pre-blocking it made everything nice and straight and open, my hopes that it would tighten up the base of the crown were dashed. Once straight, the crown fell farther down the bin than before, almost enough to slide right off the open end.
So I put a double layer of elastic bands where I wanted the base of the crown to be.

One the elastics were in place and straight, I added a second layer of plastic wrap.
The elastic bands serve a double purpose. They were a guideline for where I wanted the crown's base to be, with enough room for the rest of the crown below it, and it gave me something to pin the crown to.

Time to get messy!
And cover everything with my plastic drop cloth.
Glue, gloves, bowl and crown at the ready.

After getting this photo, there was no opportunity for me to take more until after the crown was in place, since I no longer had a clean hand to hold my phone with.
Here, about a quarter of the glue mixture was added to the bowl and mixed in. I did add a bit more later on. It's really important to make sure all of the item is coated and saturated with glue.
Once saturated, the excess is gently squeezed out. Very, very, gently.
Then it was time to put it over the bin, line the base up to the elastic band, then try and get it flattened against the sides.
Things got very hectic for a while.
What I discovered was that the glue on the surface of the crown, and on my gloves, would start to dry faster. The parts of the crown against the plastic, however, were still very damp. Which meant that, as I was trying to use my gloved hands to smooth the crown against the bin, the curved sections would instead stick to my hands and lift right off the bin.
I had to spray my gloved hand with water, as well as lightly spray the surface of the crown, to keep that from happening.
I also ended up taking one of the gloves off completely, since I found I couldn't grab the pins with the glove on.
The base of the crown was still wider than the circumference of the bin, so I had to rely on the pins and the elastic band to hold it in place, re-adjusting the pins as needed to have it all even around the bin.
Then I simply smoothed my gloved hand down the sides to get the crown to lie evenly against the bin's surface.
 Along with needing to spray my hand with water to keep the drying glue from lifting the crown off the surface of the bin, I also found myself dipping out some more glue from the bowl to add to the surface as well.
Once done fighting with it, this is how it looked.

After a couple of hours, I used a damp cloth to wipe glue off the beads.
Then it was time to let it dry overnight.

And here we are, the next day!
Getting those pins out was rather hard on the finger tips!
You can even see the glitter a bit.

All done, and looking good!

Isn't it pretty? I was so happy with it!

A closer view of the beads, and you can see the glitter a bit better, too.

Of course, I then had to set up a pretty little photo shoot and get more pictures...

...at different angles.

Then I broke out Dolph to get some shots of the crown actually being worn on a head.
I tried it on Dolphina, but the female head is not at all human sized. She would have done for a child sized crown, but not an adult size. The crown just slid right over the face and down to the table.
I noticed that with almost all the display heads I've looked at. The female heads are all stylized and tiny, while the male heads are more human sized and shaped.
Which irritates me.

But that's okay. The crown looks fabulous on Dolph.

Here are some more close up shots.

The points aren't quite as distinctive anymore, since I had nothing to pin them to to keep it, but they're still not as rounded as they were before the first blocking.
All in all, I'm really happy with how this turned out.
Once blocked, the larger size was much less of an issue that I was afraid it would be. It's actually just normal head size. So using a thicker cotton and larger hook turns out not to have been a problem at all.
In the future, I would like to find some way to cover the plastic bin with a layer of foam that I can pin to. The bin itself is great for stability, compared to some of the other ideas I had thought of, like rolling up a towel or something like that.
The crown itself was quite easy and quick to make. Figuring out how to block it was much more of a challenge, and the interwebz was of little help. Which is why I made a point of taking so many photos and doing this step-by-step!
Happy crafting!


