Pages

Showing posts with label ornaments. Show all posts

Monday, December 23, 2024

2024 Christmas ornaments: Singlade balls finally done

Talk about down to the wire!

I actually finished the first 5 of these much earlier, but it took forever for me to get to that last one.

Here are the finished Singlade balls.  As I used reflective and sparkling yard, I took photos in a dark room with flash, so they're not the best quality, I'm afraid!


Here are all six of them.  I used leftover yarn from other projects, and it was a matter of using what I had enough of, when it came to the colour combinations.


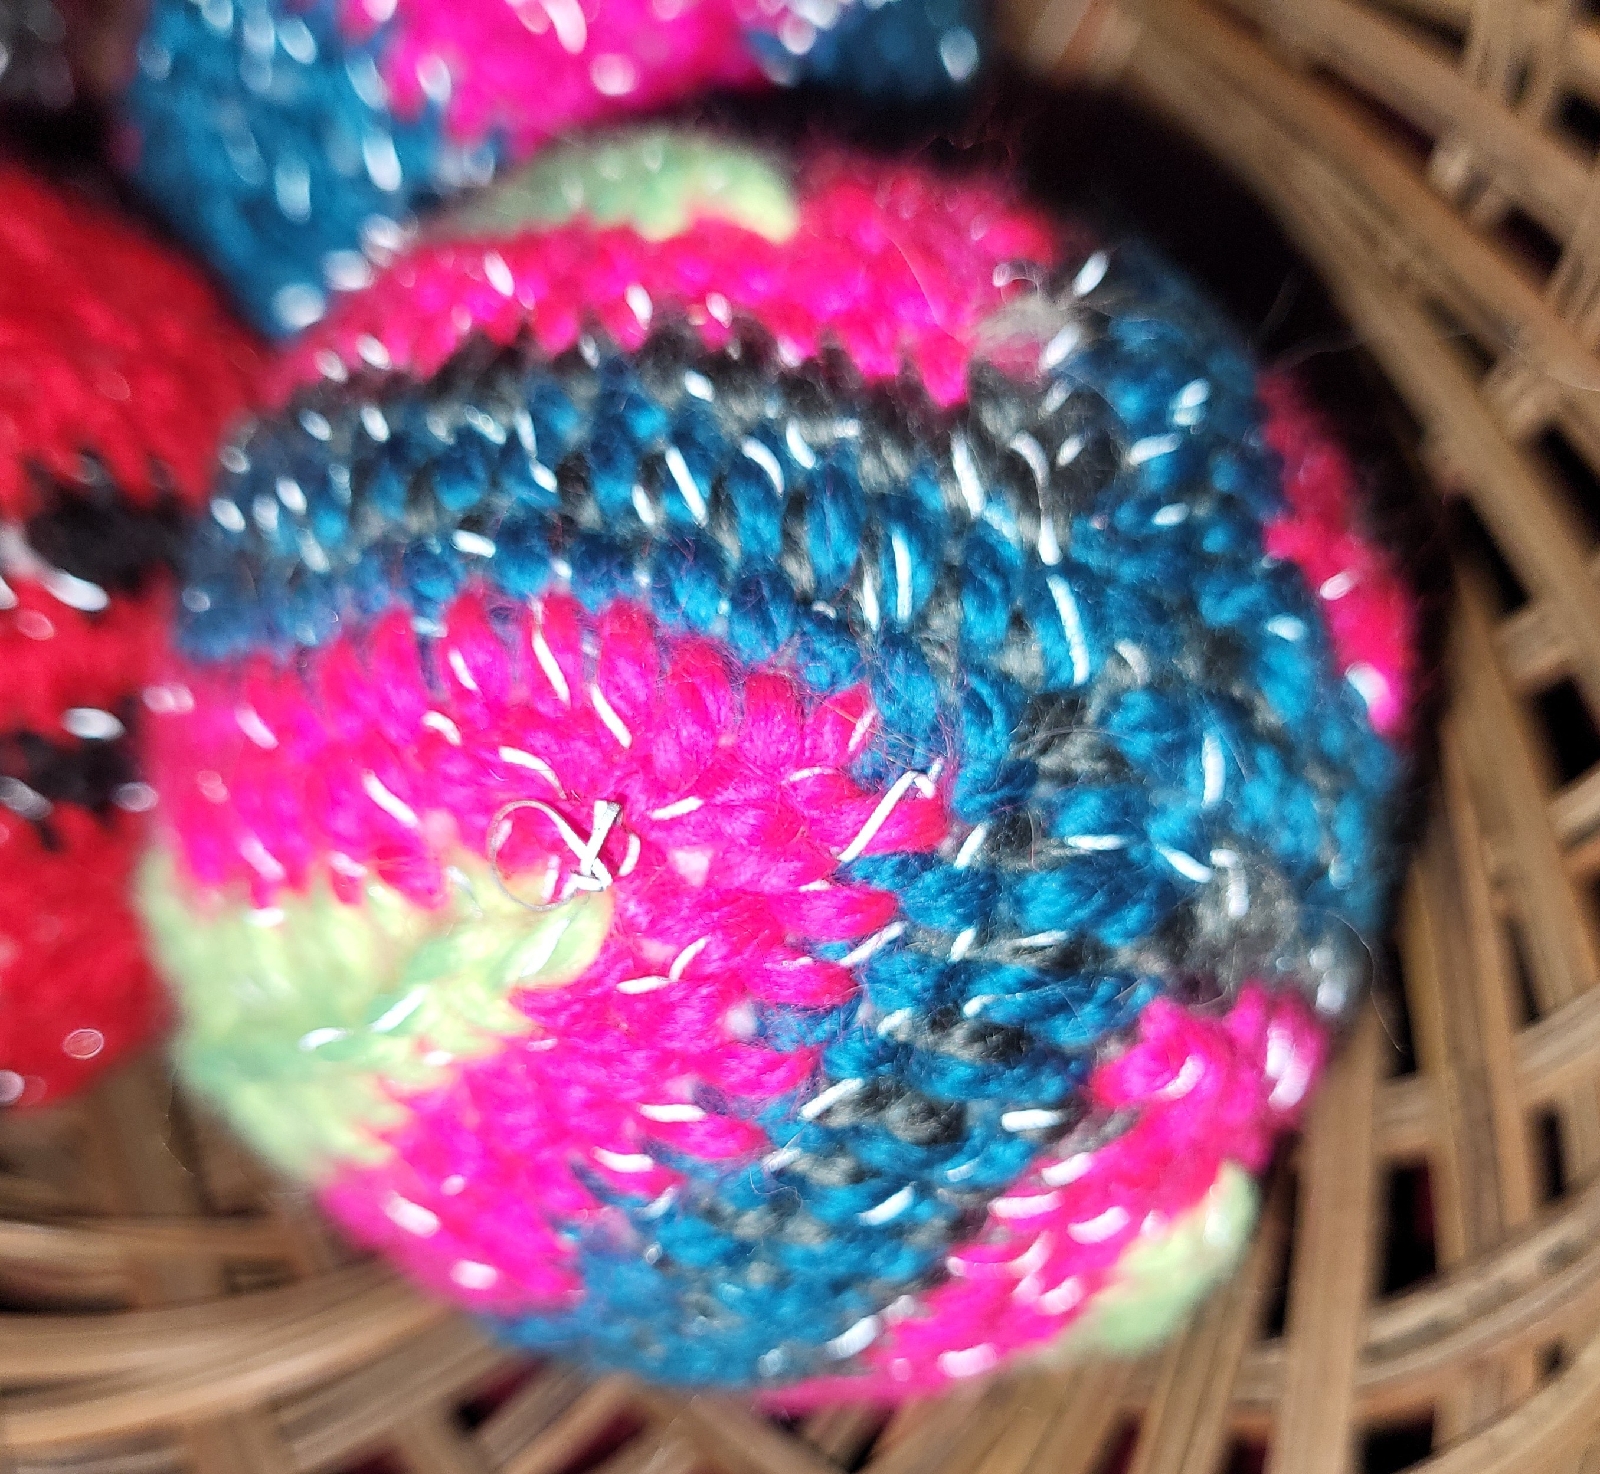
Here is one made up of grey and hot pink reflective yarn.  Each triangle is done the same way.


For this one, I used black reflective yard to border the triangles, red yarn with a silver metallic strand, and a tiny accent of neon yellow reflective yarn.


With this one, I did alternated using the dark green reflective yarn and the peacock blue, together with the red sparkle yarn.  I had intended to do all green and red, but didn't have enough green.


This was actually the last one I did, and changed up from doing 8 triangles to 4 oblong shapes, all in reflective yarn.  The blue and grey were in alternating single rows, then two rows of the hot pink.  I changed the stitch for the neon yellow in the middle, to create a raised line down the centre.


This one was pretty basic: solid triangles in hot pink and peacock blue reflective yarn.


This one was actually one of the first I did.  Red sparkle yarn with a reflective black yarn accent.

I'm rather happy with how these turned out.  For these first Singlade balls, since they were specifically for Christmas ornaments that I wanted to be sparkly, I used thicker yarn than I otherwise would have.  It made for chunkier stitches and you can see the white base in some places, in between the stitches.  If I were to do these again, I think I'd try making smaller ones using variegated embroidery yarn.

Christmas for us this year is a much quieter one, with minimal decorations.  These will be a table decoration in their basket.  If we wanted to hang them, I would use simple wire hangers.  The reflective and metallic strands in the yarn are the focal points in them.

This is definitely an enjoyable, almost meditative, craft that I would definitely recommend.


Tuesday, December 19, 2023

Crochet Christmas ornaments

For this year's Christmas ornaments, I went back to an old standby: crochet!

I saw some patterns on Pinterest that I liked, and used that as inspiration, but in the end, each one I made was different. 

I had some unexpected challenges.  Funding Christmas yarns was one.  I wasn't able to get to a Michael's, the only craft store option, during my trips to the city.  The best option I had was Walmart, and their Christmas craft supplies were almost non-existent.  I couldn't even find the miniature decorations I used to be able to fund easily. 

Then, after my first few, I started running out of stuffing, but when I tried to buy more, I couldn't find any!

I even had a hard time finding Styrofoam balls, which I used to see everywhere.  I did finally find some at a dollar store, along with some miniature decorations. 

So I made do with what I had, with white and sparkly red yarn as the main connecting theme.
This is all that I've made, and I think I'm done for this year.  We aren't even putting up our usual tree, so we don't have space for them on the mini tree on the piano, in the cat free tool!
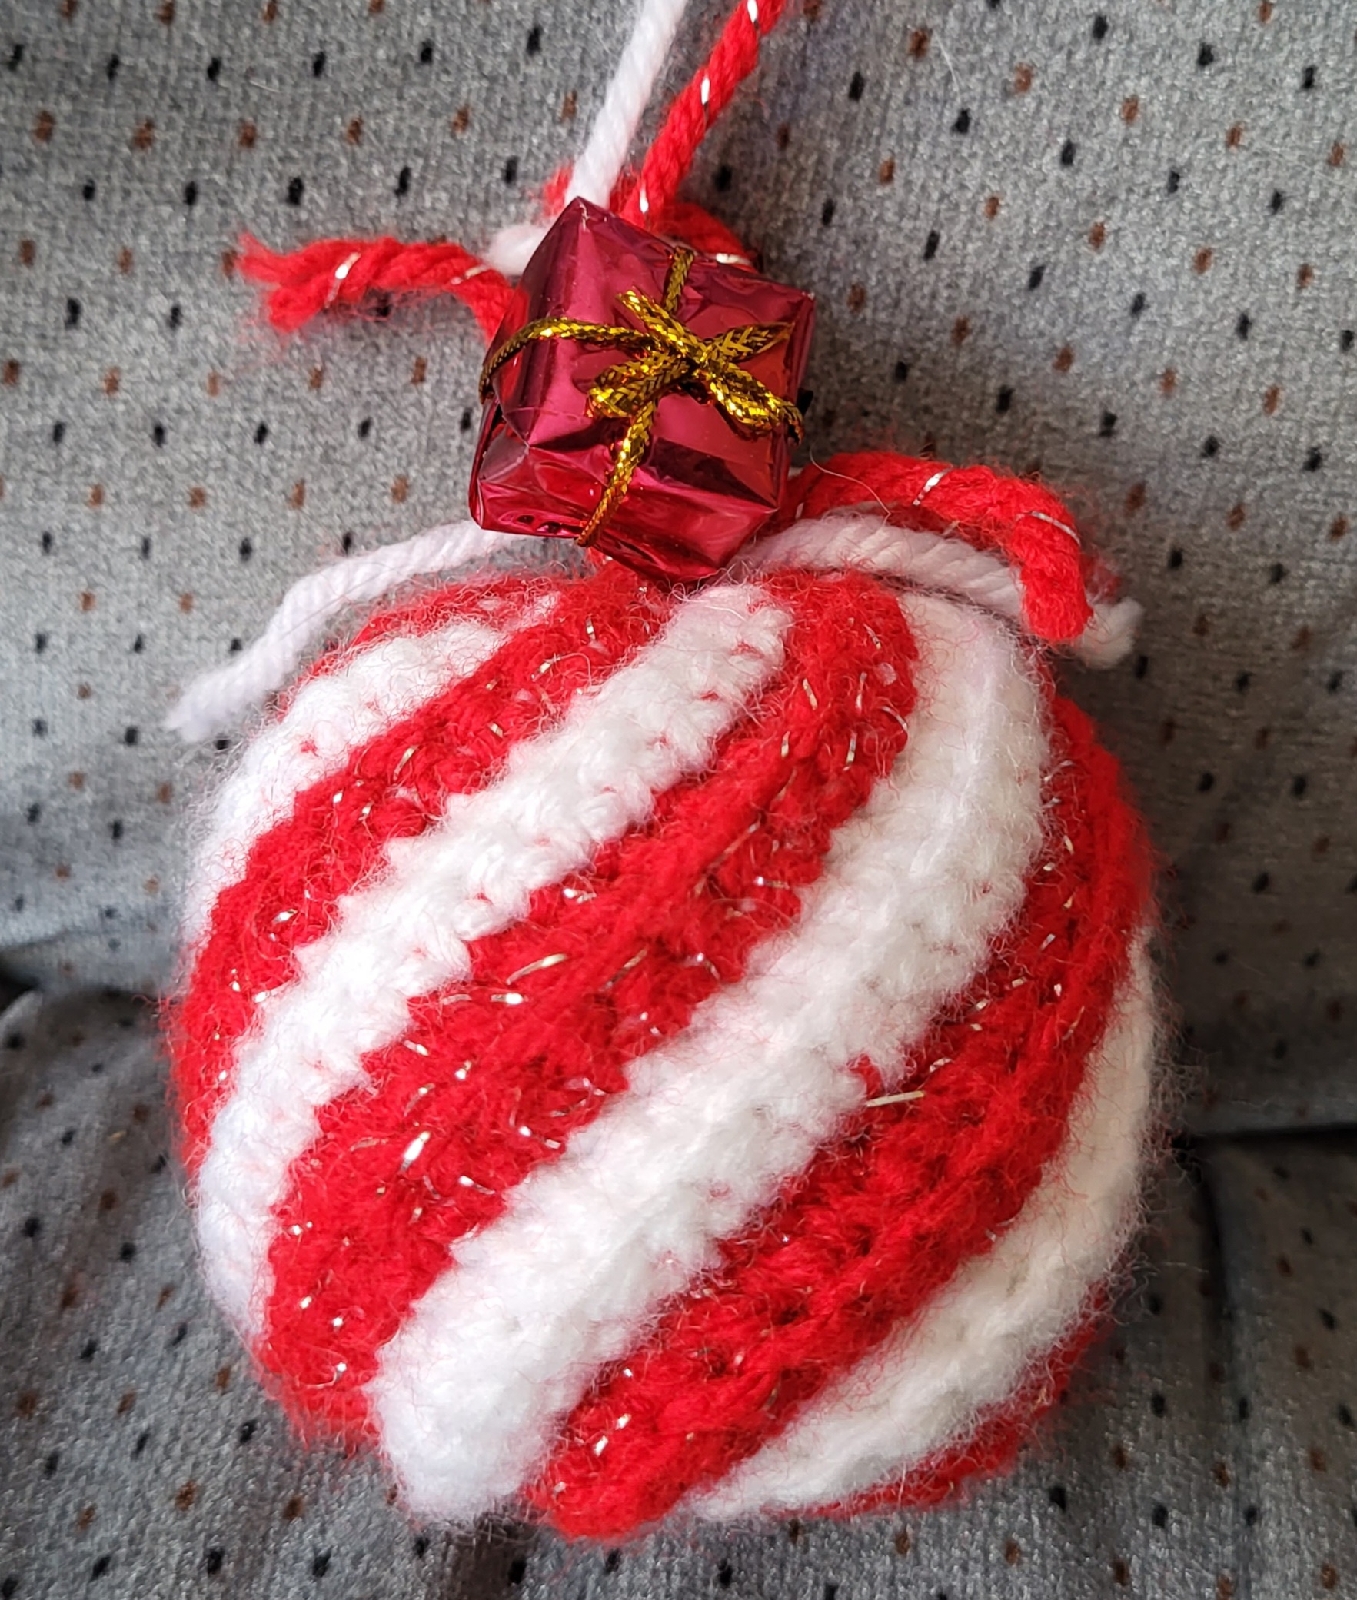
This is the first one I made.  Just diagonal lines in back loop single crochet, sewn together.  One end was closed up, the stuffing added, then the other end sewn closed.  When I finally found some mini decorations, I added the little present on top.

The next one I tried was straight rows of back loop double crochet.  Otherwise, it was assembled the same way.

I didn't like the sewing, so the next one was done in simple rounds.

I found some wooded beads and the little bow to dress it up a bit.

At this point, I was almost out of stuffing, and switched to the foam balls.

This variation is really just a tawashi dish cloth pattern I'd made in the past, except stuffed.  The rows are done in the back loop, starting with sc, then hdc, then dc, then hdc again, and ending with sc. The end result was bigger than the balls, so it is quite loose around it.  A miniature bauble got it's hanging cord removed, than added on with the excess yarn used to sew the sides together, and close off the end.

Again, I didn't want to sew things together, so I did this one in rounds.  Once the foam ball was added, though, it was pretty awkward to stitch around it.  Especially when doing decrease rounds.

Time for something different. 

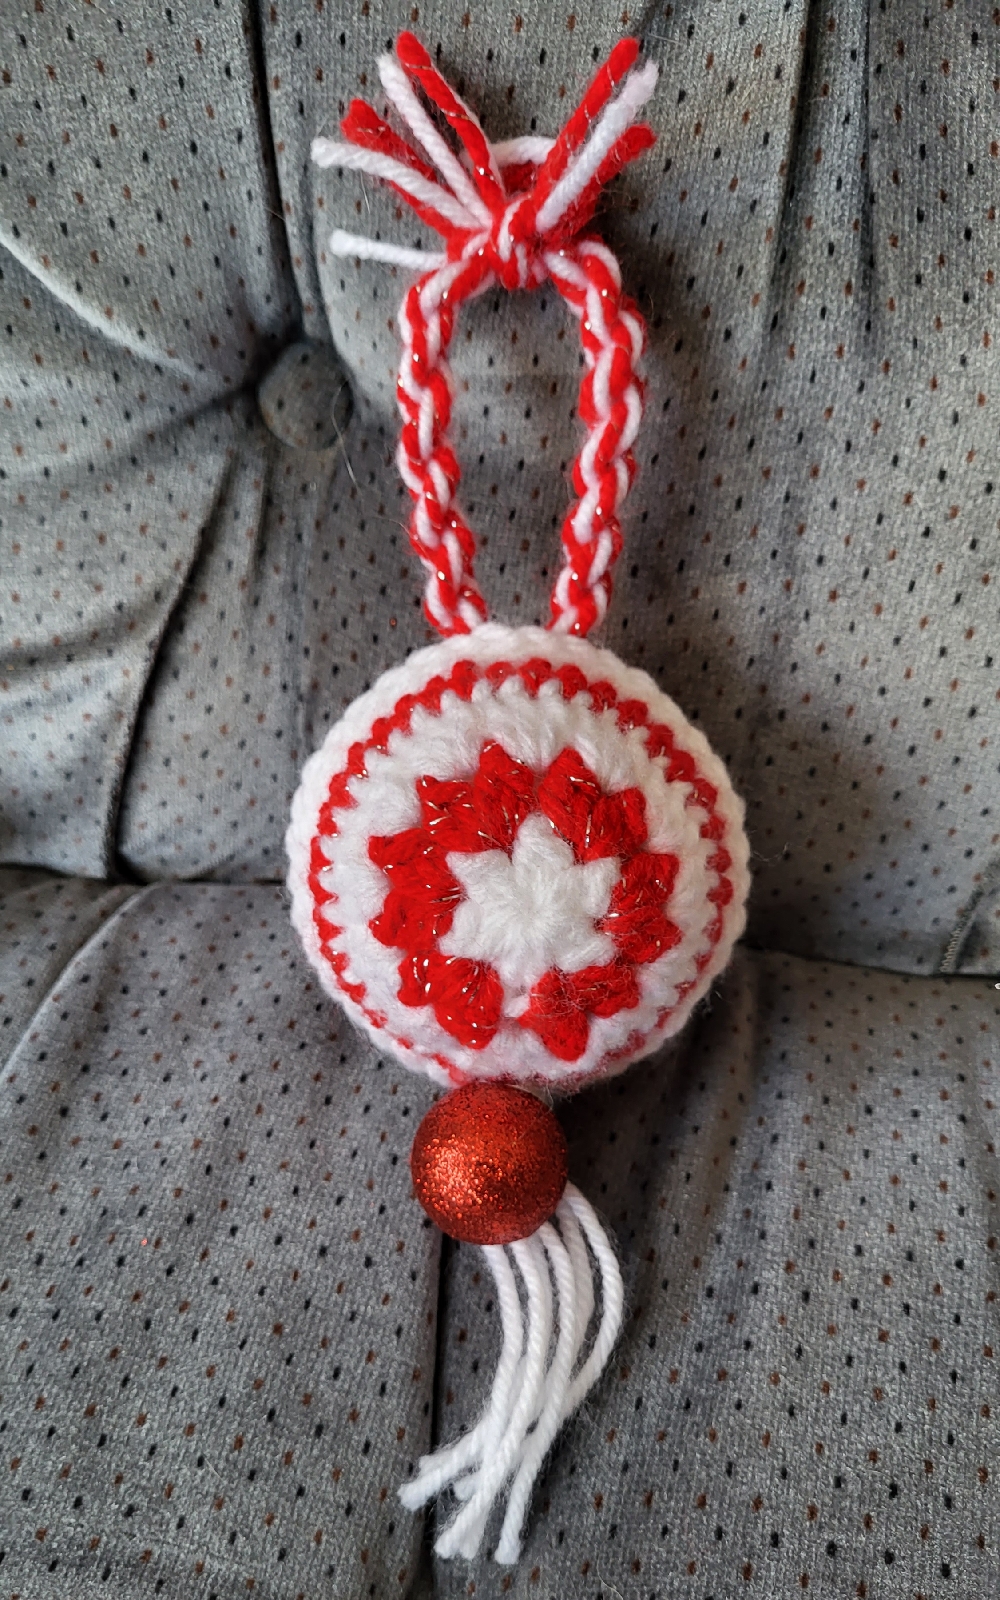
This one was done as two circles.  Those were crocheted together, with the ball added inside when they were half joined.  This fit more snuggly, so those last stitches were harder to work, but I liked the end result. 

Then a friend gifted me with some craft supplies, including miniature decorations!  I used a tiny garland in this last one.

The mini garland was worked into the last round on one circle, only.  I tried sewing the circles together at first, but they turned out to be juuuust too small. So I did a different crochet join that added the equivalent of another round in the middle.  I'm quite happy with how this one turned out!

With the Styrofoam balls, making two halves and joining them together was much easier than working in the rounds, but takes longer.  With the stuffed ones, working in the round was easiest and fastest.  

I'm rather pleased with how they turned out.  Even considering they turned out to all be experiments!

Tuesday, December 6, 2022

Our 2022 Christmas ornaments: more berlingot made

 Well, the entire household got hit with colds, and I wasn't able to continue working on the ornaments until yesterday.  (You can see my earlier posts here and here.)

I made up for it a bit, but getting six berlingot (also called Dragon Boats) done last night.


I made two starting with 4 inch squares, and four starting with 3 inch squares.  Three of the smaller ones were made using a lighter carboard from gift boxes, which works better for the smaller size.  I wouldn't want to use it for the larger sizes, though, as the cardboard would easily get squeezed inwards while the strands are being wrapped tightly around the forms.  With a 4 inch square, each fold is about 2 inches long, while the 3 inch square results in 1 1/2 inch long folds.

The cats got at my materials and even wrecked the red and gold test berlingot I made, so I made another one using two strands of gold with one strand of red, all metallic yarn.  I was able to rescue the tassel, at least, and attached that to the inside, along with the hanger and starting strands of thread, when assembling the shape.

The white and gold one is wrapped with crochet cotton thread.  I was able to add beads to the points on that one, but didn't really have anything that matched the others, so the points just have dabs of fabric embellishment glue on them.  I'm happy with how they turned out.

Here are some better pictures of the first ornament I successfully made.


For our small tree, I don't plan to make more in this size, but I might go as large as using a 5 inch square for the base, which should result in berlingot that are 2 1/2 inches along each fold.  I'll have to find more cardboard that's slightly heavier than the gift box cardboard I used for the smaller ones, though, so I might just make some more from 4 inch squares, first.  

Oh!  I did finally find some of the double sided tape that I was looking for.  It was being sold with the plastic film for winterizing windows.  The double sided tape my daughter lent me is in a plastic holder, like Scotch Tape comes in, and the same width.  The window tape is a bit narrower, and in a roll with a coated paper backing.  I find it easier to be able to cut the strips to the lengths I want, place them, then remove the backing later.  The tape is also lighter and more flexible, making it better for the smaller sized ornaments. 

I do wish I had more materials suitable for decorating the points, but otherwise, I'm quite happy with how these are turning out!

Thursday, November 24, 2022

Our 2022 Christmas ornaments progress

I was able to get a few supplies for our Christmas decorations, but not everything I wanted.  So I will just have to improvise, since I'm not willing to drive to the city to maybe, maybe not, find what I want there!

Since I was planning to make larger ornaments for the tree, I had hope to find some nice Christmas yarn but, alas, there was none to be had in town.  Not even in embroidery thread or craft cord!  Bizarre.

I did have plenty to choose from at home, though.


I have a small amount of gold crochet thread with a metallic strand for some sparkle.  I also have most of a package of sparkly Lion Brand Bon Bons that I had to rescue from the cats a while ago.


I have other colours in the dollar store version, too.


Plus, some more crochet thread.  The variegated one is left over from some some crochet covered Christmas ornaments I'd experimented with a while back, and there is still lots left.

Once I gathered up my materials, including pins and beads and other odds and ends I've got, I used a cereal box my daughters sacrificed for me to cut out some 3" x 9" strips, in the same manner I'd done before.  Unfortunately, I somehow screwed up with the measurements on one of them and it went to waste. 

One of the things I was looking for but had a hard time finding was plain double sided tape.  You'd think that would be easy to find, but I kept finding double sided foam mounting tape, or glue dots, and so on.  All things that are way too thick for what I had in mind.  I did finally find some double sized adhesive in the dollar store, that I could use to adhere the tabs in the cardboard to make the shape, but...


... it turned out to be glue dots.

I double checked.  There was nothing in the package that described them as glue dots.  Only "double sided adhesive."

Sigh.

Thankfully, I'd picked up some glue sticks as well, just in case, and used that on the tabs to put the form together.  Oddly, the glue sticks took longer to dry, and it had to be held together for much longer, before I could set it aside to finish drying.

So for the next one, I decided to try something different.  I'd found this video...


It uses a more more compact way to make the shape's form.

Also, I like the idea of tucking a secret message inside the berlingot for the person it is meant to be given to.

I decided to give this method a try.


I started with a 4" square, then marked off the rest.  When gathering my materials, I found my scoring tool, so I used that instead of a pen to mark the folds, then cut out the one unmarked corner.


As with the other method, all the folds are creased in the same direction.


Then I used ordinary tape to put it together.

Since I had the glue dots anyhow, I decided to use a couple at the more flattened points that I would be wrapping around, which also would hold in place my starting threads.  The adhesive is quite malleable, so I was able to sort of wrap it around the point to cover all sides.


I chose a gold metallic to go with a plain red for this one.


When it was done, I was left with a problem.

A few of them, actually.

When it was time to sew in the thread ends, the glue dot made it very difficult.  I had to really fight to get the needle under the strands, and ended up having to scrape adhesive off my needle, afterwards.

I had made a tassel for the bottom, but I have no way to attach it.  I don't have needles long enough to go through, but even if I did, the glue dot adhesive ended up over the point, and I simply couldn't get a needle through it.  It stuck to the needle to much.

At which point, my daughter brought up the "basket of berlingot" idea again!

I set that aside to think about it later.  I still had the larger form I'd made, using the 3" x 9" strip of cardboard.  Because of the size, I decided to use the purple and green crochet thread.


I was curious to see if a pattern would emerge, as happens with crochet, but not really.  I kinda like it, but it's not very Christmassy.  If I can figure out how to add a hanger and decorations at the points, that could easily be changed, though.

For the next one, I decided to start with a square again - I like this version, since it isn't as reliant on having an exact 1:3 ratio that the rectangle does.  My daughter also came to my rescue.  When I told her I couldn't find plain double sided tape, she told me she had some and offered it to me!

It was much appreciated!

For this next one, I changed things up.

The outer square for this one was 6", and the final result turned out to be very close in size to the 3" x 9" rectangle version.


I also made a hanger first, and taped it in place, on the inside, along with the starting strands of the yarn I chose.  For this one, I went with three metallic colours, purple, blue and grey/silver.


Then the form was taped together with double sided tape, which served to help hold the strands in place while being wrapped.

Here is the final result.


When the wrapping was done, I was able to poke holes in the remaining points with a needle, then use a head pin and embellishment glue to add pearl beads.


Then I had to hang it in the tree (currently undecorated while the cats get used to it being there), so that the glue could dry without anything accidentally touching it.  It will dry clear.  I would have used silver head pins instead of gold, if I'd had any. 🤔

Which makes my third attempt today my first completed ornament!

For the next ones, I think I will stick to using squares to make the forms, instead of rectangles.  It will be easier to have a variety of sizes.  This finished one is definitely the largest I want to make for our tree.  Any bigger would be just too much for it.  Plus, smaller ones will need less yarn or thread to cover it, so those supplies will last longer, too.

I now also know that if I want to add a hanger to the top, or something like tassels to other points, those need to be added and affixed to the inside, before the form is folded and taped into place.

Hopefully, I'll be able to get back at it and more more of these, tomorrow. 

😊


Sunday, November 20, 2022

Our Christmas decorations, for 2022 - first thread berlingot experiments

 I spent some time considering what I wanted to do for this year's hand made Christmas decorations.  Last year, I had a blast making these scenes inside of upcycled aluminum cans.  The year before, we did wood burning and painting on wood slices.  After taking a break from making our annual Christmas decorations for a few years, it felt good to get back at it!

This year, I stumbled on a link to make "temari" ornaments - except it was not temari at all.  That is something I have made before, and we have whole bunch of temari Christmas ornaments we still use.  I found another link that called these "berlingot", which is a type of brightly coloured candy of a similar shape.  So that's what I will call them.  

After doing some experimenting, this is what I've decided to make for this year's ornaments.  After the first one I made, I ended up combining instructions from both sites and today, I made two more.


Here, you can see the first one I made, using two colours.  The cardboard I used is from empty facial tissue boxes, which limited the size I could make.  For the first berlingot, I used a 2 inch by 6 inch piece, then taped the shape together.  For my next one, I added the folding tabs, instead.  I definitely recommend using the version using tabs!  As for the size, as long as the basic rectangle is a ratio of three times longer than it is wide, it will work.  The links I found used 3"x9" and 4"x12".  If I'd had large enough cardboard, I would have gone with the 3"x9".  Anything bigger would be too large for our tree, though I think the larger sizes would also be easier to work with.

The lines were all scored with a pen, so the creases would be nice and crisp.  All the folds are done in the same direction.


This is what it looks like, after the creases are folded.  I then applied a very thin layer of glue to the tabs, using the tip of a bamboo skewer and some ordinary white glue.


This is what it looks like when it's folded together.  Once I was sure the tabs wouldn't pull apart, I set it aside to finish drying while I made another one.  By the time that one was ready to be set aside, the first one was ready to work with.


With my first berlingot, I used two strands of pink for the wrapping.  For this one, I decided to try three strands.  I have a package of mini yarn from a dollar store, and I chose pale purple, pink and black.

Doing the wraps is actually very easy, but getting them started is probably the most confusing part.  I don't know if these next photos will help, or make it even more confusing!


The folded shape has three "sharp" points, and two slightly flattened ones.  The wrapping begins at one of the flattened ones.  The thread ends would be attached where you see the 1 in the above photo.


The threads would then run to one of the "sharper" points.  In this photo, from the 1 to the 2.  From there, it wraps around the point and follows along the other side of the fold, back towards the starting point.  In the first photo, you can see where the thread would run from 3 to 4.  The thread will be crossing the starting ends in the process.  The thread then wraps around the point with the number 4, then continues on to the point with the number 5, in the above photo.


Wraps 5 follows along to the point marked 6.  After wrapping around that point, the thread follows the crease back to mark 1.  After that, you just keep wrapping.

Clear as mud, right? 😄

Trust me.  It's a lot harder to describe it, than to do it.  Once you get started, it's really obvious, and it can't wrapped any other way and still stay in place.


Here, after deciding what order I wanted the colours to be in, I used a bit of glue to fix the starting threads in place.  If I'd had some, I would have used double sided tape.  That would have made things much easier, and less messy!  Plus, I wouldn't have had to wait for glue to dry before I could go on.

Once you get going, though, you can't really stop.  An even tension needs to be maintained, so it's not like you can just put it down for a few moments, or the whole thing would unravel.  Which means I wasn't able to take any progress photos.  So here it is, fully wrapped.


I'd added a bit of fabric glue at the last point, then waited a bit for it to dry while maintaining tension.  Once it was dry enough, I threaded all strands onto a tapestry needle, and pulled them through, running the needle under the bottom layer of threads, right against the cardboard.  After the ends were snipped, I used the needle to move the threads back into place, making sure the cut ends were covered by the wraps.

This is what the "bottom" of the berlingot looks like.  When first starting the wraps, it seems like the back is left open, but all sides get fully covered in layers of threads by the time it's done.


Here is a side view of the "top" of the berlingot.  I do like how the three different colours, wrapped as a group, looks.  It is, however, harder to keep them smooth and in place, without twisting, compared to using two colours at once.

Of course, I had to try something completely different for the next experiment.  I chose another three colours, white, peacock and navy, but this time wrapped only one strand at a time, changing colours along the way.


This is the "top" point view.  

While wrapping with only one strand is a lot easier, changing colours was a real pain!  At least when using the glue.  After finishing the rounds in one colour, the end had to be glued and tucked under the wraps to maintain tension.  With the first wraps of blue, I could leave the end uncut while I did the navy, then once the navy was done, I could pick up the blue to finish off the next warps.

Double sided tape.  Must get double sided tape!


Here is another view of all three of them.

So... my thoughts so far.

This is a great, fun little craft.  They look great!  My daughter even suggested that, rather than making them into ornaments for the tree, they'd look great with just a whole bunch of them in a bowl.  They certainly would!  It would be cute to have a whole bunch in different sizes on display.

For our Christmas tree, though, more will be done with them.  They will get hangers, of course.  For the points, I want to add things like beads or maybe even little tassels.  One thing that can be done that we will NOT be doing, is adding a small bell or a couple of beds inside the cardboard before sealing the edges.  We have too many cats, and it's hard enough keeping them out of the tree as it is.  😉  However, adding some kind of noise maker inside them would be a fun thing to do.

Now, I just need to find myself some more cardboard.  Cereal boxes would be great for the 3"x9" ones I want to make, but we rarely eat boxed cereal!  I might also experiment with different materials.  With larger sizes, I might use thicker or textured yarn, instead of thread or a fine weight yarn like these minis.

This is going to be fun!


Thursday, December 16, 2021

Our 2021 Christmas ornaments

 Oh, my goodness!  I can't believe it's been 2 years since I last posted here!  But then, I think the past 2 years has been a blur for a lot of people, lately.  

Honestly, I haven't been doing much crafting lately.  Since our move to an acreage, 4 years ago, our focus has been elsewhere, and for the past 2 years, my focus has been more towards gardening, on top of other outdoor work.  This has had an unfortunate affect of making my hands very rough, so I can't really handle yarn much.  Especially the fussier or delicate yarns.  I also find I am increasing losing strength and dexterity in my hands.  Arthritis sucks!  Still, I do what I can.

And this year, doing what I can meant cans!

(Warning: this is going to be a very photo heavy post! :-D )

We don't often buy canned goods, but every now and then, we pick up canned chicken at Costco.  These are larger cans than what I see in the local grocery stores, and I really liked their size.

For this year's decorations, I decided to create little scenes inside the cans.  This turned out to be a collaborative effort with my daughter, who started things for me by using her gold spray paint on the cans.


This job took several days and several coats of paint.  Normally, this would have been done outdoors, which she tried with the first coat, but it's just too cold out right now.  The paint doesn't like the cold!  Thankfully, she found a way to finish it indoors.

For the scenes, I rifled through my craft supplies and got other things at a dollar store.  A family member had gifted me with a box of wooden items, and I finally got to use some!


I started off by wood burning details on some of the wooden pieces, which I then passed on to my daughter for painting with her acrylics.


I got glitter paper in gold and silver, and used the cans to mark out circles to fit inside them, as backing for 4 of the cans.


I had some metallic card stock and used a can to mark off the dimensions to create a platform to set scenes on.


I used what adhesives I had to fix the backing paper to the cans, and the platforms to the backs.  The main thing was to have the adhesive dry clear. 


The first platform fit perfectly, so I used it as a template to make three more.  

Having a scoring tool to create the folds made things much nicer.


One of the easiest decorations to make was the car.  Among the wooden items I was gifted with were several of these cars, and it fit just perfectly!


I'd picked up packages with strips of mixed ribbon and cord at the dollar store, in gold or silver, with a few that had both.  After choosing a ribbon and cutting it to size, I hot glued it in place.


For a final touch, some fake snow was glued on as well.

This one was done very quickly!

The next ones used the pieces my daughter painted for me.


Don't these little books look fantastic?  I love the metallic gold details.  Just gorgeous!


They were hot glued together to fit into the can.


Then they got hot glued onto the platform.  After this, they got a ribbon around the edge, and this one was done.

The next one was not quite so easy! :-D


I found some floral wire made to look like sprigs of pine and used them to create little trees.  They were positioned so that the larger ones would be behind the church, and the little one in front of it.  The stems were punched through the paper, bent and glued in place, before fitting the whole thing into the can.  It needed some time to dry before I could continue!


I just love the tiny details my daughter put on the church!


I added some fake snow to the church...


... as well as onto the trees.


The church was almost too tall to fit into it!  

Once the church was hot glued in place, I spread white glue around the platform and added more fake snow.  A rather messy job! :-D  Once that was done, instead of a ribbon around the edge, I added more of the decorative floral wire that I used to make the trees.


In one of the cans that did not get a backing or platform, I glued fake snow to the back and a bit on the sides, then added moss as a nest on the bottom.  One bird was glued in place, then the ribbon added before the second was glued in place.  Another quick and easy one!

The last one with a platform ended up taking a couple of days, to allow glue to dry.  I used the same floral wire the trees were made of, to make a tiny wreath.


I had decorative gems that were way too big, but my daughter happened to have these absolutely miniscule ones!  

I could not have done this without craft tweezers, and even then some of those gems were so small, I could barely handle them!


The rest was much, much easier!  

For the last can, I added some fake snow on the background.  I then had to drill a hole, so I went ahead and did all of them.


Where the holes for the hangers were drilled was determined by where things were inside, and their weights.  I used a carving bit on my Dremel to make the holes, as that was the only thing that worked.  The curved metal was a bit of a challenge to work on!

The third hole in the one can was to hang bells inside.


I used more of the decorative floral wire to create a loop to hold the bells on the inside, pulling it tight before bending it at the top to hold it in place.


I'd added fake snow to the bells before hanging them, then more fake snow was added to the bottom and a bit up the sides after the bells were in place.


I selected an extra wide ribbon to go around the can, so it would also serve to hold the wire in place.

The final touch was to thread the hanging cords through the holes. With some of them, I had to use craft tweezers to manipulate the cords inside the cans.  The church one had very little room to work in! :-D


Here they are, all done and ready for hanging!

I am very happy with how these turned out.  


I just had to take a flash picture to show how shiny they are!  I think the gold details on the books are my favourite.  

These are too big to fit on our Christmas tree.  With so many cats in the house, we have a smaller tree hanging against a wall, out of their reach, so these are now hanging with some lights and garlands we have hanging near the ceiling between our living and dining rooms.

These were a lot of fun to make!