Pages

Showing posts with label crochet - slipper sock. Show all posts

Sunday, February 15, 2009

Slipper sock - complete: final verdict

Once again, you can click on the photos for larger sizes, or visit my flickr set here, where the largest size images are available.


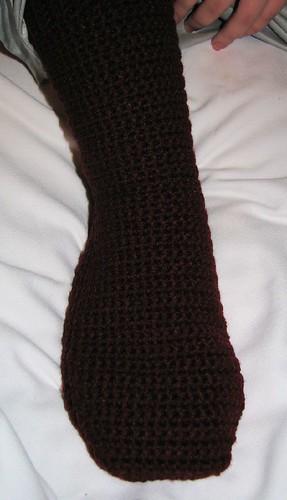
My elder daughter modelled this for me, though she had some difficulty putting it on. When my younger daughter tried it on later, it fit her much better. Except for the length of the foot part. It was about 1 1/2 inches too long.

Still, in this picture, it doesn't look too bad.


I wasn't able to get a good photo of the back seams, but here you can see the side seams.

It doesn't look too bad. If I were to do this type of project again, I would make the whole thing wider by a few stitches, and the foot portion shorter. It would make an all right slipper sock. It was definitely warm, and this type of hardy yarn would be good for a slipper.

However, I wouldn't want to do this again. I'm not making a second one.

Even if I were to try a cuff down pattern again, I'd want to do one that works in the round, not one that is worked flat and needs to be sewn together. I see no reason for seams. Ultimately, though, I'd rather work from the toe than from the cuff.

The whole reason I tried a sock pattern in the first place was to learn how to turn a heel. I didn't learn how to do that, since the heel was sewn, not turned.

I'll have to try again with a different pattern.

.

Slipper sock assembly - part two: right side out

Click on the photos for larger sizes, or visit my flickr set here, where the largest size images are available.


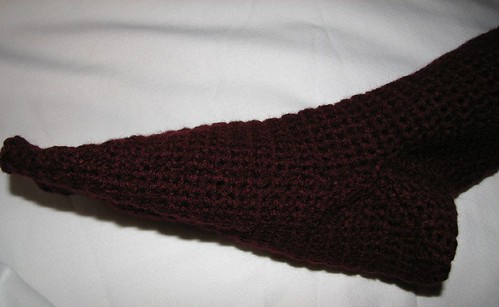
Here's the view of the top of the toe and foot, and part of the leg. It looks nice at smooth in this view.


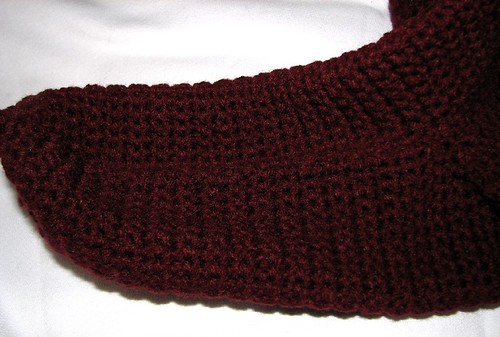
Not so smooth on the side view.

Here you can see how the side and heel seams look from the outside. I didn't line the rows along the side quite as well as I thought, from the looks of it.


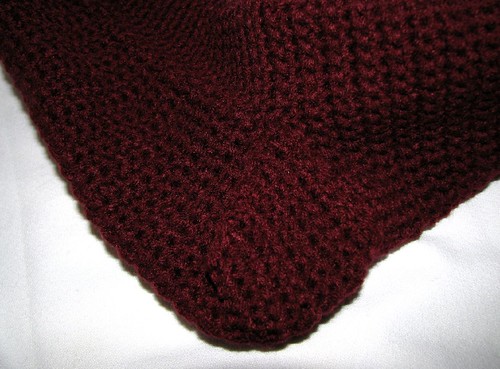
A closer look at where all the seams joint at the side of the heel.


And finally, a look at the back of the heel and leg seams.

I really don't like all these seams.

Now, let's see what it looks like with a foot in it. Not my foot. There's no way this will fit me. :-/

Slipper sock - assembly - part one: inside out

Putting it all together.... Once again, you can click on the photos for larger sizes, or visit my flickr set here, where the largest size images are available.

This photos show the sock inside out, so you can see how it was sewn together.


The first part to sew together is the back seam, taking care to line up the rows in the leg, and the stitches in the cuff.


Next, the side seams were sewn together, starting at the tow. When the heel portion was reached, the sides of the heel cup were sewn together.


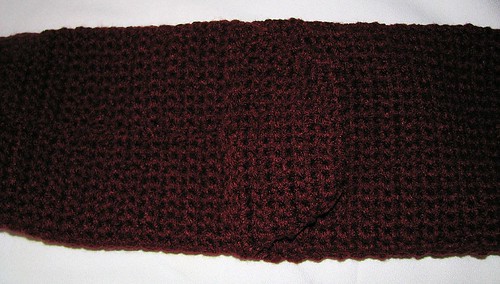
Here you can see the side seams of the heel portion.


Here is the back heel seam. Although a bit awkward to hold while stitching, lining up the stitches from the heel to the back of the leg portion was a lot easier.

The instructions did warn that the heel portion will stick out quite a lot, but that once worn, it was form to the foot just fine.

Slipper sock - construction

My arm's been doing good and I've been working on a bunch of small projects, but today I finally finished the slipper sock.

Now, this was just a learning experience - early on, I figured I probably won't be making the second sock. I just don't like working from cuff to toe, and I certainly don't like working a sock in the flat instead of the round.

You can click on the photos for larger sizes, or visit my flickr set here, where the largest size images are available. Also, I apologize for the crappy photos. I had to use a flash, and it really changed the colour of the yarn. It's a deep red, but not as deep as some of these photos are!


First, the construction of the sock.


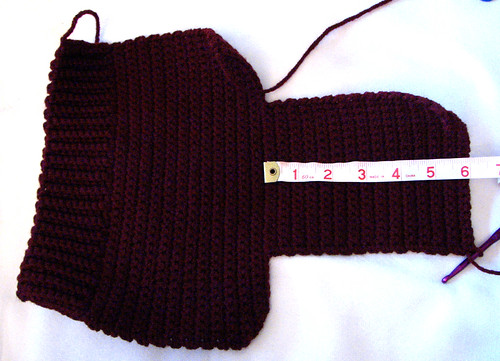
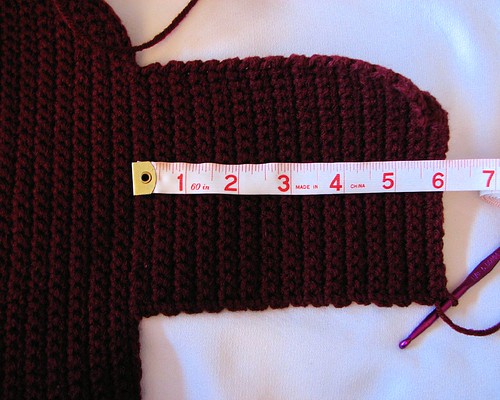
Here is the cuff, leg and top of foot portions of the sock. The cuff and leg portion was finished at 7" of length, with the yarn finished off (I left a long end for sewing seams later), then restarted 1/4 of the way in for the top foot portion, which is 1/2 the width of the leg portion. In this case. 20 sc wide at the foot.


Following the instructions, I made this portion 6" long with the last row on the wrong side, which worked out to 29 rows. It seemed a bit long to me, but I wasn't going to bother changing things around for this experiment.


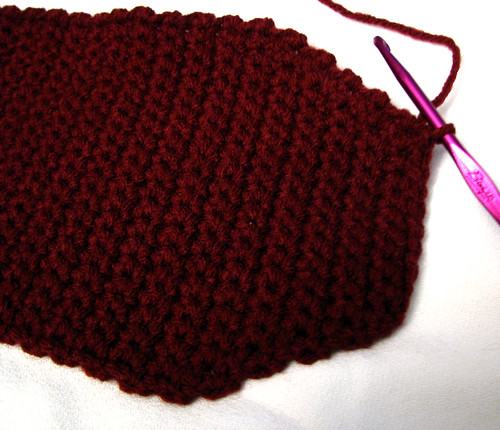
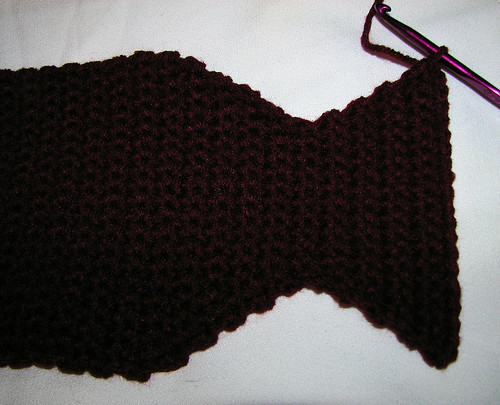
Here's the decrease for the toe cap. The first row has a decrease at each end, then the second row has no decreases. This pattern was continued (decrease at every odd row, no change on the even rows) until it was 10 sc long, which is where you see it at here.


The increase reversed the process, increasing at the first row, then a straight row, until it was back at 20 sc wide.

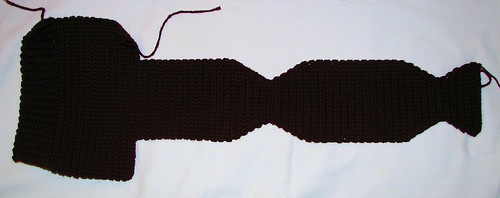
This photo shows the completed toe cap. After this, the foot portion was repeated, with another 6" length for the bottom of the foot, and the exact same decrease/increase shape for the heel.


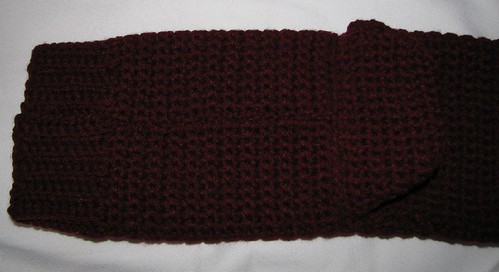
And there you have it. The completed construction of the sock, laid out flat and ready for assembly.

Friday, January 30, 2009

New project - crochet slipper sock.

Having finished the tea cozy, I wanted to try something challenging. I figured learning how to turn a heel would fit the bill.

This project will be slow going. Although my arm is much better, I need to really pace myself to avoid making it worse again, so I'm taking it easy. My arm is a bit sensitive after a physio session yesterday, so today I only managed a row and a half. That was enough to finish the section I was working on.

I am following a pattern from the book, Lion Brand Yarn "Just Socks." As usual, I've changed things before starting. ;-) I'm using a thicker yarn, but with the hook sizes I'm using, the gauge is the same as the pattern's size medium (women's) sock. The thicker yarn makes it more slipper than sock.
(full size photos available here)


This pattern starts at the cuff and in the flat, with the sock sewn into a tube at the end.

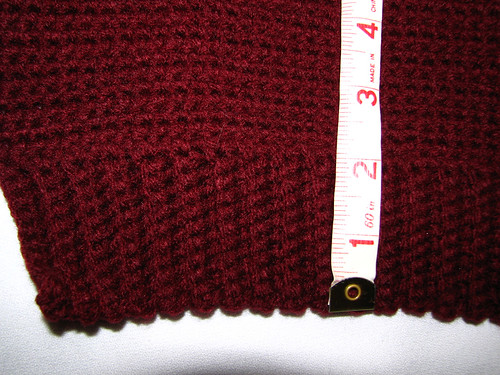
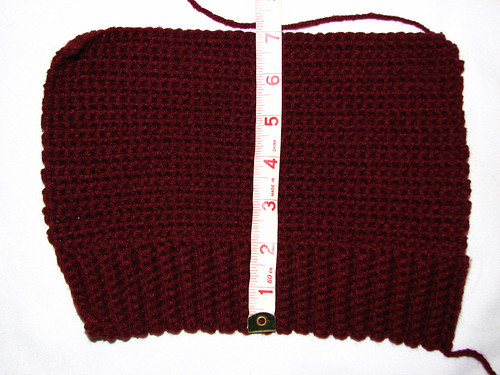
The cuff is 10 stitches wide in sc, with each row done on the back loop only, using a smaller hook. G/6 - 4.25mm


At 40 rows, the piece is pivoted and 40 stitches are done along the side. The rest is done is a larger hook. H/6 - 5.00mm

The body is just rows of ordinary sc (into both loops), until it reachs a length of 7 inches. The yarn is then cut, and the top of the foot is started in another area.

I'll get to that in a day or two, depending on my arm.