Pages

Showing posts with label crochet - coat. Show all posts

Wednesday, November 26, 2008

All done!!!

I'll eventually get some full-body shots of the coat. For now, here are a few detailed shots.


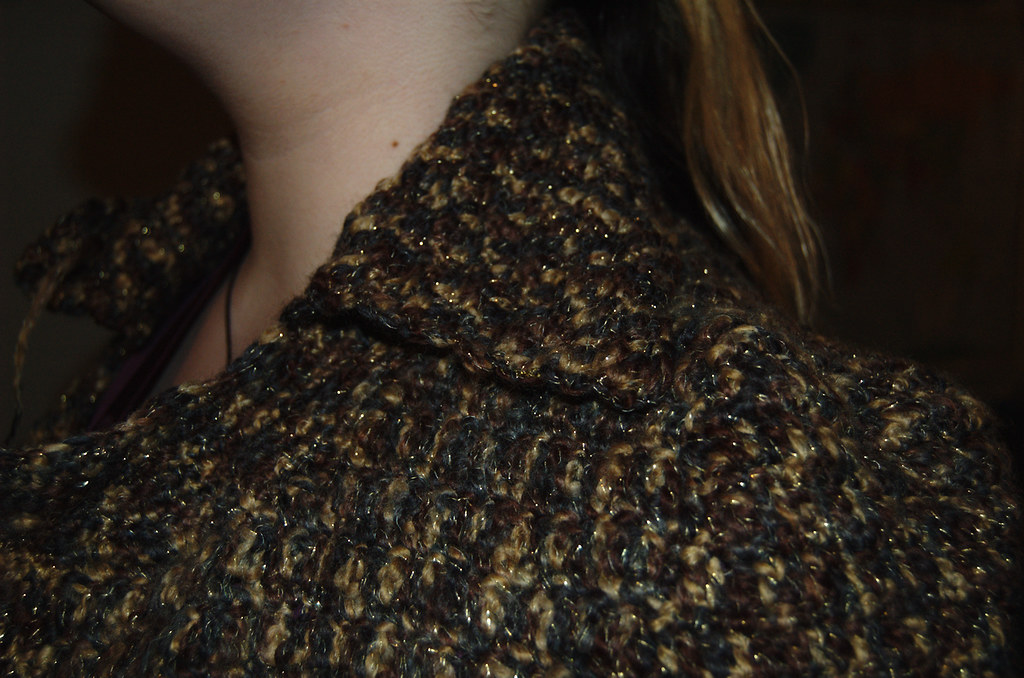
Here, my daughter is wearing the coat with the top button undone. I was a little surprised at how well they folded down into little flaps like that.


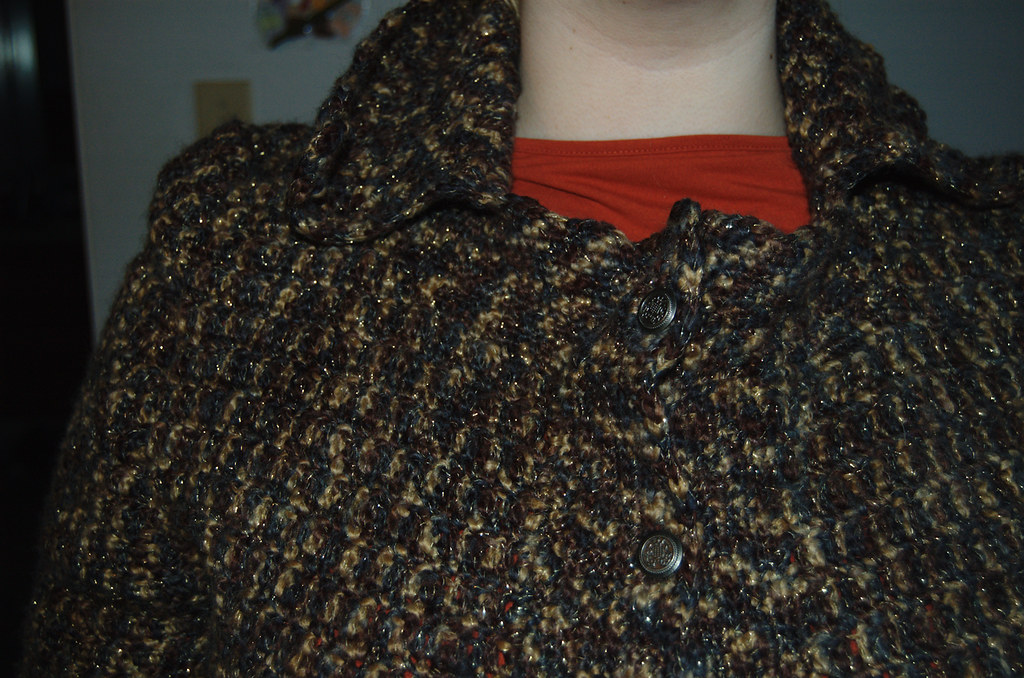
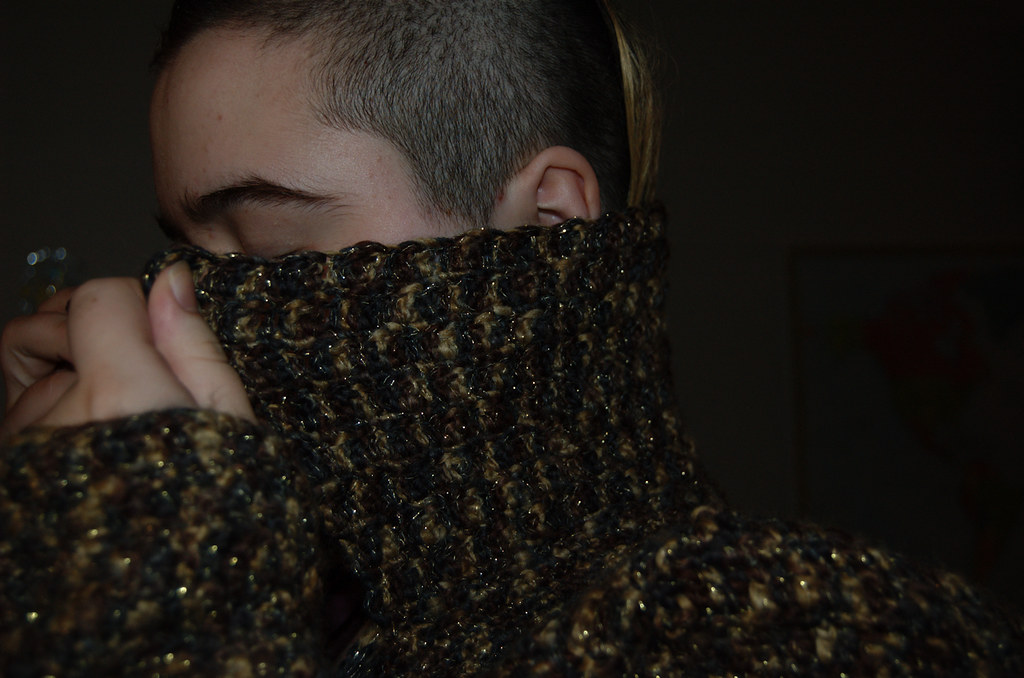
Unforunately, they don't looke quite so nice and smooth with the top button done up. The collar has a tendency to curl up a bit. I'm hoping that, as the stitched relax while being worn, this will work itself out.


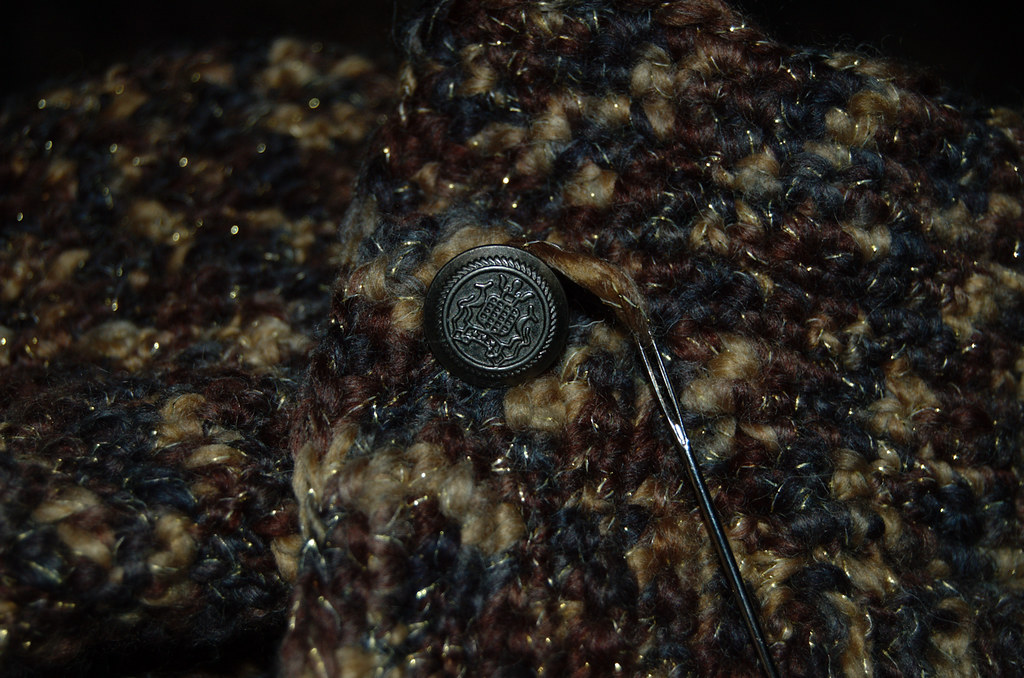
A longer look at how the buttons look on the front. Although we added 7 buttons in total, my daughter figures she won't actually use the last two a whole lot.


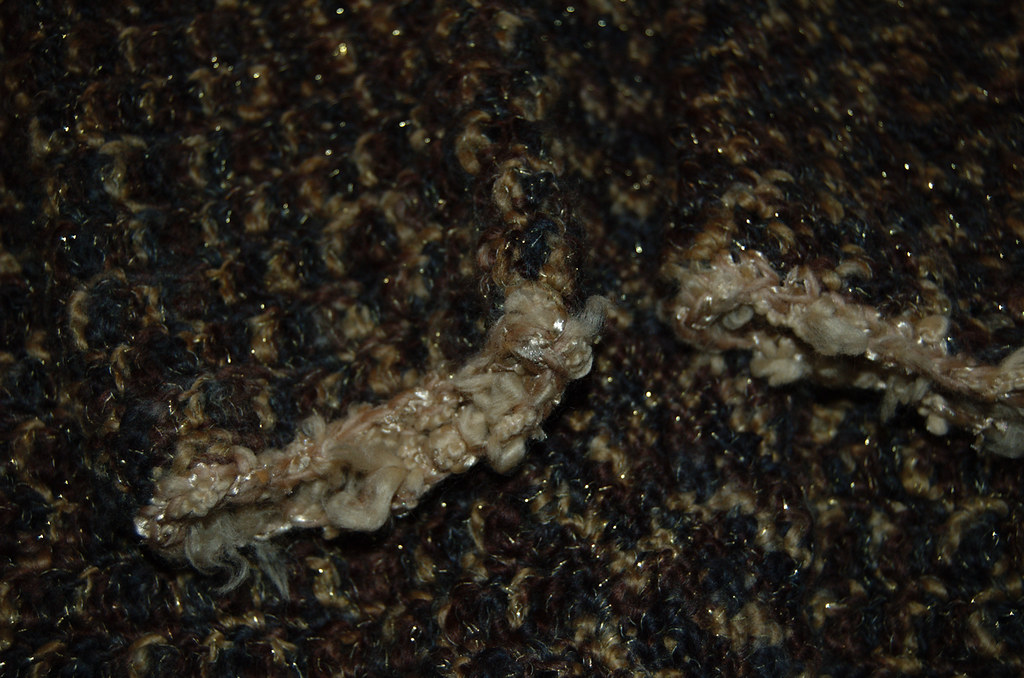
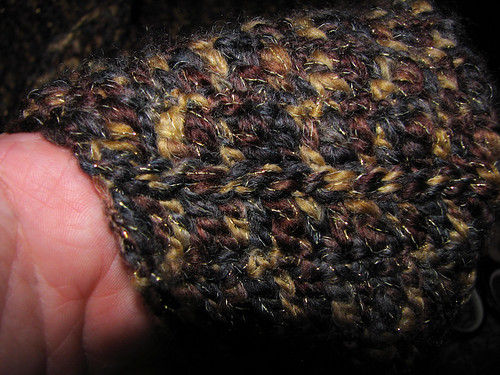
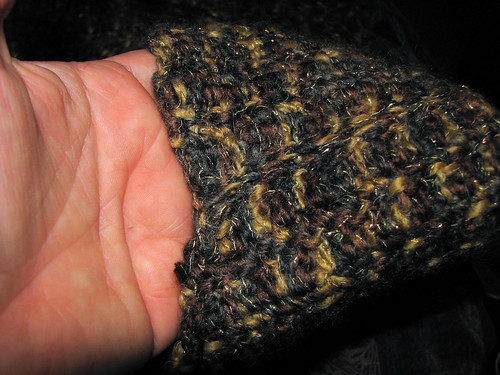
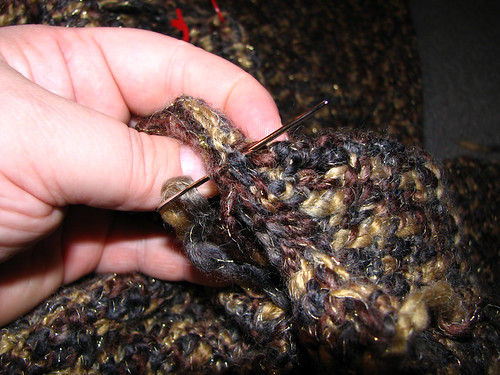
A bit of detail on how the cuff edging looks.


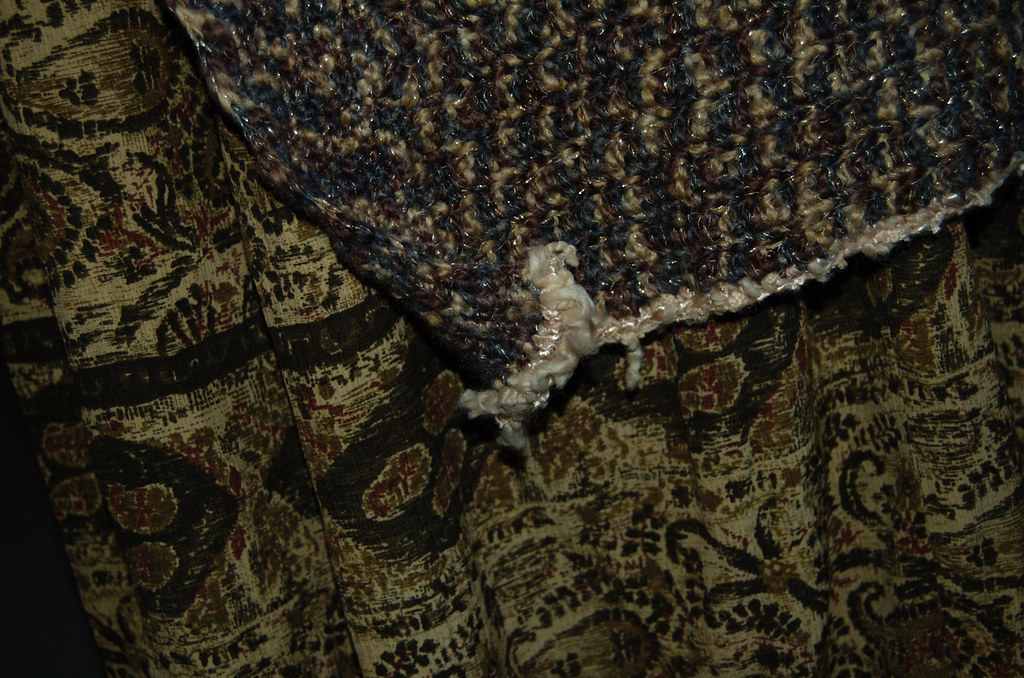
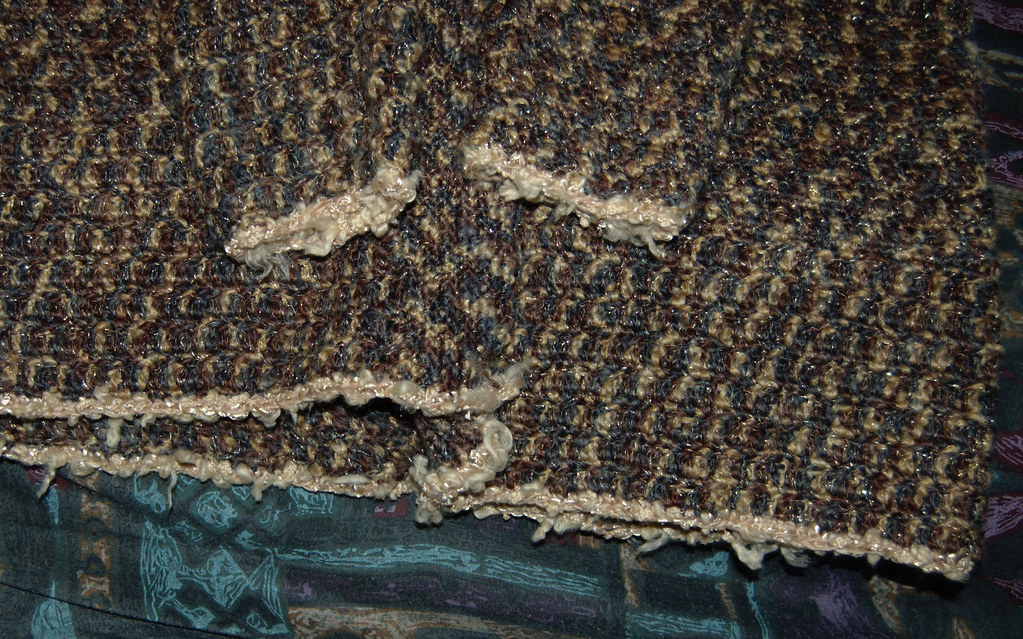
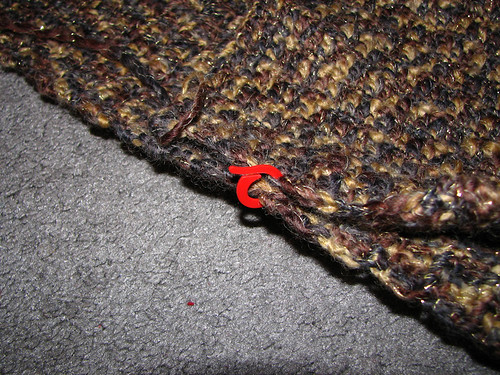
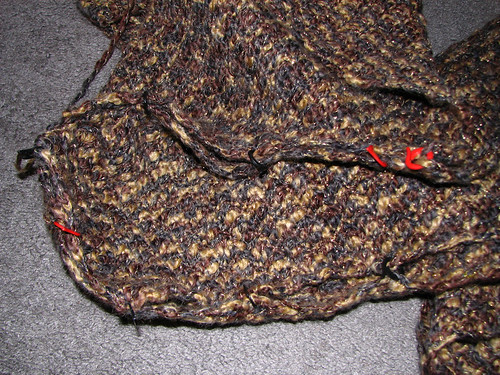
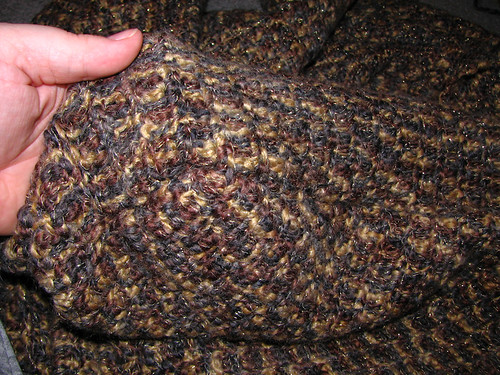
And the edging on the bottom.

Oh, I was wrong on the length. It doesn't reach her knees. It reaches half way down her calves. :-D

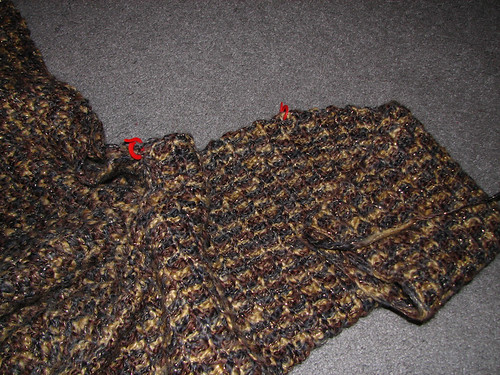
The corners here tend to curl up, too. In this case, it's because the edging is worked into each row of the button band, which was worked in the smaller hook and tighter than the panel edges. If I'd thought about it, I would've skipped a stitch or two at the button band areas to prevent this.

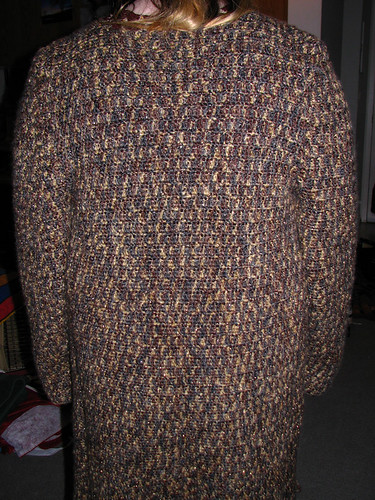
There it is! All done!

To recap the project...

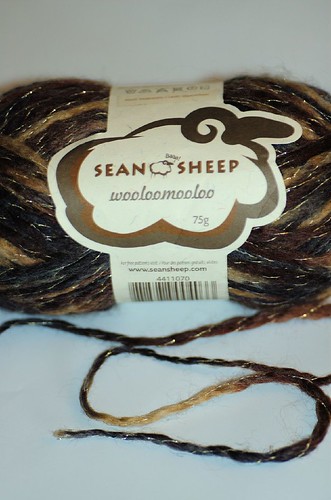
What I changed: The basic pattern was a cardigan in Plus Size Crochet. I used it mainly as a guide. The yarn is completely different from what was used in the pattern, and I adjusted the length considerably. I chose to use the 2X size instructions, taking into account the varying width of the yarn I was using. I used the same sizes of hooks as recommended and paid particular attention to the instructions for the arm details, as that was where I was least confidant in what I was doing. The pattern had no collar at all, so that was another change.

What I would do different: I was really surprised by how narrow the front panels worked out to be, even going with the larger size. Adding the extra rows to the button band worked to a certain extent, but I really would've preferred not to have needed to do it. If I were to make this coat over again, I think the easiest thing to do would've been to go another size up. It would've made for a looser back, but I wouldn't have had to add so many extra rows to the button band.

Alternatively, I could have found a way to shape the front panels to conform to my daughter's body shape. Increasing the width to the body area, then decreasing towards the neckline, for example.

In the end, though, I think the unusual yarn with its varying thicknesses played a much bigger part in sizing than I expected it to. Were I to make the same coat using a regular yarn, the result would be *very* different, and I suspect a lot of the sizing issues wouldn't be there. At least not as much.

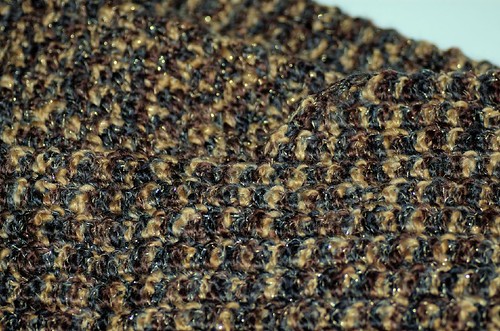
Final verdict: For a learning experience, this worked out quite well. I was flying by the seat of my pants in a few areas, which made it a fun challenge. For a project like this, I like the simple pattern of alternating sc and dc rows.

There are a few problem areas. The shoulder bunching up when my daughter moves her arms, for example. She's talking about making some "Warcraft shoulders of plus 3 resilience" to work around that. ;-)

More importantly, my daughter likes it. The only thing she doesn't like much is it how it fits around her waist and hips. Overall, though, she's happy with it. She also finds it VERY warm. This might work out to being an actual winter coat for her, rather than a cool weather coat. It won't cut the wind, though.

collar details and edging

First, a couple of details of the collar *before* the button band was completed. I wanted to make sure it was the width she wanted, first.


And it was. :-D

She wanted to have a collar she could flip up and snuggle into. The finished collar would be 3 sc rows wider than what you see here.


Once the button band was done, the coat was essentially complete. We decided to do a contrasting edging on the cuffs and bottom of the coat. This is the yarn my daughter chose for the edging.

I want to officially say that this yarn SUCKS to crochet with. LOL

I switched back to the larger (I/5.50mm) hook for this part. The extra size was really needed for this lumpy, bumpy yarn to be pulled through the loops.


The finished edging, ready and waiting for my daughter to try it on.

I originally expected to do three rows of sc in the edging. I changed my mind very quickly. LOL I would've had a heck of a time finding the loops properly to do other rows. I think the yarn itself is textured enough not to need more width, anynow.


A closer look at the cuffs. Over time, the loose bits will work themselves out and the edging will have a shaggier look to it.


Next up - a look at the finished coat while being worn.

Buttons

I've finished the coat!!! I'll do groups of photos in separate posts, though, rather that one huge post. All can be seen in larger sizes here.

First, the buttons.


Once the collar was done, I got my daughter to put on the coat and placed markers approximately where we wanted the button holes. We decided on 7 buttons total.

Afterward, I adjusted the buttons so that they were evenly spaced - each button hole is 2 stitches wide, and I made them 15 stitches apart.


Here, I'm working on the button hole row. Once I reached the stitch marker, I chained 2, skipped 2, then kept on going to the next marker.


This is a finished button hole. There are two rows after the button hole row. In the first of them, 2 sc were worked into each 2 ch space.


Once the button hole band was complete, I lined up the two sides and matched the button placement to the button holes, ensuring that they were evenly spaced. Once I had a button placed, I used a tapestry needle to sew it in place, using a double thickness of yarn.


At the back, I tied the ends just into a single knot, in case I found I needed to move it, then cut the yarn leaving long ends.


I closed up the buttons as I worked, making sure the fabric lay flat in between the buttons as I worked it.

The kitten helped. She LOVED being inside the coat!


Once I was satisfied with the placement of the buttons, I removed the kitten and opened the coat back up. I double knotted the buttons, then wove the loose ends into the stitches to hide them and make sure the knot couldn't work itself loose.

At this point, the coat was done. The only thing left was the edging in a contrasting wool my daughter chose, which is purely decorative.

On to the next post...

Sunday, November 23, 2008

Go here to be able to see a larger size photo.


I've finally started on the collar for my daughter's coat!

The button band has needed a lot more rows than the instructions stated. In the instructions, the band is 5 rows of sc (single crochet) wide. This didn't come close to closing at the front. In this photo, you can see the 10 rows of sc I've done so far. The corner is the front where the top button will be located. My daughter wants a large collar, so I started it at the spot where the front changes width for the neckline. I decided to work the collar directly to the coat, rather than as a seperate piece added later. I stayed with the smaller (H/5.00mm) hook while using the same pattern repeat as for the body of the coat. I did the first sc row, working from the right side of the coat, so that the right side of the collar faces the other way. That way, when it folds down, the right side will be on the outside. The smaller hook will have the collar slightly denser than the body, so it'll be a little stiffer and a little less open between the stitches.

I am increasing the pattern the same way as increases/decreases were done in the rest of the coat. And extra stitch is added on the sc rows only. In this photo, I've done the foundation row of sc, one row of dc (double crochet) with the same number of stitches, the first increased row of sc, and have started the second row of dc. I don't know how many rows I'll end up doing - I'll get my daughter to try it on before I finish off - but I will end it on a dc row. When it's finished, I'll go back to the bottom of the coat, where I've still got an active ball of yarn attached (I just fastened the working loop with a stitch marker, then used a new ball and the same hook to work on the collar). The next sc row I work on will be the button hole row, with 2 more rows of sc after it, which will give the collar an edging of 3 rows of sc to tidy it up.

As we were out and about today, my daughter wore a light coat that she has that I stopped and took a closer look at. The coat she's using now is, according to the label, a smaller size than what I'm making here. The front panels on her current coat, however, are MUCH wider than what I ended up with using the pattern. It makes no sense to me that the front panels of this coat at this size are so much narrower. It's not a matter of gauge - I took that into account when I chose the larger size pattern instructions. With my daughter's broad shoulders, the back panel at this size fits fine. Even if my daughter wasn't so much bustier than the model, I don't see how such narrow panels would've fit.

I'd hate to think how much worse it would've been if I hadn't blocked the pieces!

Tuesday, November 18, 2008

Assembly - lots of photos

I found myself with a much shorter shift tonight than usual, so I actually have a chance to post this today!

First off, I apologize for the crappy photos. I hate having to use flash! Ah, well. You can click on the photos to see them at a slightly larger size, or you can go to my crafts set on flickr to for larger, easier to see, sizes.

Ever since I started out with embroidery, some 2 decades ago, one of the things that irritated me about instructions for projects is that they'd have photos of the finished projects, and perhaps some of the specialty stitches, but never the nuts and bolts. The first thing I want to see with embroidery is the back of the piece. When it comes to assembling something like this coat, I want to see how the seams and joins look. You can learn so much more about a piece by looking at the back.


So that's what you'll find here. The very first thing I had to do with the coat is join the front and back panels at the shoulder seams. With right sides facing together, I matched the stitches and sewed them together. Because both sides were the tops of the individual panels, each ending in a row of single crochet (sc), I used a stitch that would let them lay flat against each other. I don't know how well you can see it in the photo, but I've got the needle joining the far sides of the individual loops, so that the sewing yarn runs through the middle of each stitch. Mattress stitch, I think it's called. The idea was that, once done, the tops of the sc stitches would face each other.


This is the finished shoulder seem from the inside of the coat.


And here's the seam as it looks from the outside, as it would sit while being worn.


The next step was to take a sleeve panel and find the top centre, then match the centre to the shoulder seam. In this photo, again with right sides together, the top of the sleeve is lying across the front and back panels at the shoulder.


After matching the centre, I then had to line up the armpit edges (where you see two red stitch markers close together), then ease the rest of the edges together to fit.

I used stitch markers to hold the pieces together because I find pins just fall right out. The markers allow the panels to move more than is good, but at least they stay where I put them.


Since most of the edges that needed to be joined were the ends of rows, I just used a back and forth running stitch to sew them together, lining up the rows as much as possible on the curves.

Note that the arm panel is still wide open when joined to the front and back panels, leaving the sides open from wrist to the bottom of the coast.


Here is the finished arm seam from the inside of the coat. I immediately wondered about how much of a point had formed where the corner of the sleeve top joined with the body panels. There should've been more of a curve to the sleeve top.


Here's the arm seam from the outside. The shoulder seam is in my hand, and you can see how there's a sort of squared off top to the sleeve cap.


Once the sleeves were attached, it was time to do up the sides. I used stitch markers only to hold things together at the armpit, and to line up where the increase in the arm ended, and the rest of the panel continued in rows the same length. I sewed these together the same way as for the arm seams, throwing a few extra stitches into high stress areas, such as the arm pit and the edge of the cuff.


I managed to finish with 10 minutes to spare before I had to get ready for work. LOL I got my daughter to try it on to see what needed adjusting.

I'm really not sure of what to make of how it fits. Those "corners" at the shoulder really want to bunch up and stick out. The sleeves turned out longer than I expected - I think the shoulder is meant to sit higher up but, like me, my daughter has sloping shoulders. It was also clear that I'd have to add a few extra rows in the button band than the original pattern specified. It'll have to be done in pairs, so I'll add 2 extra rows before the button hole row, get her to try it on again and see if I need to make another extra pair or not. Better a bit loose than too snug.


And finally, the view from the back, where it seems to fit rather well. The coat reaches to the backs of her knees. Nice and long, just like she wanted.

As for the collar she wanted, I had though about making and adding it first, but seeing how the neckline sits, I'll do the button band first, as it edges the neckline, too.

Monday, November 17, 2008

Finally!!


It took me most of the day, but I finally finished the last panel on my daughter's coat!

I'd already blocked the other finished panels. You can see them here. In this photo (which my husband insisted I not crop the toes out of. *L*) are the sleeves. They ended up wide enough to need 3 sheets of the foam. I wet blocked all the pieces.

This yarn dries rather quickly, so I should be able to assemble it tomorrow, though I don't think I'll start the finishing edges before I have to go to work.

The light really sucks in this pictures, but you can still see the sparkle in the yarn. I'm really looking forward to seeing it on my daughter! :-)

Sunday, November 2, 2008

Crochet coat - work in progress

For my first project post, here is the big project I'm working on now. Visit my flickr page for larger images.

First, the wool. More specifically, 51% wool, 49% acrylic. It has a nice feel, even with the sparkly bit. The downside is that it's hand wash only. I found this on clearance at Walmart at $1.25 a ball. They normally sell for something like $5 a ball. There was a wide variety of this brand on clearance. This is completely different from anything I've used before and I had no idea what I'd do with it, but I picked up 10 balls anyways. My elder daughter was enchanted with it and after weeks of looking at the stack, trying to figure out what we could make with it, she aske me to make a coat for her. We ended up going back for more yarn, and I ended up with 27 balls of this, because I've become obsessive about not running out of yarn in the middle of a project.

I've never made a coat in crochet before. In fact, I've hardly made anything in crochet before this year. I'd taught myself to crochet years ago, but stopped doing it for years before picking up a hook again this year. So the next few weeks were spent looking at different patterns. Most were in styles my daughter didn't really like, or used plain yarns, relying on stitches for textural interest, something that just wouldn't work with type of yarn.

If you look at the loose yarn on the bottom, you can see that it changes from thick to thin. It's also not twisted tightly at all. With this in mind, I wanted to find some sort of pattern that was very plain and simple. Mostly, I needed to find something with arm, shoulder and neck shaping instructions, as this was the area I wasn't sure of.

In the end, we settled on a very plain cardigan pattern. I found it in Plus Size Crochet, I think the title was.

The pattern sizes in the book starts at 1X, but because this is meant to be a coat instead of a cardigan, I went with the 2X sizing. My daughter also wanted it to be long enough to cover her butt when she sits down, so it's a lot longer than the pattern. She also wants a collar added to it. I haven't quite figured out how to do that, yet. Because of the length, I'll also be adding a 6th button to the design.


This is the neck and shoulder detail of the back panel, which is finished. The pattern is very simple - alternating sc (single crochet) and dc (double crochet) rows, using a size I/9 5.5omm hook.


This is the left front panel. I've got stitch markers on every 10th row of dc. I'll be doing a total of 45 rows of dc before I start shaping the armholes.

I'm hoping to get this finished so that my daughter can wear it before it gets too cold.