Pages

Wednesday, March 25, 2026

Crochet cat sweater

Since moving out to the boonies, we have basically become an unofficial cat rescue.  

Not only do we care for a colony outside, but have brought a number of cats indoors.  Usually, it is due to illness or injury, or we grabbed females before they reached their first heat, so we could get them spayed when we had the funds.  Once they come in, they don't go out again!

One kitten was brought in with eyes leaking so badly, they were stuck together and he couldn't see anymore. It took several weeks of careful eye washing before he healed.  He became known as F*d Up Dave, but now he's just David.  He was the first long haired cat to show up among the yard cats.  We still don't know where that long haired gene came from, but since then, more and more have been showing up!

Unfortunately, he absolutely hates to be brushed.  That glorious long fur gets seriously matted.  We would sometimes manage to have one person hold him down while another used scissors to carefully cut the mats out, which would always take several sessions.  

Still easier than trying to brush him!

We now have a grooming kit and last summer, we were able to shave the mats off.  It was a very bad hair cut, and he did not like the process at all, but it was substantially easier than trying to use scissors!

Well, he's all matted up again.  We figured we could wait until it starts getting hot before buzzing him again, but it's getting pretty bad.  Unfortunately, while it may be near the end of March right now, winter still has us in its grip.  It would be too cold to just shave him and leave him as is.

So I made him a sweater.


It looks small and blue in the picture.  My phone camera does not like to pick up the emerald green!  The back portion of the sweater is larger than the stomach portion that is in view.

I made it following this video.


In the video, she is making a sweater for kittens.  Rather than sizing up the pattern, I sized up everything else.  

The yarn I used is Bernat Softee Chunky, Super Bulky, in Emerald.   Only one ball was needed (108 yds/99m).  The hook size I used was an 8mm.  With those, using the same number of stitches as in the video (though I did make the collar one stitch wider), I got a sweater for an average adult sized cat.

Which David will be, once he's been shaved.

I expect it will take several attempts over several days to get the mats shaved off.  After that, we'll have to get the sweater on him, so he doesn't get too cold!

He is NOT going to be happy about this. 🤣😂

Wednesday, January 7, 2026

Making a muff for Mom

Well, it's a new year, and a lot has been going on!

One of those things is that my 94 year old mother is currently in the hospital, and we've been really pushing for them to NOT discharge her back to her apartment.  She actually wants to be in a nursing home and we've been trying to get her approved for one.  It's our provincial government run health care system that decides if she's allowed to be in one, though.  It's been two years of trying, while she's been getting increased amounts of home care, but as long as she had home care, and I was able to cover for them the many times they were short staffed, she was considered able to live independently.  It's an incredibly cruel system.

My mother got to the point of using her Lifeline to call an ambulance to take her to a small local hospital, after weeks of increased swelling, and my siblings and I have basically told them, flat out, she can't go back to her apartment.  It isn't safe for her, and none of us are in a position to take her in.  In my case, I've got a disabled husband, I am now officially disabled as well, and none of us have homes accessible enough for her.  Plus, we're all getting on in years ourselves.  I'm the baby of the family, and I'm now 56.  My sister, the oldest, is almost 70.

They seem to accept that she cannot be discharged to her apartment (her needing help because she fell off the toilet served to prove that even more), and she has been there through Christmas and New Year's, but they don't seem to be doing much for her.  Every time I visit her, she tells me the doctor (there is a rotation of 5 doctors) hasn't even seen her, and no one has been able to give us a straight answer as to what the next step for my mother will be.

One of the things she has complained about is how cold she is.  Her hospital bed had only a sheet and she asked for a blanket.  They gave her one thin blanket and she was still cold, but they never gave her another blanket.  My SIL was able to bring her one from their home during a visit, and I was later able to bring her another from her apartment, but for a while she was sleeping with her parka over her sheet to get warm!  We've also had to bring her her sleep slippers, because her feet get so cold at night.

When she saw the hat I made for myself, pictured in my last post, she mentioned her head got cold at night, too.  So I made a simple hat for her, using the same variegated grey and cream yarn that I used for my own hat.

She has been very happy with it, and wears it every night.  During a recent visit, she told me that she sometimes even tucks her hands into it to warm them up.

So today, I made what will be a surprise for her.  A muff for her hands.

I didn't have enough of the blanket yarn I used for her hat left to make a muff, so I had to get more blanket yarn.  The only place locally that carries blanket yarn is a dollar store in the same town my mother is currently in.  They didn't have the variegated yarn, but they did have a solid grey that matches one of the greys in her hat, so I got that.

The design is really basic.  A tube, twice the length needed, folded in on itself to get a double thickness, then closed up at the end.

To be able to fold it in on itself, I made the second half slightly narrower.  Here is the finished tube.


Using a 7mm hook, I made a starting chain of 30 ch joined into a circle, then did a 30 sc round into the chain.  After that, I did rounds of dc, using my own hand to decide the length needed.  After 11 rounds of 30dc, I did one round of 30 sc, then a second round reduced to 28 sc.  I used a bit of cotton yarn to mark between the two sc rounds, as the fluffiness of the blanket yarn made it harder to see.

Once it was reduced to 28 stitches per round, I did another 11 rounds of dc, then finished the tube with one round of 28 sc.

I had enough of the variegated yarn left to use as an accent so, before I folded the tube in half, I did a round a slip stitches between the rounds of 30 and 28 sc, using the solid grey.  This would give me something easier to stitch into, later.  

When I started the new ball of yarn from the centre, pulling out a small yarn barf, I discovered the yarn had a break in it.  That came in handy, as I was able to use this extra bit of detached yarn to do the slip stitching.  Otherwise, I would have found the opposite end of the working yarn and used that.  

Doing the slip stitch was a bit awkward, as the working end of the yarn had to be on the inside of the tube, so I was basically going by feel when it came to pulling up loops.  It got easier once the first two or three ss stitches were done.


In the above picture, you can also clearly see where my starting dc stitch for each row is!

In flipping the tube in half, I would need to pass the yarn through the tube, so I re-balled it to make it easier to push through the tube without getting everything all tangled up.  It was still a tight fit, but I got it through!


The above picture shows the open end, with the 28 stitch half inside the 30 stitch half, ready to be ss'd together.


This photo shows the folded end, with the ss at the very edge.  That row of ss actually made it easier for the tube to fold in half neatly, too.

After that, the open end got ss'd together.


With the tube being two layers thick, it was easy to hide the yarn ends between the layers, after being secured.


Last of all, I did a round of sc into the slip stiches at each end, using the variegated yarn as an accent.  It tidied up the ends quite nicely, too.  


The finished muff has enough space to fit both hands snuggly, but not too tight.  My mother has hands similar in size as my own, so it should work out quite well for her.

It'll be at least a couple of days before I can visit my mother at the hospital again, but when I do, I'll have a nice, cozy surprise for her to keep her hands nice and toasty!


Tuesday, December 9, 2025

A quickie

Crafting has become more difficult for me, for the past few years.  Most of my time in the summer is spent working outdoors.  That does mean less time for crafting, but it also means my hands become too rough to handle things like many types of yarn while trying to crochet.

The other issue is that we have rescued too many yard cats. I no longer have access to my craft table, and most of my supplies have had to be stored up I bins to protect them from inquisitive and destructive beasts!

Today, however, I did a very quick project.  My daughter bought me some blanket yarn.  That, and a 7mm hook, resulted in this.

A very quick, very warm, hat.

The body is done in rounds of double crochet until the ear flaps were made.  Those were done in rows over 3/4 of the hat, skipping the section that would go over the forehead.


I changed stitch lengths to create ear flaps, doing sc, hdc, dc, hdc, sc over 1/4 of the hat on opposite sides, until the rows reached the bottom of my ears when i tried it on.  When it's windy and cold, I get severe ear aches.  If need be, I can fold the flaps for extra thickness.

The ear flaps rows in the back quarter of the hat are done with single crochet only, so it is shorter and won't get pushed up when I move my head.

The hat was finished with two rounds of single crochet.

That's it.

Taking out the times I was interrupted, it took maybe an hour to make.

Also, blanket yarn dies not get caught on the rough skin and callouses on my hands. 

I'm quite happy with it.


Monday, October 20, 2025

Trying something new

Well, it has been ages since I posted last!  It has been a very hectic year, and I've done very little crafting.

With a somewhat extended fall, I've been busting my butt getting things in the yard and garden cleaned up, readied and put away for the winter.  Today, however, we had rain all day.  Which is great, because it isn't snow!  It also meant I had time today to try a new craft.

I have had a Martha Stewart loom weaving kit for quite some time.  I got it to do loom knitting, but never really got the hang of it, and didn't enjoy it enough to keep trying.  So it's just been sitting there.

Recently, I had something pop up in my Pinterest feed that caught my attention.  It was peg weaving, but on the diagonal.  From the photos and diagrams, I could see that it started from the in middle of a square peg loom and worked outwards, and I was pretty sure I had figured it out, but none showed how the project was finished.

I went looking for a video and found this.


I'm glad I found it, because it turned out I hadn't understood the diagrams or photos for starting it, either!

I really like the concept.  You work with a continuous strand of yarn, and the top and bottom are woven at the same time, in each pass.

So I dug out my loom weaving kit and put together a small square peg loom.


The pegs form a square of about 4 1/2 inches.  A good size to learn on, and to make something coaster sized.  I had a longer Tunisian crochet hook that I used, rather than the super long hook in the kit.  

I had some smaller balls or medium weight yarn I could spare for learning and got started.  My first square, using a plain white yarn, was done very quickly.  Compared to the crochet I usually do, it used almost no yarn at all.

The tutorial video said that the weaving would be smaller after being removed from the loom, and I expected the yarn to relax and form a tight weave.

I was wrong. 

I tried again with a slightly thicker yarn, which happened to be a reflective yarn.

Here are my first two squares.


I wasn't very happy with the thicker yarn, either.  Especially the loose and floppy edges,.  I also didn't see how the method of securing the end of the yarn as in the video would hold for long.

I tried a third one, using both yarns.  With such a small loom, I also found it easier to work the yarn near the top of the pegs, rather than pushing it down to the bases.

At the finish, I tried securing the end (using a large plastic yarn needle from the kit) by weaving it along the edges, inside the pegs, until I ran out of the tail end.

Better, but I still wasn't happy with it. 

I made a fourth one.  This time I used two different colours of the thicker reflective yarn.

Here is how it looks, finished, before removing from the loom.


Doubling up the thicker yarn was much nicer.  I also finished by cutting a tail end long enough to wrap around the pegs five times, then went around the edges doing a back stitch, right against the inside of the pegs.  

Having pegs that could be removed helped.  The back stitching made it pretty tight around the pegs, making harder to slide the loops over the flared tops of the pegs.

Here are the four squares I made, numbered in the order I made them.


The top two are single strands of yarn, the bottom two are doubled.  

The last one, the blue and grey with the back stitching, holds its shape really well.  From the front, you can't really see the back stitching, as it disappears into the weave, but it forms a sort of ridge on the back, so it doesn't really sit flat.

The white and grey's edging is even with the weave; no ridge at all.  Weaving the ends through while 
on the loom basically resulted in a running stitch.  In the end, I think that worked out nicer than the back stitch.  

These work up so quickly, it would be easy to churn out a dozen or so in no time.  It's also very satisfying to work on.  I wonder if I have a heavy variegated yarn in my stash?  It would be interesting to see if any patterns emerge, from having the top and bottom being woven at the same time.

Definitely something I want to keep experimenting with - on days like today, when I can't be working outside!


Monday, December 23, 2024

2024 Christmas ornaments: Singlade balls finally done

Talk about down to the wire!

I actually finished the first 5 of these much earlier, but it took forever for me to get to that last one.

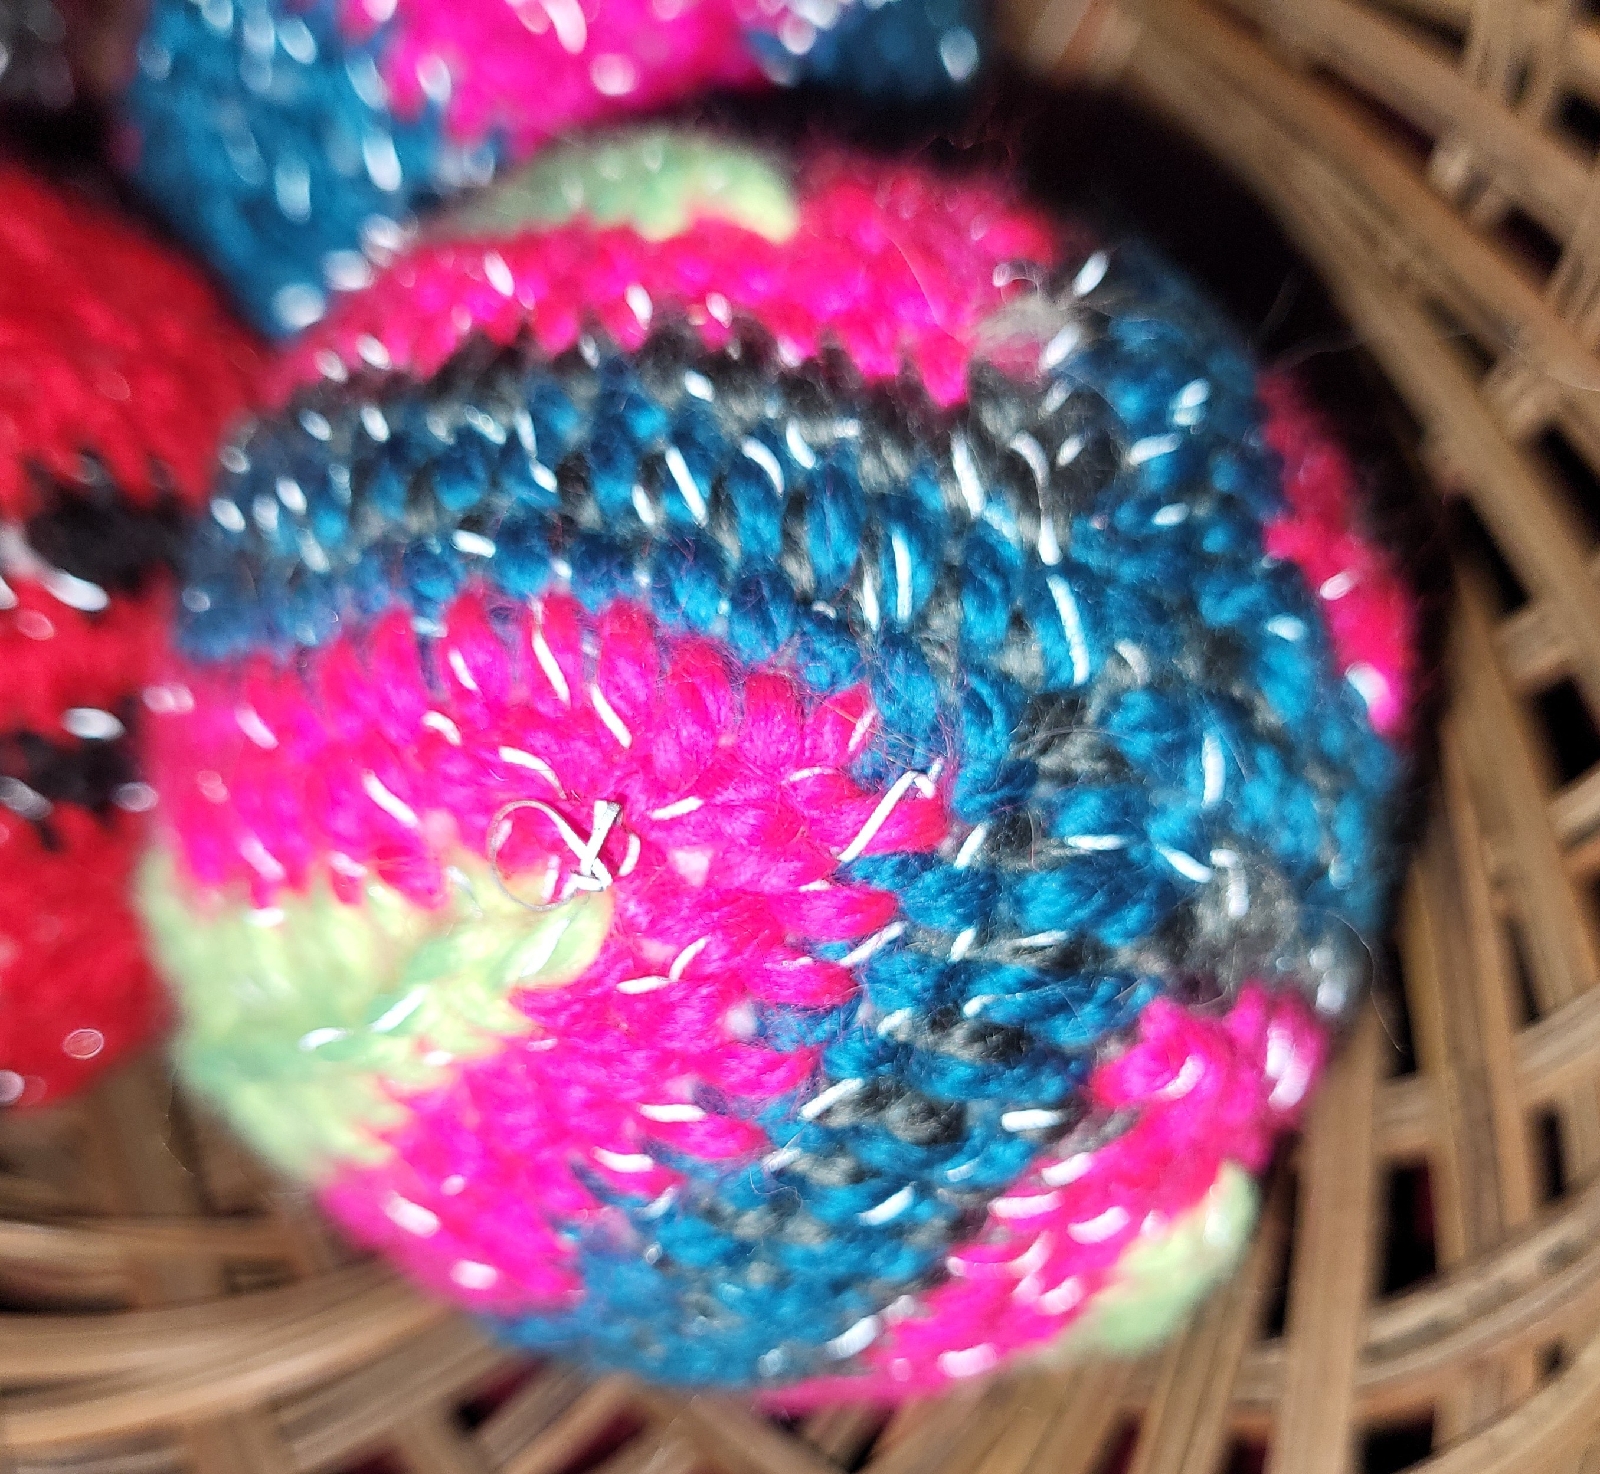
Here are the finished Singlade balls.  As I used reflective and sparkling yard, I took photos in a dark room with flash, so they're not the best quality, I'm afraid!


Here are all six of them.  I used leftover yarn from other projects, and it was a matter of using what I had enough of, when it came to the colour combinations.


Here is one made up of grey and hot pink reflective yarn.  Each triangle is done the same way.


For this one, I used black reflective yard to border the triangles, red yarn with a silver metallic strand, and a tiny accent of neon yellow reflective yarn.


With this one, I did alternated using the dark green reflective yarn and the peacock blue, together with the red sparkle yarn.  I had intended to do all green and red, but didn't have enough green.


This was actually the last one I did, and changed up from doing 8 triangles to 4 oblong shapes, all in reflective yarn.  The blue and grey were in alternating single rows, then two rows of the hot pink.  I changed the stitch for the neon yellow in the middle, to create a raised line down the centre.


This one was pretty basic: solid triangles in hot pink and peacock blue reflective yarn.


This one was actually one of the first I did.  Red sparkle yarn with a reflective black yarn accent.

I'm rather happy with how these turned out.  For these first Singlade balls, since they were specifically for Christmas ornaments that I wanted to be sparkly, I used thicker yarn than I otherwise would have.  It made for chunkier stitches and you can see the white base in some places, in between the stitches.  If I were to do these again, I think I'd try making smaller ones using variegated embroidery yarn.

Christmas for us this year is a much quieter one, with minimal decorations.  These will be a table decoration in their basket.  If we wanted to hang them, I would use simple wire hangers.  The reflective and metallic strands in the yarn are the focal points in them.

This is definitely an enjoyable, almost meditative, craft that I would definitely recommend.


Sunday, November 10, 2024

Something new for our 2024 decorations

Well, it's that time of year!  Time to work on our annual, hand made Christmas decorations.

This is something I've been trying to do every year for quite some time, missing only a few years due to personal circumstances.

This year has been a bit different, in that my challenges are more physical in nature.  Osteoarthritis has set into all the joints of my fingers, making finer motor control more painful.  I'm losing my grip strength, and drop things far more often.

I can still do big stuff, though.  Manual labour, which is something I enjoy doing, is still an option for me.  Mostly, that involves gardening, but also all sorts of other outdoor chores and activities.  Most recently, my big project has been building an isolation shelter for our more feral yard cats that we will have to trap to get spayed.  They will need two weeks of monitoring as they recover.  Using what scrap pieces of lumber and salvaged material we could find around the property, with a few items that needed to be purchased, we now have a two level cat shelter on wheels that we will be able to use to isolate any cats from the colony we are caring for.  It even has a heat lamp, food bowl and heated water bowl set up in it, and the cats are already using in and getting used to it.

The down side of all this is that my hands have become very rough.  I don't crochet much anymore, as most yarns get snagged on my fingers and pull off the hook, or fray.  Some yarns are okay, but few yarns I'd like to use for most of the projects I'd like to be working on.

All of these factors had to be considered as I decided on this year's Christmas decorations.

In the end, it was a Pinterest suggestion that lead me to a new craft I decided to try this year.  Making Singlade balls.


This project has a lot of similarities to the temari I've made in the past.

Of course, I use the materials I have on hand, so for this project, I cheated a little.

I had a 6 pack of Styrofoam balls handy, so those are the core of the balls I am making this year.  I had some white yarn left over from another project, and that's what I used to wrap around the foam core, then secure the strands, the same way I wrapped sewing thread around the core of a temari project.


Here, you can see how things are going so far.  Once the cores were wrapped, I found some cotton yarn that I used to divide the balls into 8 sections.  This is also similar to temari, without the need to be so precise.

From there, the sections just needed to be filled using buttonhole stitch (also called blanket stitch).

With these intended for Christmas decorations, I like to include sparkling or reflective elements. I was able to include both.  I had some red yarn with a silver metallic strand in it, plus a bag full of leftover bits of reflective yarn.  

I've finished stitching up two balls so far.  I started one in red and green, but didn't have enough this green yarn to do both halves, so the other half was done in blue.  

I still haven't decided on how I will attach hangers yet.  I also have some miniature Christmas decorations I might use to jazz them up a bit.  For now, I'm just focusing on stitching them up.

This yarn is a lot bulkier than what is used in the video tutorial, so these do work up fairly quickly.  Working with a needle and thread has proven to be easier on my hands, and the yarn doesn't have as much opportunity to snag, compared to crochet.  

I do miss crocheting, though!

I'm happy with how these are turning out so far.  In the future, I can see making some of these using actual scrap bits, like in the video, but with something like a bell and maybe a bit of catnip, inside.  They would make great cat toys!

So that is what we are doing for our Christmas decorations this year! 

How about you?  Are you doing any special crafting for the season?


Tuesday, July 9, 2024

Old tools

I haven't been doing much crafting lately - unless you consider rebuilding garden beds and planting, crafting!  We have had so much rain this spring, everything it set back by it.

Yesterday, my mother gave me some storage bins of stuff.  Mostly fabric odds and ends, and other stuff she hasn't touched in years.  There were some treasures tucked among them, though, including a lacy thread crochet tablecloth my mother made herself.  I believe she finishes it before I was even born, which would make it more than 50 years old!

There were also old crafting tools and sewing supplies that had belonged to her laye aunt, and a few of those may well be even older!  Here are some of them.


I tried to get legible photos of both sides of the hooks.

The thread crochet hooks are some of the smallest I've ever seen!  I will be looking up the brands for some of them.  Only the Boye brand is familiar to me.  At least, when it comes to crochet hooks.

My late great-aunt was an amazingly skilled woman, and I have a few of her fine crochet lace and embroidery pieces.  Some of the embroidery is on sugar and flour sack fabric.  It's amazing what beauty she could create, with so few resources available!

As for the hook with a point at one end, I can't quite remember what that is for!  I'll have to look that up, too.  I have seen similar before, but the more I try to remember, the more it escapes me! 😂


Wednesday, February 28, 2024

A quick incense burner

I have some incense sticks I really like, but they are ever so slightly too wide for the burners I have.  I have to carefully scrape one end of the sticks to get them to fit, and even then, they easily break when I try to set them in the burners, or fall out.  Not a good thing to happen with a lit incense stick!

So I picked up some cheap dollar store, oven bake, no name, modeling clay and made a new burner.

It's not the greatest, but not bad, considering I've never done anything like this before, and have no modeling tools.

Of course, as soon as it was cooled down from being baked, I had to test it out!

For the "bowl", I used the inside of a small dipping sauce bowl as a mold to get the shape I wanted.  Then I rolled out a small amount of dark brown to create the decorative lip around to top edge.  After that, I just made various shapes to decorate the middle out of the light and dark brown clay, while building it up to a depth that would hold an incense stick securely.  

Last of all, I used an incense stick to create the hole in the middle.  The hole goes all the way through so that, if the last, unburned nub of incense were difficult to get out, I could use something to push it out from below.

My makeshift tools were a straight sided water bottle to roll out the clay, a repurposed can to cut the circle, and a bamboo skewer to help position things, then gently tamp them into place, so the layers of clay would stick to each other.

I'm sure all those nooks and crannies will collect ashes, but that's okay.  The main thing is, I finally have a burner to hold my favorite incense sticks!

Tuesday, December 19, 2023

Crochet Christmas ornaments

For this year's Christmas ornaments, I went back to an old standby: crochet!

I saw some patterns on Pinterest that I liked, and used that as inspiration, but in the end, each one I made was different. 

I had some unexpected challenges.  Funding Christmas yarns was one.  I wasn't able to get to a Michael's, the only craft store option, during my trips to the city.  The best option I had was Walmart, and their Christmas craft supplies were almost non-existent.  I couldn't even find the miniature decorations I used to be able to fund easily. 

Then, after my first few, I started running out of stuffing, but when I tried to buy more, I couldn't find any!

I even had a hard time finding Styrofoam balls, which I used to see everywhere.  I did finally find some at a dollar store, along with some miniature decorations. 

So I made do with what I had, with white and sparkly red yarn as the main connecting theme.
This is all that I've made, and I think I'm done for this year.  We aren't even putting up our usual tree, so we don't have space for them on the mini tree on the piano, in the cat free tool!
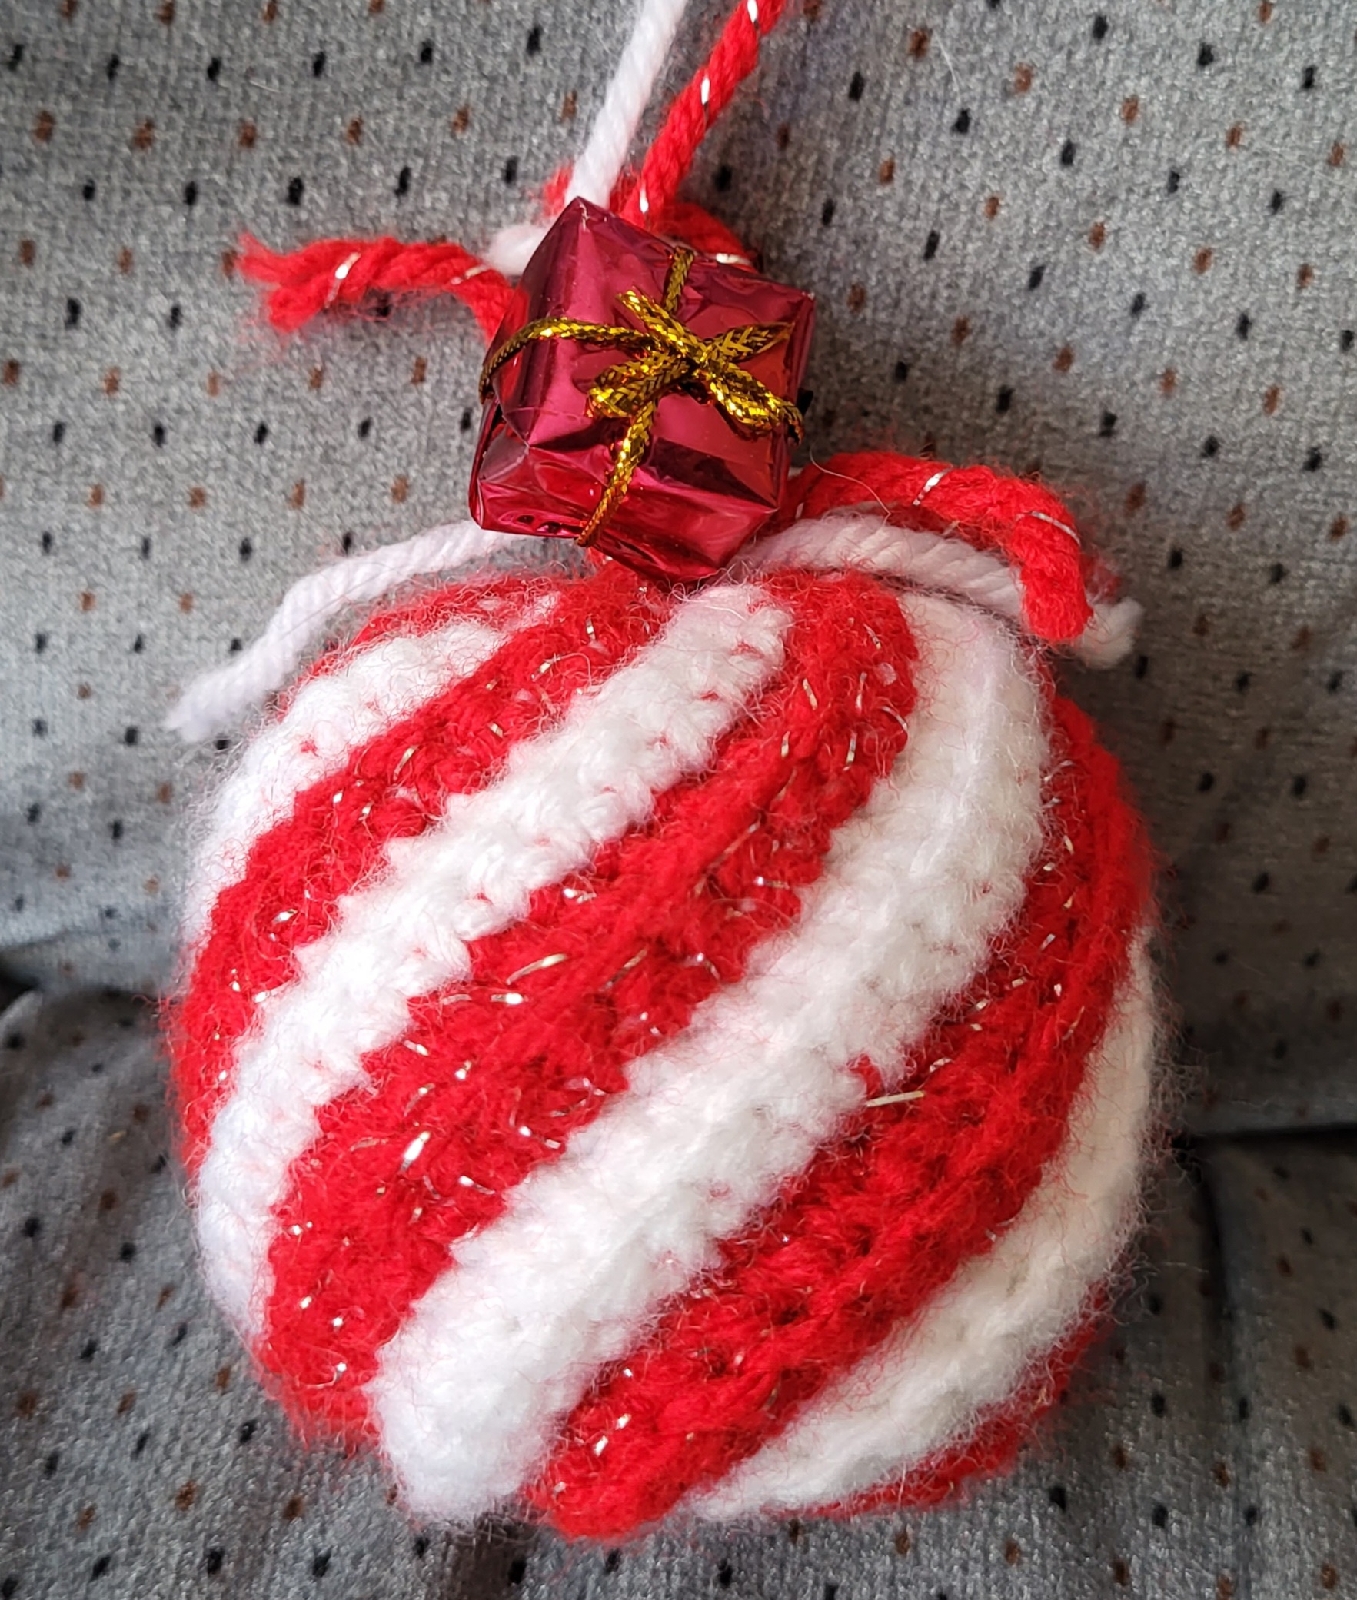
This is the first one I made.  Just diagonal lines in back loop single crochet, sewn together.  One end was closed up, the stuffing added, then the other end sewn closed.  When I finally found some mini decorations, I added the little present on top.

The next one I tried was straight rows of back loop double crochet.  Otherwise, it was assembled the same way.

I didn't like the sewing, so the next one was done in simple rounds.

I found some wooded beads and the little bow to dress it up a bit.

At this point, I was almost out of stuffing, and switched to the foam balls.

This variation is really just a tawashi dish cloth pattern I'd made in the past, except stuffed.  The rows are done in the back loop, starting with sc, then hdc, then dc, then hdc again, and ending with sc. The end result was bigger than the balls, so it is quite loose around it.  A miniature bauble got it's hanging cord removed, than added on with the excess yarn used to sew the sides together, and close off the end.

Again, I didn't want to sew things together, so I did this one in rounds.  Once the foam ball was added, though, it was pretty awkward to stitch around it.  Especially when doing decrease rounds.

Time for something different. 

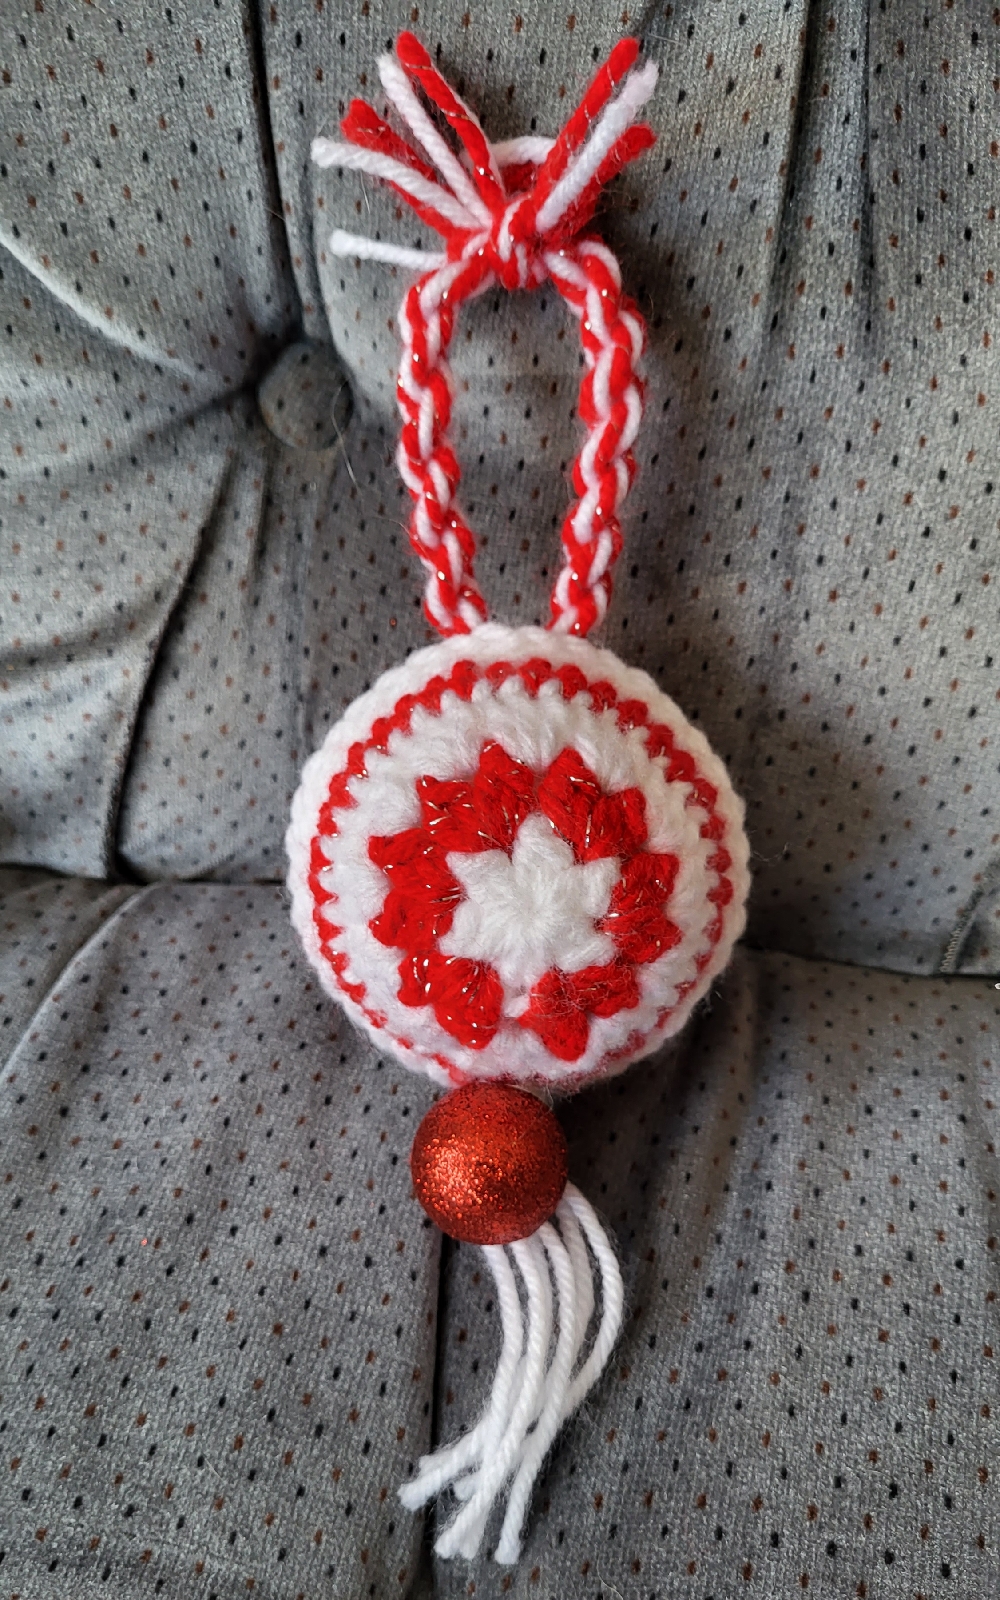
This one was done as two circles.  Those were crocheted together, with the ball added inside when they were half joined.  This fit more snuggly, so those last stitches were harder to work, but I liked the end result. 

Then a friend gifted me with some craft supplies, including miniature decorations!  I used a tiny garland in this last one.

The mini garland was worked into the last round on one circle, only.  I tried sewing the circles together at first, but they turned out to be juuuust too small. So I did a different crochet join that added the equivalent of another round in the middle.  I'm quite happy with how this one turned out!

With the Styrofoam balls, making two halves and joining them together was much easier than working in the rounds, but takes longer.  With the stuffed ones, working in the round was easiest and fastest.  

I'm rather pleased with how they turned out.  Even considering they turned out to all be experiments!

Friday, October 27, 2023

A variation

I had a chance to work on a variation of the ball cap ear warmer designs.  This time, I also added a reflective strand to the edge rows.

I am not as happy with this version.
The reflective strand just sort of disappears in the yarn.

I used front and back post double crochet stitches for the ear warmer portion, and also reduced to row lengths to create a more curved shape.  I think I should have done a couple of rows without decreasing first, to make it wider.  It dies cover the ears well enough, though, and curls more snuggly around them, which would reduce drafts.

I think I will play around with other stitch patterns, too.  The goal is to make the portion over the ears dense and well insulating.

Wednesday, October 25, 2023

An experiment

It's been ages since I've been able to sit down and crochet!  

This is an experimental pattern I've finally finished.  With the work I do outside these days, I'm always wearing a ball cap to shade my eyes, and protect my hair from tree branches and the occasional grasping cat!

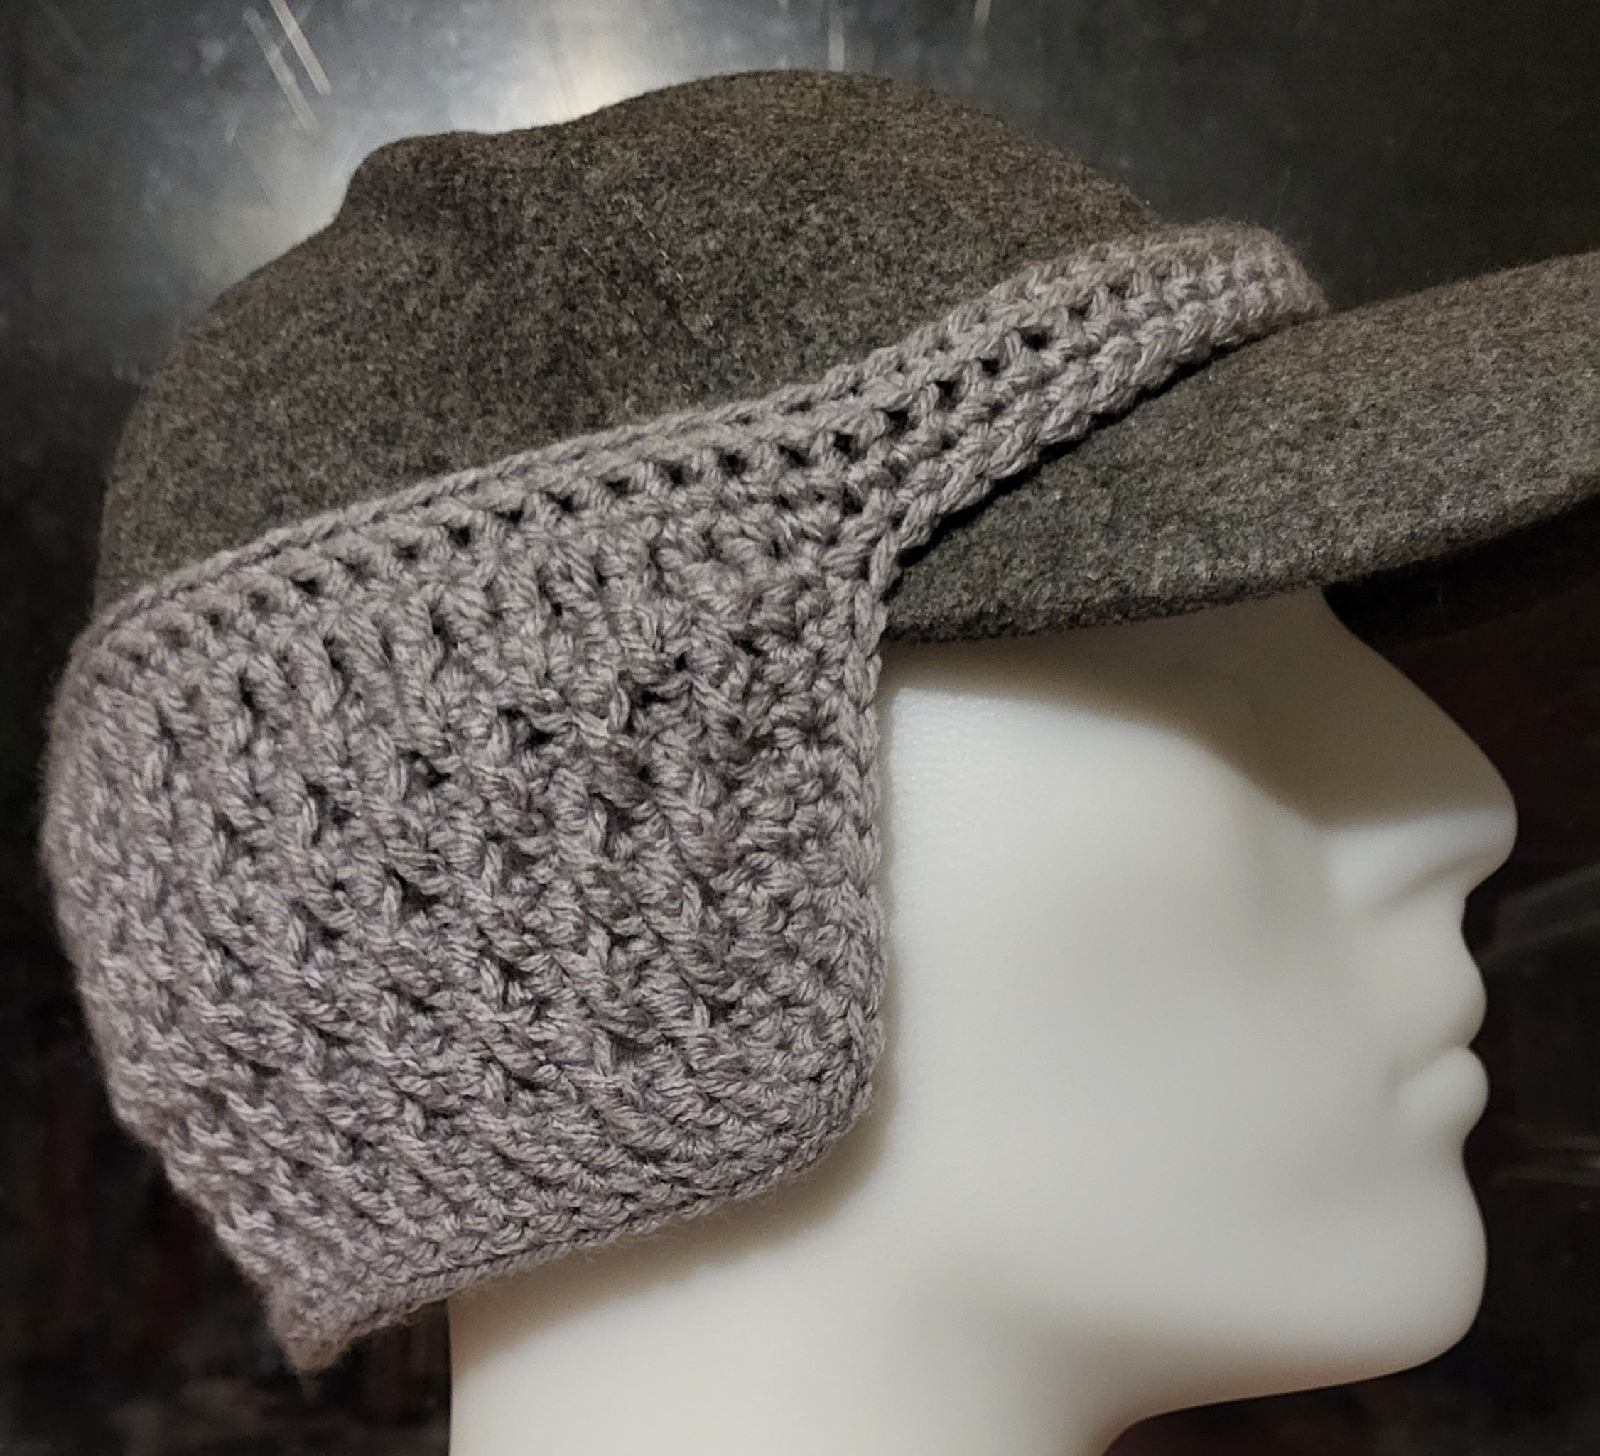
Winter is coming, though, and my usual ear warmers don't work together with my hat.  I looked at various ball cap ear warmer designs and came up with one I wasn't happy with.  This version turned out much better.

I plan to make some other versions in this grey, adding in reflective thread, as well as some in high viz orange to use during hunting season.

The challenge will be finding the time for it.  I'm not getting much crafting done at all, lately!

Tuesday, February 7, 2023

Ponytail hat with reflective accents

 I was able to do some actual crafting, today!  I decided to crochet a ponytail hat, using the reflective thread my husband found for me, as an accent.


The yarn is Accent Brights from "Knit and Purl: Purveyors of Fine Yarn".  It's a 100% acrylic yarn produce in Turkey for Aldi.  My husband bought a case of it, each package containing 2 of 4 colours, to knit with, not noticing that it was a light weight yarn, when he wanted a medium weight yarn.  So I've been using it more than he has!

This hat was worked with two strands of yarn, plus the reflective thread, using a 6mm, or J/10, hook.  The design is about as basic as it gets.  I started with 8sc around a magic ring, then alternated rounds of double crochet and single crochet for the crown and body of the hat.  The reflective yard was used only in the single crochet rounds.  The body of the hat is 68 stitches around.


In this shot, you can see the hole for the pony tail to be pulled through.  It was made in a single crochet round by chaining 5 and skipping 5 stitches.  The next double crochet round was worked into, rather than around, the chain stitches.

The brim of the hat is just 4 rounds of single crochet.

I then wasted a bunch of yarn trying to make a pom pom, which I almost never do with my hats, on a pom pom maker, using templates from the card that each package of yarn came with.  The templates are basically circles, with a chunk missing.  The instructions said to wrap the yarn around the two, back to back templates, until the card could no longer be seen.  Then the wrapped yarn would be cut by sliding the scissors between the templates.  Yarn could then be wrapped around the middle to tie it off, and the templates removed.

Except that as soon as I started cutting the wrapped yarn, it basically started falling apart.  I even tried to thread the yarn to tie it off with, in between the templates and try and salvage the uncut wraps, but ended up cutting the tying yarn by accident.  So I ended up just using a rectangle of light cardboard, folded in half, with the tying yarn tucked across in the fold.  Once I was done wrapping, using up the last of the yarn, I tied it off, removed the cardboard, secured the tying yarn some more, then cut the loops.  It's looser and floppier than I originally wanted, but it works.  After trimming the cut ends to make them neat and even, I used a crochet hook to draw the two lengths of tying yarn through the top of the hat, then just tied it off on the inside with a shoelace knot.  This way, the pom pom can be easily removed for washing.  I'm pretty sure it would fall apart completely if it went through the wash!

The finished hat has a cozy stretch to it, and is comfortable to wear.  I plan to give it as a gift.  I hope the planned recipient likes it!


Tuesday, December 6, 2022

Our 2022 Christmas ornaments: more berlingot made

 Well, the entire household got hit with colds, and I wasn't able to continue working on the ornaments until yesterday.  (You can see my earlier posts here and here.)

I made up for it a bit, but getting six berlingot (also called Dragon Boats) done last night.


I made two starting with 4 inch squares, and four starting with 3 inch squares.  Three of the smaller ones were made using a lighter carboard from gift boxes, which works better for the smaller size.  I wouldn't want to use it for the larger sizes, though, as the cardboard would easily get squeezed inwards while the strands are being wrapped tightly around the forms.  With a 4 inch square, each fold is about 2 inches long, while the 3 inch square results in 1 1/2 inch long folds.

The cats got at my materials and even wrecked the red and gold test berlingot I made, so I made another one using two strands of gold with one strand of red, all metallic yarn.  I was able to rescue the tassel, at least, and attached that to the inside, along with the hanger and starting strands of thread, when assembling the shape.

The white and gold one is wrapped with crochet cotton thread.  I was able to add beads to the points on that one, but didn't really have anything that matched the others, so the points just have dabs of fabric embellishment glue on them.  I'm happy with how they turned out.

Here are some better pictures of the first ornament I successfully made.


For our small tree, I don't plan to make more in this size, but I might go as large as using a 5 inch square for the base, which should result in berlingot that are 2 1/2 inches along each fold.  I'll have to find more cardboard that's slightly heavier than the gift box cardboard I used for the smaller ones, though, so I might just make some more from 4 inch squares, first.  

Oh!  I did finally find some of the double sided tape that I was looking for.  It was being sold with the plastic film for winterizing windows.  The double sided tape my daughter lent me is in a plastic holder, like Scotch Tape comes in, and the same width.  The window tape is a bit narrower, and in a roll with a coated paper backing.  I find it easier to be able to cut the strips to the lengths I want, place them, then remove the backing later.  The tape is also lighter and more flexible, making it better for the smaller sized ornaments. 

I do wish I had more materials suitable for decorating the points, but otherwise, I'm quite happy with how these are turning out!

Thursday, November 24, 2022

Our 2022 Christmas ornaments progress

I was able to get a few supplies for our Christmas decorations, but not everything I wanted.  So I will just have to improvise, since I'm not willing to drive to the city to maybe, maybe not, find what I want there!

Since I was planning to make larger ornaments for the tree, I had hope to find some nice Christmas yarn but, alas, there was none to be had in town.  Not even in embroidery thread or craft cord!  Bizarre.

I did have plenty to choose from at home, though.


I have a small amount of gold crochet thread with a metallic strand for some sparkle.  I also have most of a package of sparkly Lion Brand Bon Bons that I had to rescue from the cats a while ago.


I have other colours in the dollar store version, too.


Plus, some more crochet thread.  The variegated one is left over from some some crochet covered Christmas ornaments I'd experimented with a while back, and there is still lots left.

Once I gathered up my materials, including pins and beads and other odds and ends I've got, I used a cereal box my daughters sacrificed for me to cut out some 3" x 9" strips, in the same manner I'd done before.  Unfortunately, I somehow screwed up with the measurements on one of them and it went to waste. 

One of the things I was looking for but had a hard time finding was plain double sided tape.  You'd think that would be easy to find, but I kept finding double sided foam mounting tape, or glue dots, and so on.  All things that are way too thick for what I had in mind.  I did finally find some double sized adhesive in the dollar store, that I could use to adhere the tabs in the cardboard to make the shape, but...


... it turned out to be glue dots.

I double checked.  There was nothing in the package that described them as glue dots.  Only "double sided adhesive."

Sigh.

Thankfully, I'd picked up some glue sticks as well, just in case, and used that on the tabs to put the form together.  Oddly, the glue sticks took longer to dry, and it had to be held together for much longer, before I could set it aside to finish drying.

So for the next one, I decided to try something different.  I'd found this video...


It uses a more more compact way to make the shape's form.

Also, I like the idea of tucking a secret message inside the berlingot for the person it is meant to be given to.

I decided to give this method a try.


I started with a 4" square, then marked off the rest.  When gathering my materials, I found my scoring tool, so I used that instead of a pen to mark the folds, then cut out the one unmarked corner.


As with the other method, all the folds are creased in the same direction.


Then I used ordinary tape to put it together.

Since I had the glue dots anyhow, I decided to use a couple at the more flattened points that I would be wrapping around, which also would hold in place my starting threads.  The adhesive is quite malleable, so I was able to sort of wrap it around the point to cover all sides.


I chose a gold metallic to go with a plain red for this one.


When it was done, I was left with a problem.

A few of them, actually.

When it was time to sew in the thread ends, the glue dot made it very difficult.  I had to really fight to get the needle under the strands, and ended up having to scrape adhesive off my needle, afterwards.

I had made a tassel for the bottom, but I have no way to attach it.  I don't have needles long enough to go through, but even if I did, the glue dot adhesive ended up over the point, and I simply couldn't get a needle through it.  It stuck to the needle to much.

At which point, my daughter brought up the "basket of berlingot" idea again!

I set that aside to think about it later.  I still had the larger form I'd made, using the 3" x 9" strip of cardboard.  Because of the size, I decided to use the purple and green crochet thread.


I was curious to see if a pattern would emerge, as happens with crochet, but not really.  I kinda like it, but it's not very Christmassy.  If I can figure out how to add a hanger and decorations at the points, that could easily be changed, though.

For the next one, I decided to start with a square again - I like this version, since it isn't as reliant on having an exact 1:3 ratio that the rectangle does.  My daughter also came to my rescue.  When I told her I couldn't find plain double sided tape, she told me she had some and offered it to me!

It was much appreciated!

For this next one, I changed things up.

The outer square for this one was 6", and the final result turned out to be very close in size to the 3" x 9" rectangle version.


I also made a hanger first, and taped it in place, on the inside, along with the starting strands of the yarn I chose.  For this one, I went with three metallic colours, purple, blue and grey/silver.


Then the form was taped together with double sided tape, which served to help hold the strands in place while being wrapped.

Here is the final result.


When the wrapping was done, I was able to poke holes in the remaining points with a needle, then use a head pin and embellishment glue to add pearl beads.


Then I had to hang it in the tree (currently undecorated while the cats get used to it being there), so that the glue could dry without anything accidentally touching it.  It will dry clear.  I would have used silver head pins instead of gold, if I'd had any. 🤔

Which makes my third attempt today my first completed ornament!

For the next ones, I think I will stick to using squares to make the forms, instead of rectangles.  It will be easier to have a variety of sizes.  This finished one is definitely the largest I want to make for our tree.  Any bigger would be just too much for it.  Plus, smaller ones will need less yarn or thread to cover it, so those supplies will last longer, too.

I now also know that if I want to add a hanger to the top, or something like tassels to other points, those need to be added and affixed to the inside, before the form is folded and taped into place.

Hopefully, I'll be able to get back at it and more more of these, tomorrow. 

😊