After a great deal of time and a lot of help from my younger daughter, we've finished the Butt Ugly Scrap Buster blanket.
The blanket has two purposes. 1) Since getting the van, we're back to making
spontaneous exploratory trips. I discovered that this has left us with the need for a good, sturdy blanket to keep in the van. One that can handle a lot of abuse, and that I realy don't care if it gets stepped on, muddy, or dragged through the bush. And 2) I wanted something that would use up the balls and balls of cheap, bulk acrylic yarn we've got, but weren't using. There's only so many pairs of slippers, etc. I can made, and the colours weren't the sort I'd use for amigurumi.
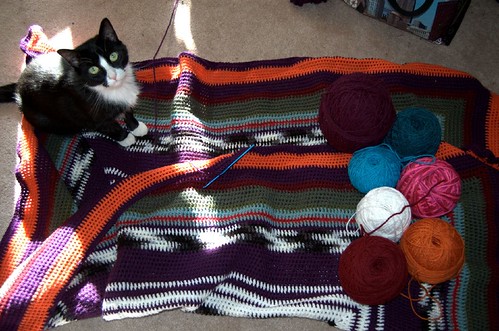
I started off by gathering a few balls of the yarn we'd been accumulating (more were found later). Since the purpose was to use up all the yarn, I decided to work in the round and just see how big it would eventually get. I started the centre using a method I found on
Ravelry, but I can't find it again, or I'd like directly to it. I had a couple of false starts before settling on dimensions I liked. The base chain is whatever you want. The pattern I got started from suggested either 40 or 60 ch, but I ended up going with 38 (35, plus 3 to turn). I wanted something slightly wider compared to the length, so I started with a shorter base chain.
To get the centre, dc were worked down the length of the foundation chain. At the end, rather than turning, a sc plus ch 2 (counts as first dc), then 3 dc, was working into the end (the very last dc of the row). ch 2 (corner), then dc along the other side of the foundation chain, working the stitches in between the dc of the other side, not into the chain itself. At the end, ch 2 (corner), 4 dc into the last dc at the end, ch 2, then dc to the other end, again working in between the dc's of the previous row. At the end, ch 2 and slip stitch into the top of the ch 2 that counts as the first dc of the round.
Each round is worked without turning. The corners are all (2 dc, 2 ch, 2 dc). I changed colours at the end of the rounds, though with some, I was so close to the end of a round when I finished, I just switched to a similar colour and finished it, rather than undoing the whole thing. When changing colours, I usually finished off the previous colour, then restarted the new colour in a corner.
Changing colours at the ends of rounds left me with lots of little balls of yarn. Especially as the blanket got better, since it took so much more yarn to complete a round. When we got to the end of the last big ball of yarn, my younger daughter decided to just tie the end to one of the little balls, then started rolling them into a new centre pull ball, tying new colours to the end of each colour she finished. In this project, we really didn't care if there were knots in the yarn.
We were rather surprised by how large a ball of little scraps we ended up with!
At this point, I decided to make a sort of edging. Instead of working dc in between each dc of the previous row, I started doing shells of 5 dc, skipping 4 dc and working the shell into the space after the 5th dc. The numbers didn't add up, so at the corners, I did a group of 3 in the last bit before the corner (which may or may not have been the 5th space), then 3 dc between the dc of the corner, (ch 2, 3 dc) in between the dc of the corner, a group of 3 dc into the space that matched the other side of the corner, then continued the shell pattern. In the next rounds, I worked the shells into the top of each previous shell.
Much to my surprise, we had enough yarn to do several rounds of shells.
When the yarn started to look pretty low, I stopped going the shells and did a round of 1 sc into the top of each shell (the centre stitch I would have been doing shell in), ch 4 to the corners. At the corners, I did sc into the last 8 dc, plus (1 sc, 2 ch, 1 sc) in the corners. When the round was finished, I worked sc into the back loops only of the sc and ch stitches. At the end of this round, I didn't bother slip stitching at the end of the round, but just kept working into the back loops of the sc. For the last foot or so, I let my younger daughter finish it off. She was so thrilled! *L*
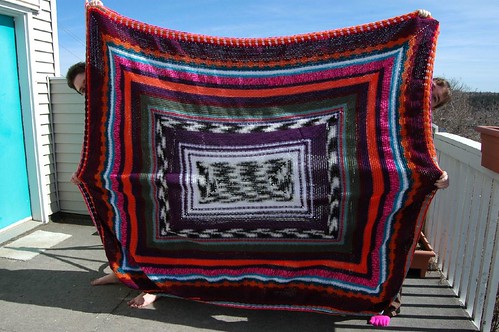
The finished blanket! Isn't that just a marvelous piece of fugliness? Truly eye-wrenching. It's quite heavy, too. I had no idea I had that much scrap acrylic lying about the house. I raided my own storage cubes, my younger daughter handed over her stash from her room, and then I found even more in a couple of boxes tucked under the couch. *L*
With a great many objections from my daughters, it is now in the van, waiting for the next time we head out exploring, or have an impromptu picnic somewhere. And it's big enough for them to both wrap themselves up, the next time they decide to cross a river, fully dressed. :-D
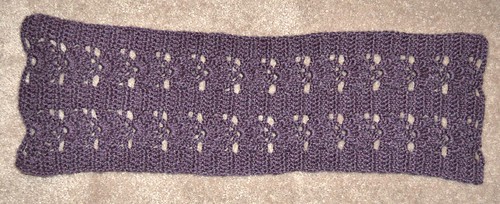
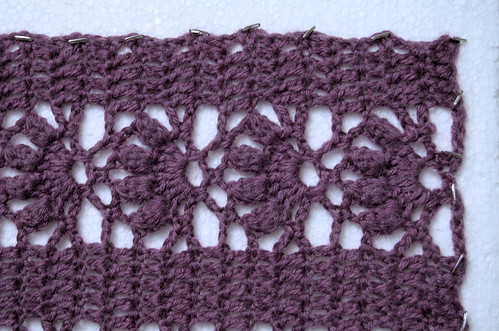
 From Lynne:
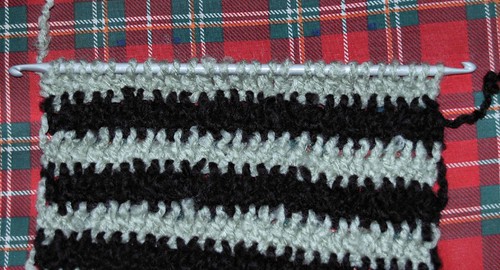
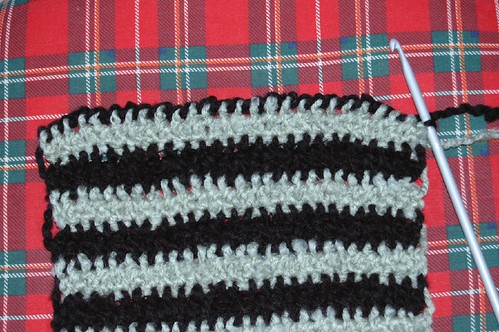