Pages

Tuesday, December 19, 2023

Crochet Christmas ornaments

For this year's Christmas ornaments, I went back to an old standby: crochet!

I saw some patterns on Pinterest that I liked, and used that as inspiration, but in the end, each one I made was different. 

I had some unexpected challenges.  Funding Christmas yarns was one.  I wasn't able to get to a Michael's, the only craft store option, during my trips to the city.  The best option I had was Walmart, and their Christmas craft supplies were almost non-existent.  I couldn't even find the miniature decorations I used to be able to fund easily. 

Then, after my first few, I started running out of stuffing, but when I tried to buy more, I couldn't find any!

I even had a hard time finding Styrofoam balls, which I used to see everywhere.  I did finally find some at a dollar store, along with some miniature decorations. 

So I made do with what I had, with white and sparkly red yarn as the main connecting theme.
This is all that I've made, and I think I'm done for this year.  We aren't even putting up our usual tree, so we don't have space for them on the mini tree on the piano, in the cat free tool!
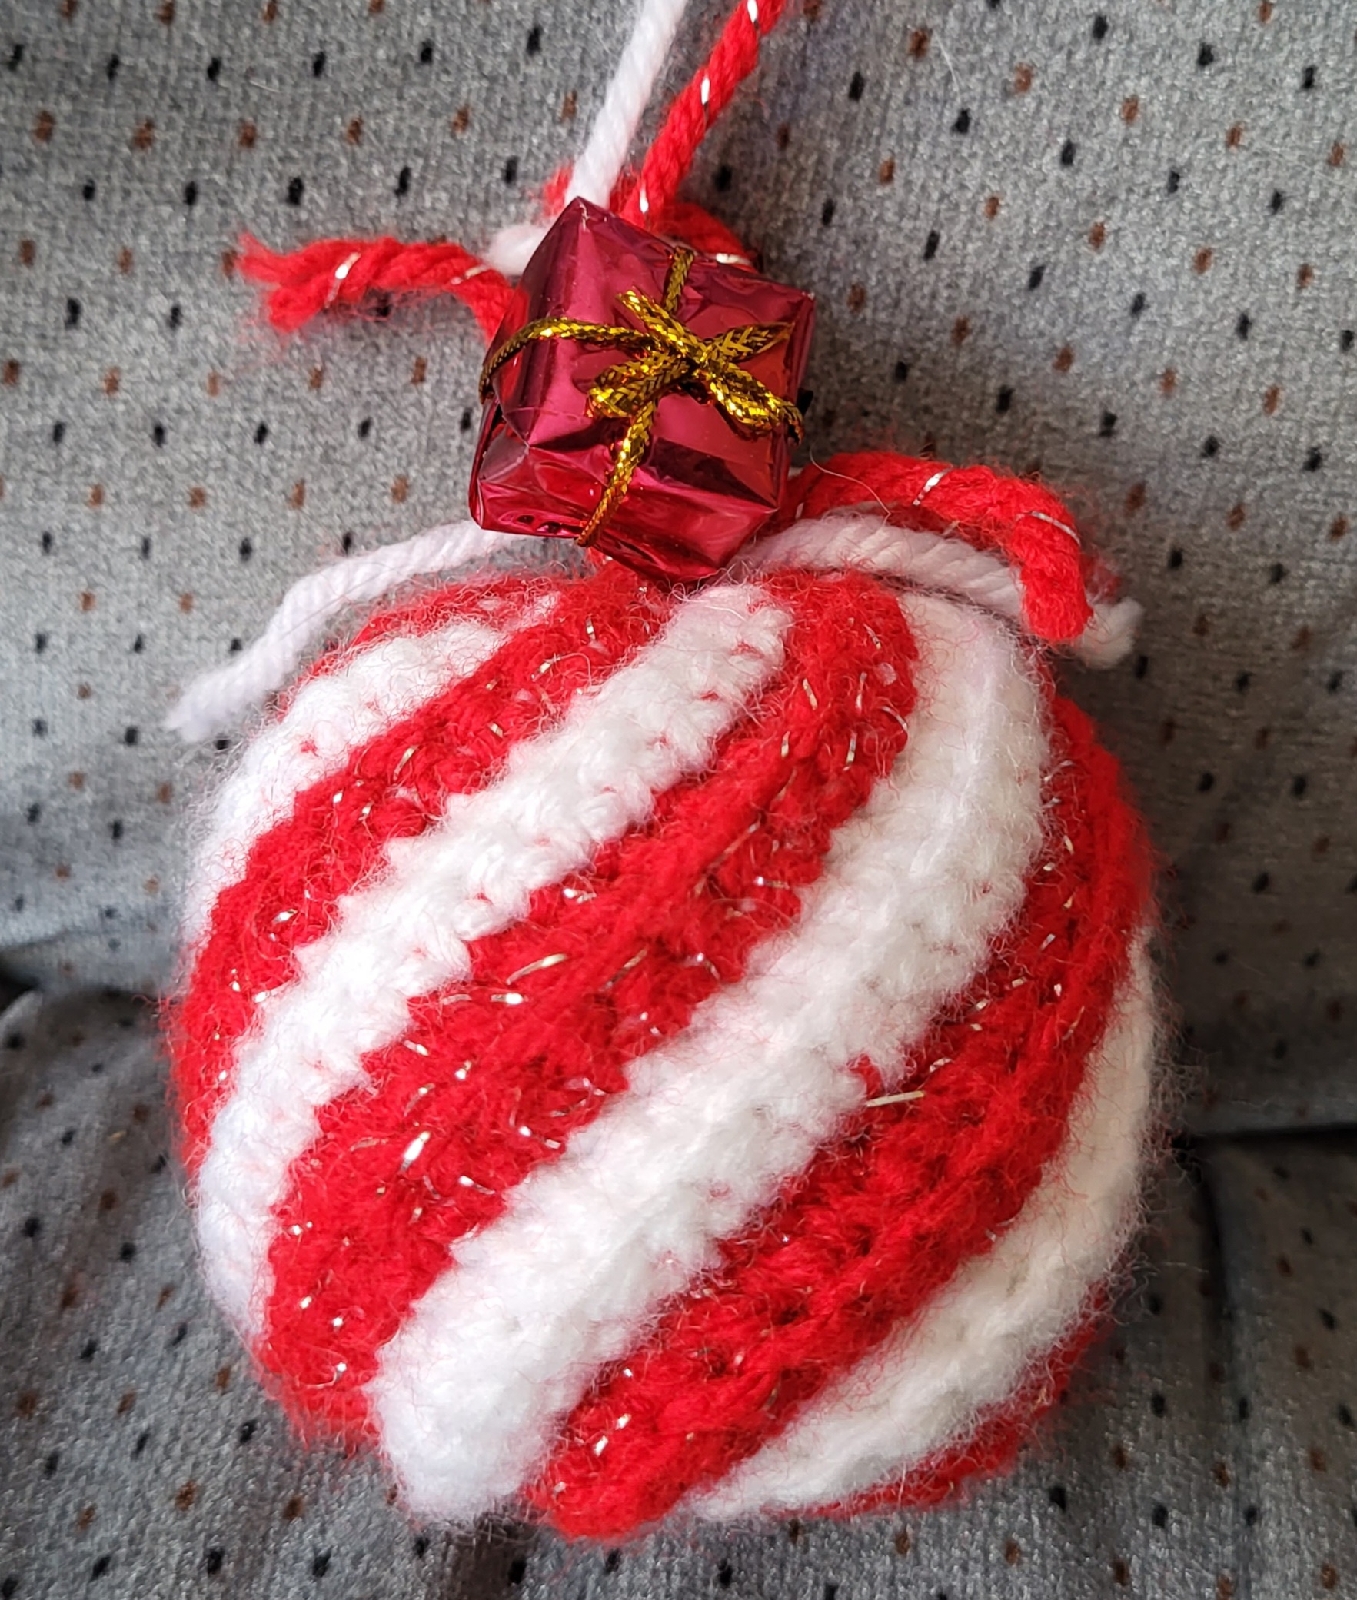
This is the first one I made.  Just diagonal lines in back loop single crochet, sewn together.  One end was closed up, the stuffing added, then the other end sewn closed.  When I finally found some mini decorations, I added the little present on top.

The next one I tried was straight rows of back loop double crochet.  Otherwise, it was assembled the same way.

I didn't like the sewing, so the next one was done in simple rounds.

I found some wooded beads and the little bow to dress it up a bit.

At this point, I was almost out of stuffing, and switched to the foam balls.

This variation is really just a tawashi dish cloth pattern I'd made in the past, except stuffed.  The rows are done in the back loop, starting with sc, then hdc, then dc, then hdc again, and ending with sc. The end result was bigger than the balls, so it is quite loose around it.  A miniature bauble got it's hanging cord removed, than added on with the excess yarn used to sew the sides together, and close off the end.

Again, I didn't want to sew things together, so I did this one in rounds.  Once the foam ball was added, though, it was pretty awkward to stitch around it.  Especially when doing decrease rounds.

Time for something different. 

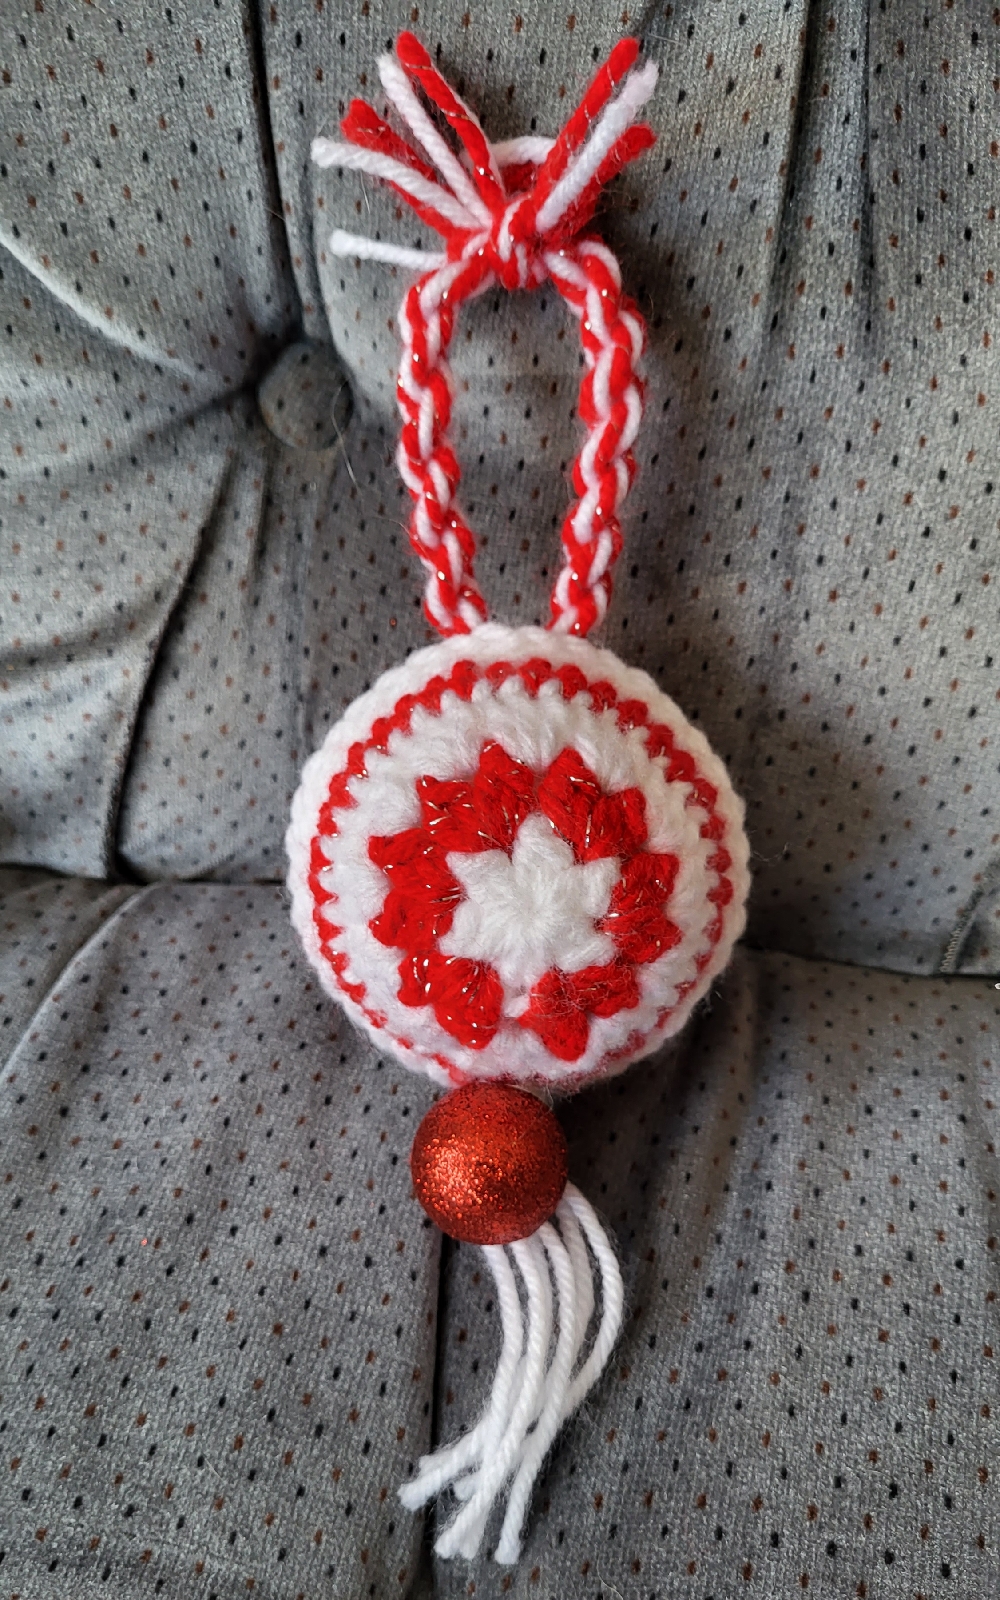
This one was done as two circles.  Those were crocheted together, with the ball added inside when they were half joined.  This fit more snuggly, so those last stitches were harder to work, but I liked the end result. 

Then a friend gifted me with some craft supplies, including miniature decorations!  I used a tiny garland in this last one.

The mini garland was worked into the last round on one circle, only.  I tried sewing the circles together at first, but they turned out to be juuuust too small. So I did a different crochet join that added the equivalent of another round in the middle.  I'm quite happy with how this one turned out!

With the Styrofoam balls, making two halves and joining them together was much easier than working in the rounds, but takes longer.  With the stuffed ones, working in the round was easiest and fastest.  

I'm rather pleased with how they turned out.  Even considering they turned out to all be experiments!

Friday, October 27, 2023

A variation

I had a chance to work on a variation of the ball cap ear warmer designs.  This time, I also added a reflective strand to the edge rows.

I am not as happy with this version.
The reflective strand just sort of disappears in the yarn.

I used front and back post double crochet stitches for the ear warmer portion, and also reduced to row lengths to create a more curved shape.  I think I should have done a couple of rows without decreasing first, to make it wider.  It dies cover the ears well enough, though, and curls more snuggly around them, which would reduce drafts.

I think I will play around with other stitch patterns, too.  The goal is to make the portion over the ears dense and well insulating.

Wednesday, October 25, 2023

An experiment

It's been ages since I've been able to sit down and crochet!  

This is an experimental pattern I've finally finished.  With the work I do outside these days, I'm always wearing a ball cap to shade my eyes, and protect my hair from tree branches and the occasional grasping cat!

Winter is coming, though, and my usual ear warmers don't work together with my hat.  I looked at various ball cap ear warmer designs and came up with one I wasn't happy with.  This version turned out much better.

I plan to make some other versions in this grey, adding in reflective thread, as well as some in high viz orange to use during hunting season.

The challenge will be finding the time for it.  I'm not getting much crafting done at all, lately!

Tuesday, February 7, 2023

Ponytail hat with reflective accents

 I was able to do some actual crafting, today!  I decided to crochet a ponytail hat, using the reflective thread my husband found for me, as an accent.


The yarn is Accent Brights from "Knit and Purl: Purveyors of Fine Yarn".  It's a 100% acrylic yarn produce in Turkey for Aldi.  My husband bought a case of it, each package containing 2 of 4 colours, to knit with, not noticing that it was a light weight yarn, when he wanted a medium weight yarn.  So I've been using it more than he has!

This hat was worked with two strands of yarn, plus the reflective thread, using a 6mm, or J/10, hook.  The design is about as basic as it gets.  I started with 8sc around a magic ring, then alternated rounds of double crochet and single crochet for the crown and body of the hat.  The reflective yard was used only in the single crochet rounds.  The body of the hat is 68 stitches around.


In this shot, you can see the hole for the pony tail to be pulled through.  It was made in a single crochet round by chaining 5 and skipping 5 stitches.  The next double crochet round was worked into, rather than around, the chain stitches.

The brim of the hat is just 4 rounds of single crochet.

I then wasted a bunch of yarn trying to make a pom pom, which I almost never do with my hats, on a pom pom maker, using templates from the card that each package of yarn came with.  The templates are basically circles, with a chunk missing.  The instructions said to wrap the yarn around the two, back to back templates, until the card could no longer be seen.  Then the wrapped yarn would be cut by sliding the scissors between the templates.  Yarn could then be wrapped around the middle to tie it off, and the templates removed.

Except that as soon as I started cutting the wrapped yarn, it basically started falling apart.  I even tried to thread the yarn to tie it off with, in between the templates and try and salvage the uncut wraps, but ended up cutting the tying yarn by accident.  So I ended up just using a rectangle of light cardboard, folded in half, with the tying yarn tucked across in the fold.  Once I was done wrapping, using up the last of the yarn, I tied it off, removed the cardboard, secured the tying yarn some more, then cut the loops.  It's looser and floppier than I originally wanted, but it works.  After trimming the cut ends to make them neat and even, I used a crochet hook to draw the two lengths of tying yarn through the top of the hat, then just tied it off on the inside with a shoelace knot.  This way, the pom pom can be easily removed for washing.  I'm pretty sure it would fall apart completely if it went through the wash!

The finished hat has a cozy stretch to it, and is comfortable to wear.  I plan to give it as a gift.  I hope the planned recipient likes it!