Ah, finally. Some photos of this year's Christmas decorations!
This is not the project I originally intended to do, but lack of space in the kitchen for such a project left me searching for another option. As I was going through Michaels one day, looking for inspiration, I decided to try something with these.

Papier Maché forms, pre-strung for hanging. Getting the bar code stickers off was a bit of an issue, but I hoped that would get covered over.
For the past few years, my annual decorations have leaned towards things
that reflect light. Beads, mirrors, metallics, craft gems and more,
with the idea of having them reflect the lights on our tree. This year I decided to go for more scent, and a more organic, natural look. I still wanted a bit of shine, though.
With that in mind...
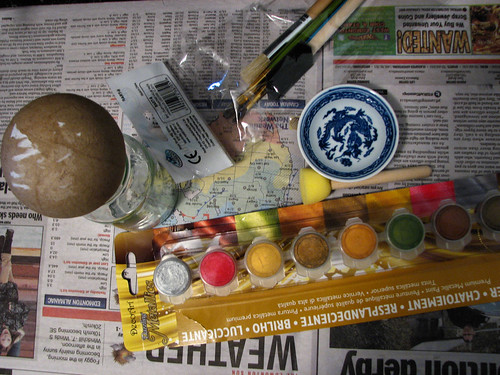
I also picked up a cheap package of craft brushes and some enamel paint in 8 metallic colours. I used a small jar (from some
Devonshire cream... yum!) to hold the spheres while they were being worked on. Not shown is some Tacky Glue that I picked up. I had a definite need for a glue that would hold weight while wet, and would dry clear.
The first step was to cover the forms with the metallic paint.

I did two spheres and two stars in the same four colours, then the remaining forms in another four colours, starting off with just 2 colours. I wanted to use the little yellow sponge on a stick that you see in the previous photo, but it didn't fit in the pots very well, so I used the black sponge, instead. I used very little water and just one corner of the tip to dab the colours on, then used the try opposite corner of the tip to feather the edges, especially where the two colours met. I tried to make the placement of colours look fairly random. I also chose to dab with the sponge, rather than spread, as I wanted that hint of texture; another reason I used very little water.
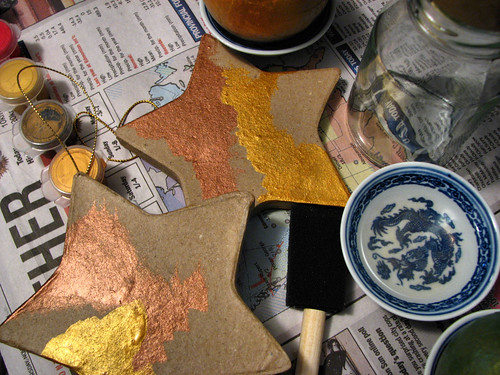
While the first 4 forms dried, I worked on the next four. The paint dries fairly quickly, though I did still need to give the first batch a few more minutes longer than it took me to finish the second batch.

Once the first pair of colours were done, I did the next two colours. With the spheres, I did need to give a couple of them time to dry on one side before I could finish the other.
Personally, I like the ones with green in them better then the ones with red. At this point, I wasn't sure how much of the paint would even be showing when they were done.
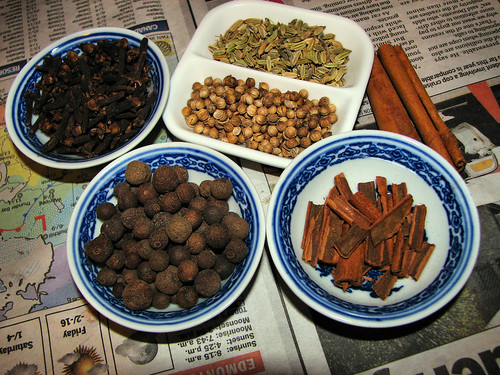
Next up, some aromatic spices. In the round little bowls are whole cloves and whole allspice on the left, and broken up cinnamon sticks on the right. In the divided dish there's fennel seeds at the top and coriander seeds at the bottom.
I did two of the decorations myself, then the girls did the remaining six. I started with a sphere, since I knew it would need drying time in between.
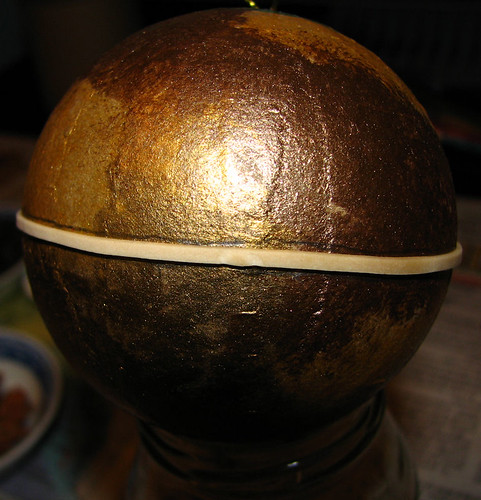
I used an elastic to mark off guidelines at the equator for my first one.

It didn't need to be perfectly straight; I just needed enough to make sure I didn't go all wonky while gluing.
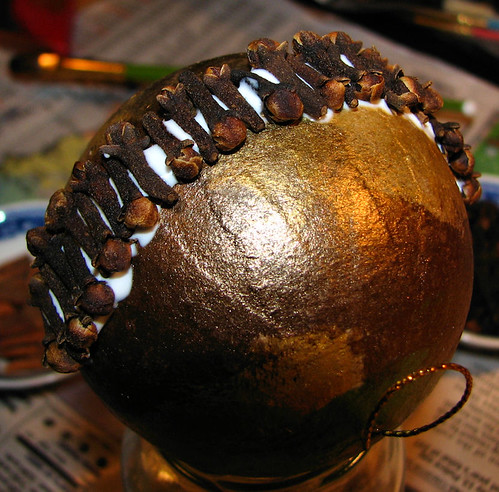
With this one, I had to do it in quite a few stages, staring with the whole cloves and lots of glue!
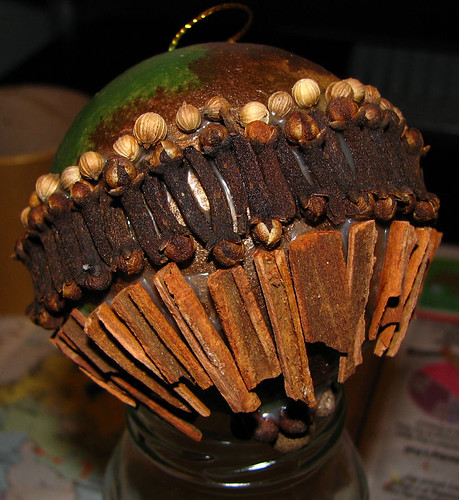
This is the finished sphere with cinnamon pieces and coriander seeds with the cloves...
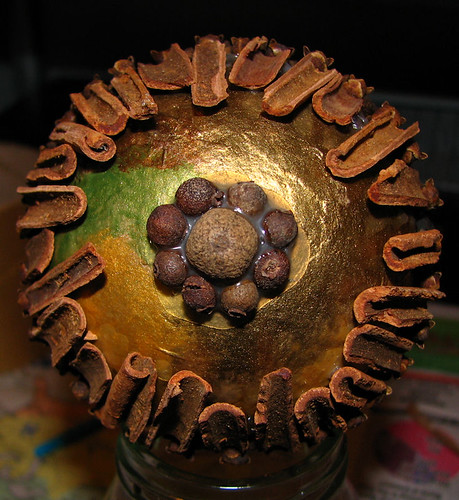
While on the bottom, I chose one very large piece of allspice and surrounded it with 8 of the smallest allspice I could find. As you can see, the glue still isn't completely dry in this photo, and this is after a full day and a half! With the allspice being round, rather large, and being glued to a curved surface, I figured a lot of glue wouldn't be amiss! *L*
Here are the rest of them...

I had just finished this one when I took the photo.
My younger daughter did this one. After taking the photo, I actually added more glue around the allspice pieces. Just to be safe. *L*
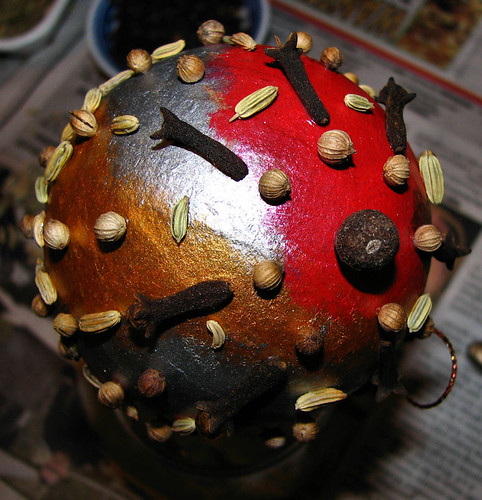
Another one by my younger daughter. The other side matches this one, so that when hung, there's a single allspice in the centre of each side.
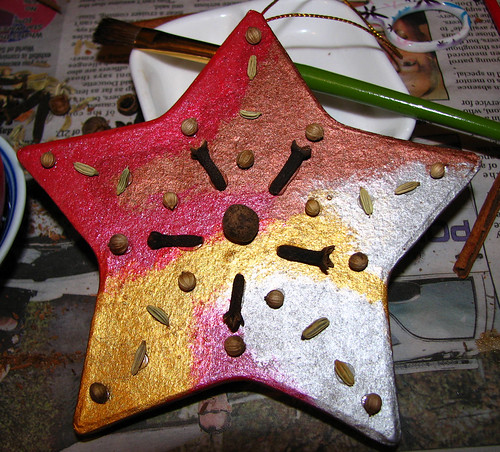
One more done by my younger daughter.
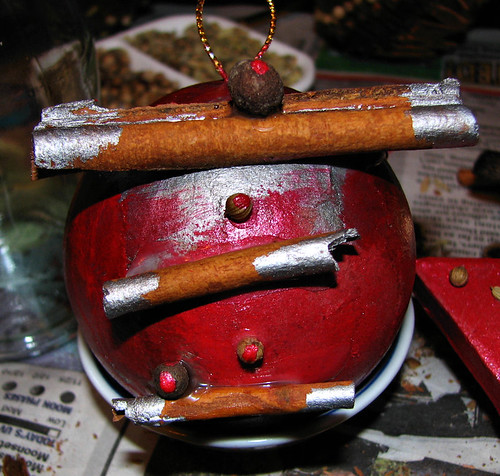
One of the spheres done by my older daughter. She repainted the back so that it was all red.
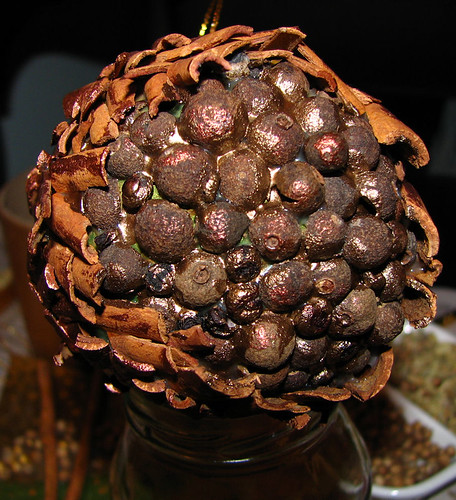
Getting a good shot of this one was rather difficult. *L* Another from my older daughter, the back is actually blank. It's done to look like the one side is bursting open to reveal the inside. For this, she cut the allspice in half to have a flat surface to glue against the sphere. Once glued in place and dry enough, she used some paint on them as well.
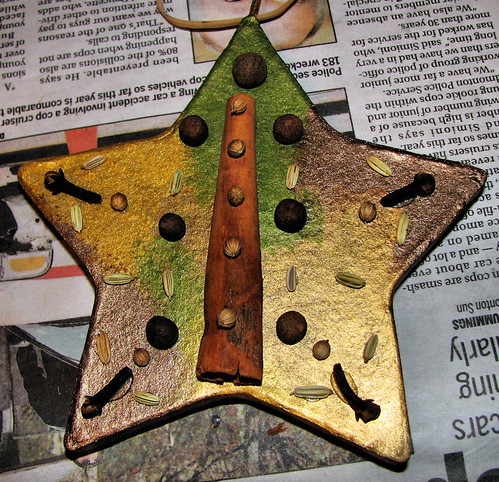
My older daughter also did a star shape, but for some odd reason, I don't have a photo of it! I'm not sure how I missed it. I did get this shot...
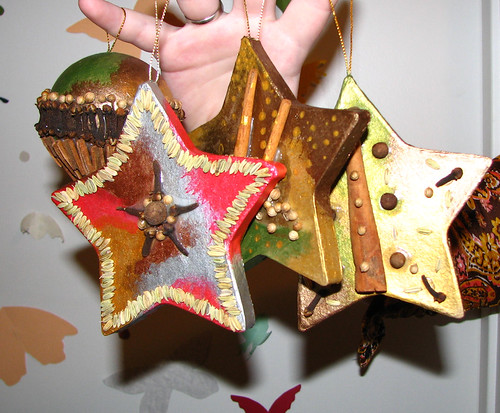
Of course, there's another one in front of it. Oops. It's the middle one of the three stars. After gluing on the cinnamon sticks and coriander, she added spots of paint as well.
I did get a picture of the other four finished decorations, but it didn't turn out. I'll see if I can get more photos later.
When I first painted these, I'd left the backs of the stars
unpainted. I had thought to leave them that way, but the remains of the
bar code stickers wasn't very nice, so once the glue was dry, I painted the backs. For the ones with green on them, I painted the backs in the lighter gold while the ones with the red on them were painted with the darker gold. For that part, I watered down the paint more and brushed rather then dabbed for a smooth and even surface.
We're all quite happy with how these turned out. They were fun to do, easy and relatively quick. Their scent is noticeable, but not overpowering. Before Christmas, we'll pick up more forms and do others. I seem to remember they had flat circles in stock.
If you want to make your own version of these and time is a concern, do just flat pieces, as you won't have to do them in sections and wait for the glue to dry, the way we had to do with the spheres. Other then that, they are really quick to do, and it's fun to try and figure out interesting ways to arrange the spices.

