Pages

Sunday, November 10, 2024

Something new for our 2024 decorations

Well, it's that time of year!  Time to work on our annual, hand made Christmas decorations.

This is something I've been trying to do every year for quite some time, missing only a few years due to personal circumstances.

This year has been a bit different, in that my challenges are more physical in nature.  Osteoarthritis has set into all the joints of my fingers, making finer motor control more painful.  I'm losing my grip strength, and drop things far more often.

I can still do big stuff, though.  Manual labour, which is something I enjoy doing, is still an option for me.  Mostly, that involves gardening, but also all sorts of other outdoor chores and activities.  Most recently, my big project has been building an isolation shelter for our more feral yard cats that we will have to trap to get spayed.  They will need two weeks of monitoring as they recover.  Using what scrap pieces of lumber and salvaged material we could find around the property, with a few items that needed to be purchased, we now have a two level cat shelter on wheels that we will be able to use to isolate any cats from the colony we are caring for.  It even has a heat lamp, food bowl and heated water bowl set up in it, and the cats are already using in and getting used to it.

The down side of all this is that my hands have become very rough.  I don't crochet much anymore, as most yarns get snagged on my fingers and pull off the hook, or fray.  Some yarns are okay, but few yarns I'd like to use for most of the projects I'd like to be working on.

All of these factors had to be considered as I decided on this year's Christmas decorations.

In the end, it was a Pinterest suggestion that lead me to a new craft I decided to try this year.  Making Singlade balls.


This project has a lot of similarities to the temari I've made in the past.

Of course, I use the materials I have on hand, so for this project, I cheated a little.

I had a 6 pack of Styrofoam balls handy, so those are the core of the balls I am making this year.  I had some white yarn left over from another project, and that's what I used to wrap around the foam core, then secure the strands, the same way I wrapped sewing thread around the core of a temari project.


Here, you can see how things are going so far.  Once the cores were wrapped, I found some cotton yarn that I used to divide the balls into 8 sections.  This is also similar to temari, without the need to be so precise.

From there, the sections just needed to be filled using buttonhole stitch (also called blanket stitch).

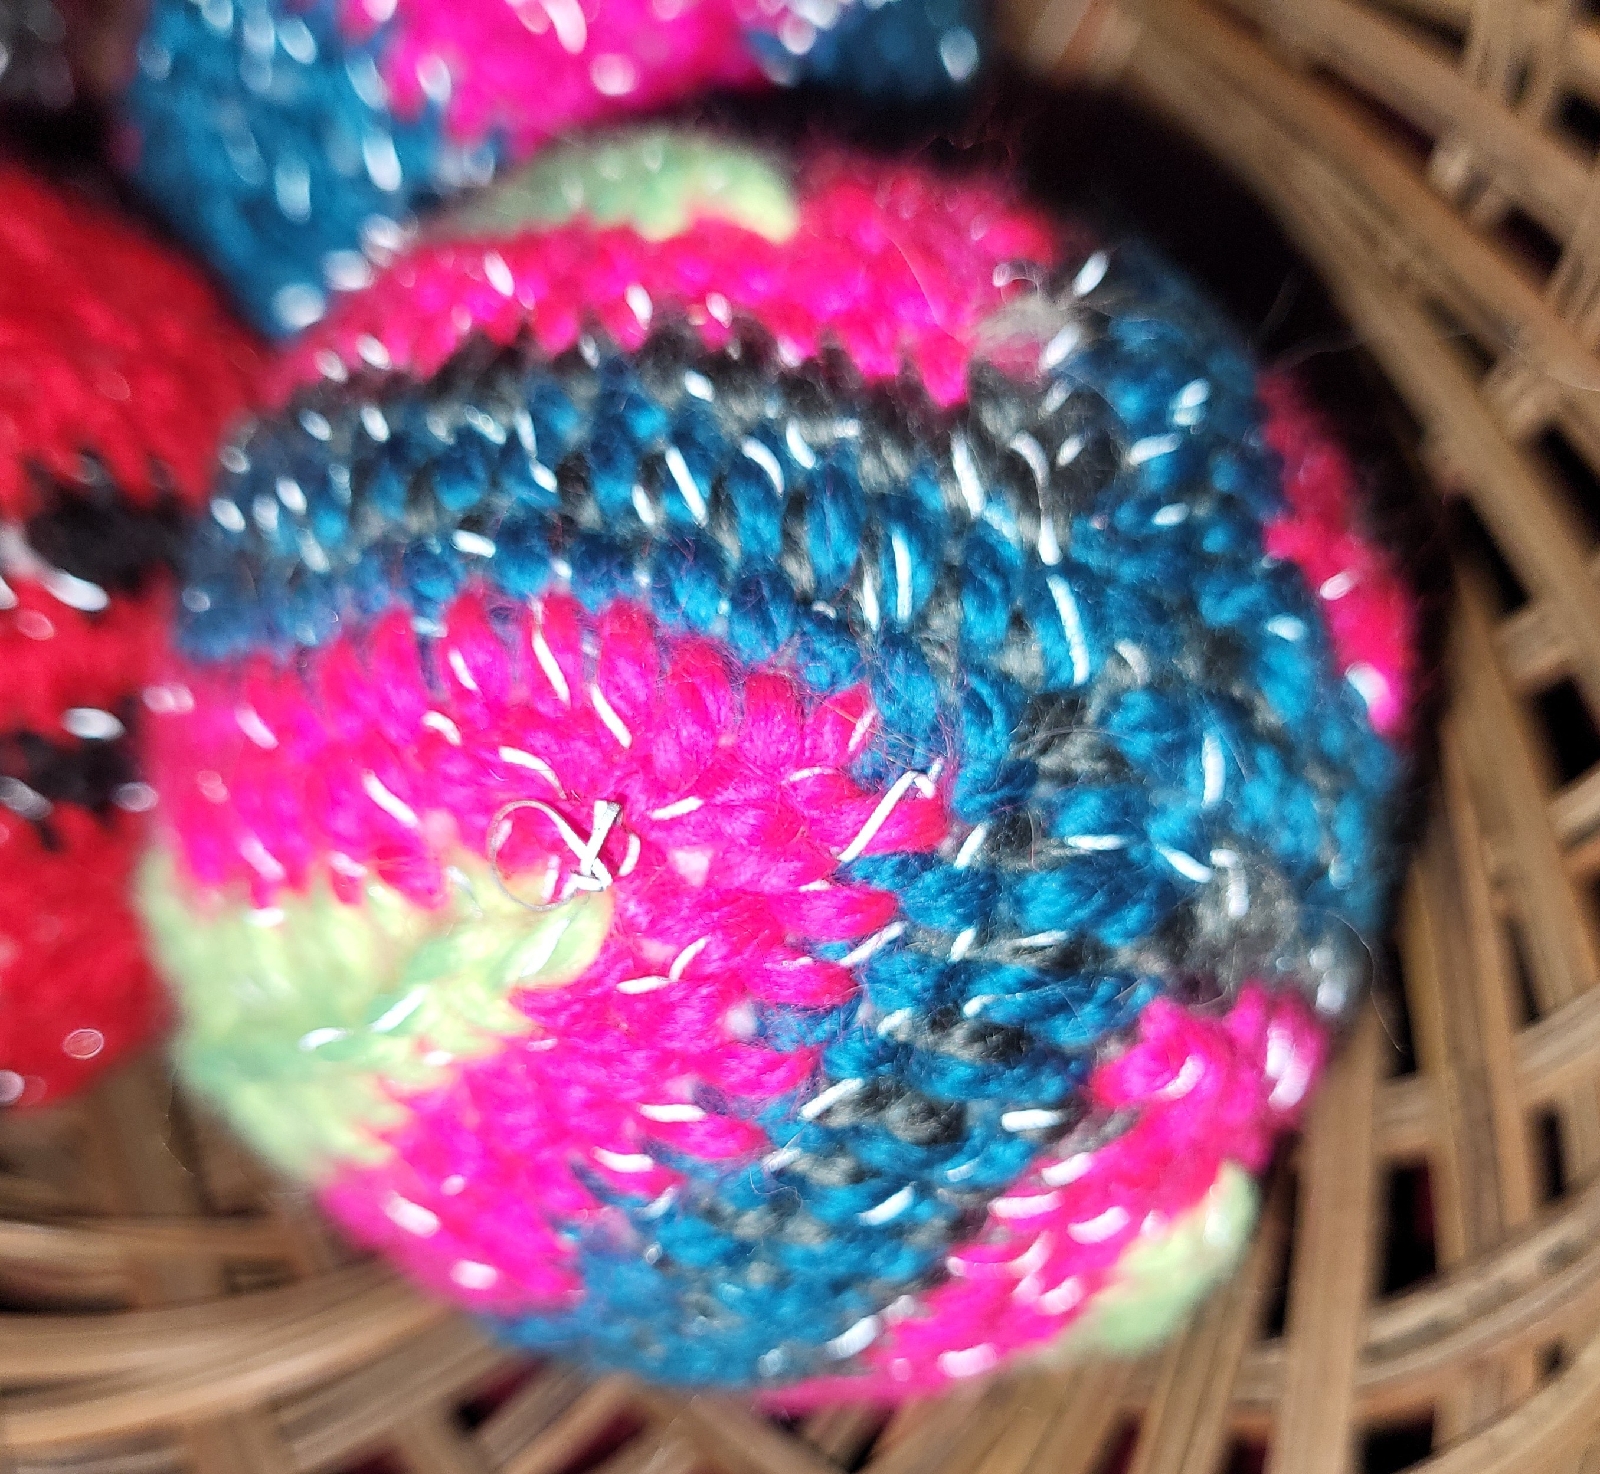
With these intended for Christmas decorations, I like to include sparkling or reflective elements. I was able to include both.  I had some red yarn with a silver metallic strand in it, plus a bag full of leftover bits of reflective yarn.  

I've finished stitching up two balls so far.  I started one in red and green, but didn't have enough this green yarn to do both halves, so the other half was done in blue.  

I still haven't decided on how I will attach hangers yet.  I also have some miniature Christmas decorations I might use to jazz them up a bit.  For now, I'm just focusing on stitching them up.

This yarn is a lot bulkier than what is used in the video tutorial, so these do work up fairly quickly.  Working with a needle and thread has proven to be easier on my hands, and the yarn doesn't have as much opportunity to snag, compared to crochet.  

I do miss crocheting, though!

I'm happy with how these are turning out so far.  In the future, I can see making some of these using actual scrap bits, like in the video, but with something like a bell and maybe a bit of catnip, inside.  They would make great cat toys!

So that is what we are doing for our Christmas decorations this year! 

How about you?  Are you doing any special crafting for the season?


Tuesday, July 9, 2024

Old tools

I haven't been doing much crafting lately - unless you consider rebuilding garden beds and planting, crafting!  We have had so much rain this spring, everything it set back by it.

Yesterday, my mother gave me some storage bins of stuff.  Mostly fabric odds and ends, and other stuff she hasn't touched in years.  There were some treasures tucked among them, though, including a lacy thread crochet tablecloth my mother made herself.  I believe she finishes it before I was even born, which would make it more than 50 years old!

There were also old crafting tools and sewing supplies that had belonged to her laye aunt, and a few of those may well be even older!  Here are some of them.


I tried to get legible photos of both sides of the hooks.

The thread crochet hooks are some of the smallest I've ever seen!  I will be looking up the brands for some of them.  Only the Boye brand is familiar to me.  At least, when it comes to crochet hooks.

My late great-aunt was an amazingly skilled woman, and I have a few of her fine crochet lace and embroidery pieces.  Some of the embroidery is on sugar and flour sack fabric.  It's amazing what beauty she could create, with so few resources available!

As for the hook with a point at one end, I can't quite remember what that is for!  I'll have to look that up, too.  I have seen similar before, but the more I try to remember, the more it escapes me! 😂


Wednesday, February 28, 2024

A quick incense burner

I have some incense sticks I really like, but they are ever so slightly too wide for the burners I have.  I have to carefully scrape one end of the sticks to get them to fit, and even then, they easily break when I try to set them in the burners, or fall out.  Not a good thing to happen with a lit incense stick!

So I picked up some cheap dollar store, oven bake, no name, modeling clay and made a new burner.

It's not the greatest, but not bad, considering I've never done anything like this before, and have no modeling tools.

Of course, as soon as it was cooled down from being baked, I had to test it out!

For the "bowl", I used the inside of a small dipping sauce bowl as a mold to get the shape I wanted.  Then I rolled out a small amount of dark brown to create the decorative lip around to top edge.  After that, I just made various shapes to decorate the middle out of the light and dark brown clay, while building it up to a depth that would hold an incense stick securely.  

Last of all, I used an incense stick to create the hole in the middle.  The hole goes all the way through so that, if the last, unburned nub of incense were difficult to get out, I could use something to push it out from below.

My makeshift tools were a straight sided water bottle to roll out the clay, a repurposed can to cut the circle, and a bamboo skewer to help position things, then gently tamp them into place, so the layers of clay would stick to each other.

I'm sure all those nooks and crannies will collect ashes, but that's okay.  The main thing is, I finally have a burner to hold my favorite incense sticks!