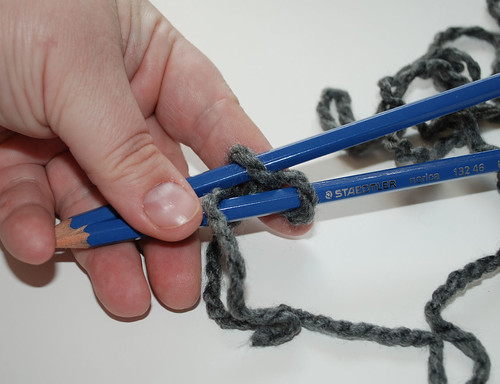
Start with two pencils of equal length. Preferably new and unchewed.
Yes, my dearest daughter, I'm looking at you. Glaringly.
Snark.
Anchor the yarn with a figure 8 around and between both pencils, near one end.
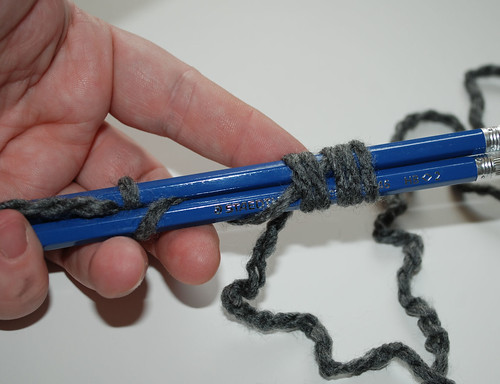
Pull the pencils snug together as you bring the yarn up towards the opposite ends, then start wrapping the yarn back towards the middle. At this point, place the wraps close together.
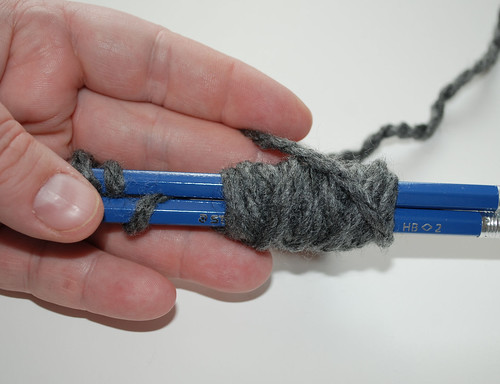
After a couple of inches, wrap the yarn back up again. Keep wrapping back and forth until it's about 3-4 layers thick, or more if you're using a thin yarn. With each layer, the wraps will be fewer and farther apart.
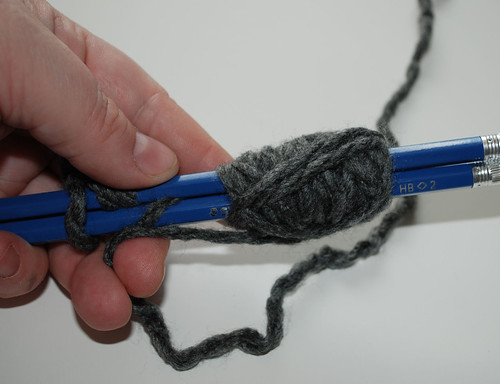
Once I'm happy with the thickness, I like to do a few wraps from top to bottom. This prevents the loops of yarn from coming loose and tangling later.
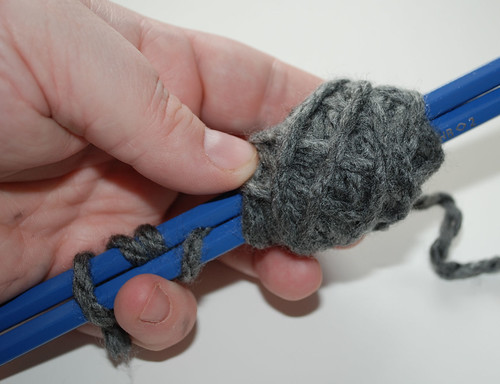
After that, just keep on wrapping!
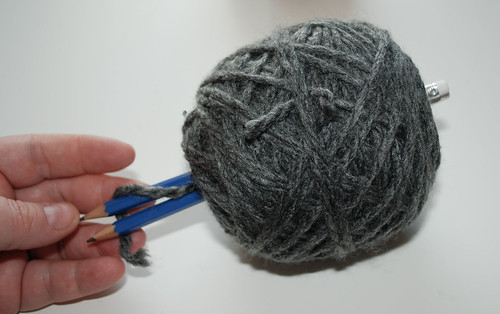
When you get to the end, lock the yarn in place the same was as described previously. Unwind the figure 8 you made at the start, if necessary, then remove the pencils one at a time (if you yank on both at once, you might inadvertently pull out the first wraps you made and create your very own yarn barf!).

Here's a comparison of the two methods. With the fingers and figure 8 method, the centre is completely filled, which is why it's so important for the yarn to be in a figure 8 and straight. If you just wrap the start around your fingers, without the figure 8, the loops catch on each other when the end is pulled and you can get a yarn barf. Using the pencils (and it's the same for the next method I will show), the open space in the centre prevents any of that.
Two down, one more to go. ;-)
No comments:
Post a Comment