Alrighty, then... back to it! :-)
With the book cover worked up, it's time to block it to the size of the book. I've got a cut down piece of foam insulation for smaller pieces like this.

The first step is to mark off the exact dimensions I need to block to, and the easiest to do that is to use the book itself. After tracing the back cover, carefully flip it over to mark the front cover.

For this piece, I wet blocked it, soaking it in water before pinning. Blocking method will depend on the type of yarn used. When pinning the corners, I made sure to line up the first row of sc inside the dc folding row with the corners marked out. The dc folding row and flap portions will be outside the marked edge. Once those were lined up, the long sides were pinned to the lines (I put one pin for each sc row), then I moved to the short sides.
After removing the curious cat, that is.
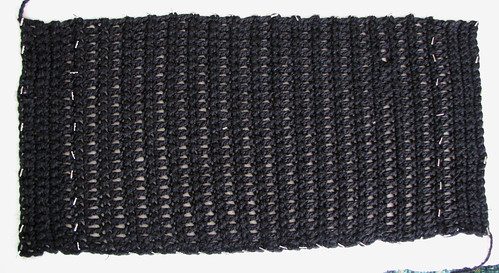
The first sc row inside the folding dc row was lined up with the markings and pinned, then the flap pieces were pinned straight. They don't need as much attention as the main body for the cover.
Once pinned, the whole thing was set aside to dry. With the yarn I used, it took about 18 hours to fully dry.
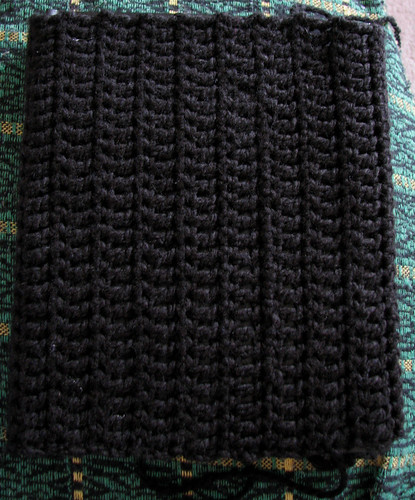
Here is the blocked piece wrapped around the book again. As you can see, the cover now completely covers the book.
It's now ready for assembly and the finishing touches. On to part three! :-)
No comments:
Post a Comment