For this hat, I used a some Patons Shetland Chunky Tweeds in Medium Blue that I had gifted to me, but hadn't found a project for it. It was quite nice to work with, and I would definitely use it again.
The recommended hook size is 6.00mm, but for this project, I went with a 5.50mm hook - I think. It was either that or a 5.00mm, and I really don't think I went that small. I may or may not work the pattern again and write out an exact details, but until then, I hope this description is enough for you to figure out how to make one yourself.
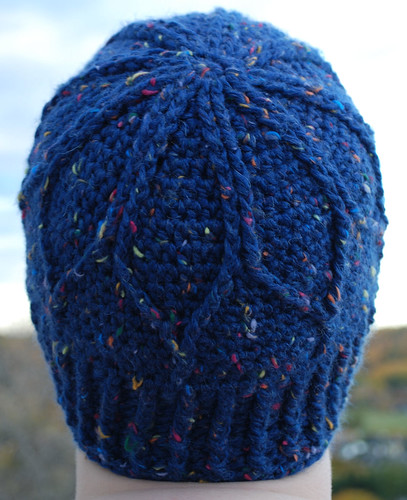
I started this pattern with a 9 sc magic circle. The next round was increased to 18 in dc. For the third round, I worked the increase stitches in hdc in between pairs of front post double crochet (fpdc).
For each round following, I kept working hdc in between the fpdc stitches until I reached the size I wanted. The increase stitch was worked into the top of the second of each pair of fpdc. I think I did one round without increases without changing where the fpdc were placed. After that, I worked the straight sides and changed where I placed the fpdc stitches by one in each direction to bring the cables into the points of the petals. The last round had one fpdc around both fpdc of the previous round, and one extra hdc added to make up for the one less fpdc.
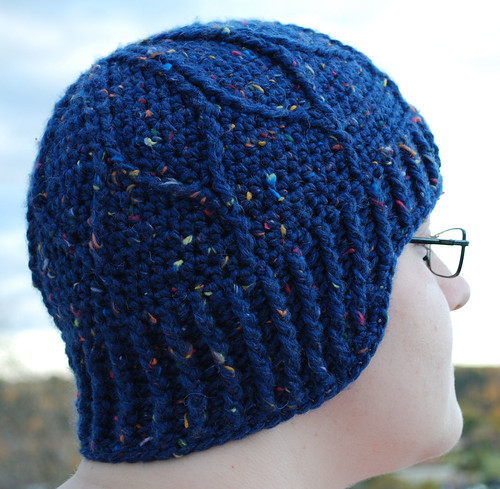
To finish the cap, I worked a "cuff" in alternating front and back post dc for several rows. For the ear flap I worked rows into slightly more than half of the hat - I tried it on first, then marked where I roughly wanted the flap portion to begin and end in front of each ear. I started and finished with an hdc, then did the rest in alternating front and back post dc, making I sure started and finished with the same stitch. When working on the inside of the hat, I also made sure to work front post stitches into the back post stitches of the previous row and vice versa, so that on the outside, it all came out the same.
To make the slight curve of the earflap portion, I reduced by one stitch at the beginning and at the end of each row by skipping the second last stitch and working an hdc into the last stitch of the previous round. Extra care had to be taken to make sure I did the front and back post stitches in the the next row in the right places.
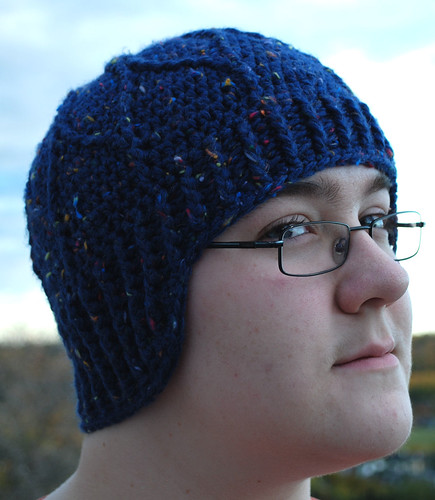
The hat was finished with one round of sc. The curve of the earflap was kept by working 2 sc in the "corners" of the flap, while two sc were done together where the flap switched to the forehead portion.
This hat used up most of the two balls of Shetland Chunky I had. The smaller hook together with the cables made for a much snugger fit than I normally do. I'm very happy with how it turned out, but to do it again I would move up to the 6.00mm hook. Either that, or it would do well as is for an older child. I really like how the earflap portion hugs around the ears and keeps out drafts, though for a glasses wearer, the snugness does tend to affect how the glasses sit on the face.
No comments:
Post a Comment