Part Two
In part two, I talked about the problem I was left with in regards to spray painting the frame. I admit, after about a week, I was sorely tempted to go with something else.
What I was able to do was set up an area indoors in the spare bedroom. Which wasn't supposed to be a spare bedroom, but we inherited a spare bed, so now we do. It meant taking down the photography set up I'd made in one corner, using a pair of small folding tables from Costco.

So I put one of those folded tables on the bed for a hard, flat surface. I had some thin plastic left over from when I did some tie dying on the dining table last summer. It was enough to cover the entire bed, though I would have like to have found a way to run it up the wall a bit.
I then took some cardboard (in this case, the back of an old desktop calendar pad) to put on top of the plastic drop cloth.
We already had the face mask from working with sprays before, plus I had the window open as far as it would go. We also opened some other windows a bit for a cross breeze. Then we had to turn down the furnace, because it kept turning on.
Things got pretty chilly for a while.

I also put some risers under the frame so it wasn't lying flat on the surface (in this case, some decorate glass beads that I happened to have nearby; anything evenly sized would do). This was because I wanted to spray the sides, but didn't want it sticking to the cardboard as it dried.

Then it was just a quick spray.
This is after one coat.
My daughter made sure to warn me not to spray too close or too much, or the wood would absorb too much moisture and start to swell.
This photo doesn't capture the colour of the spray very well at all, though. So...

Here is the first coat again, this time with flash.
That is some very metallic paint!!
After that, I closed the room up so the cats couldn't get in then let it sit for a while before I put on a second coat.

This is the frame after a second coat, and after it had sit for a few hours.
And yes, that's a cat's tail. She made taking photos rather challenging.

Here's the back of the frame, where you can see the spacing of the glass beads I'd used as risers. Good thing I don't need them for anything else, because they did get spray paint on them.
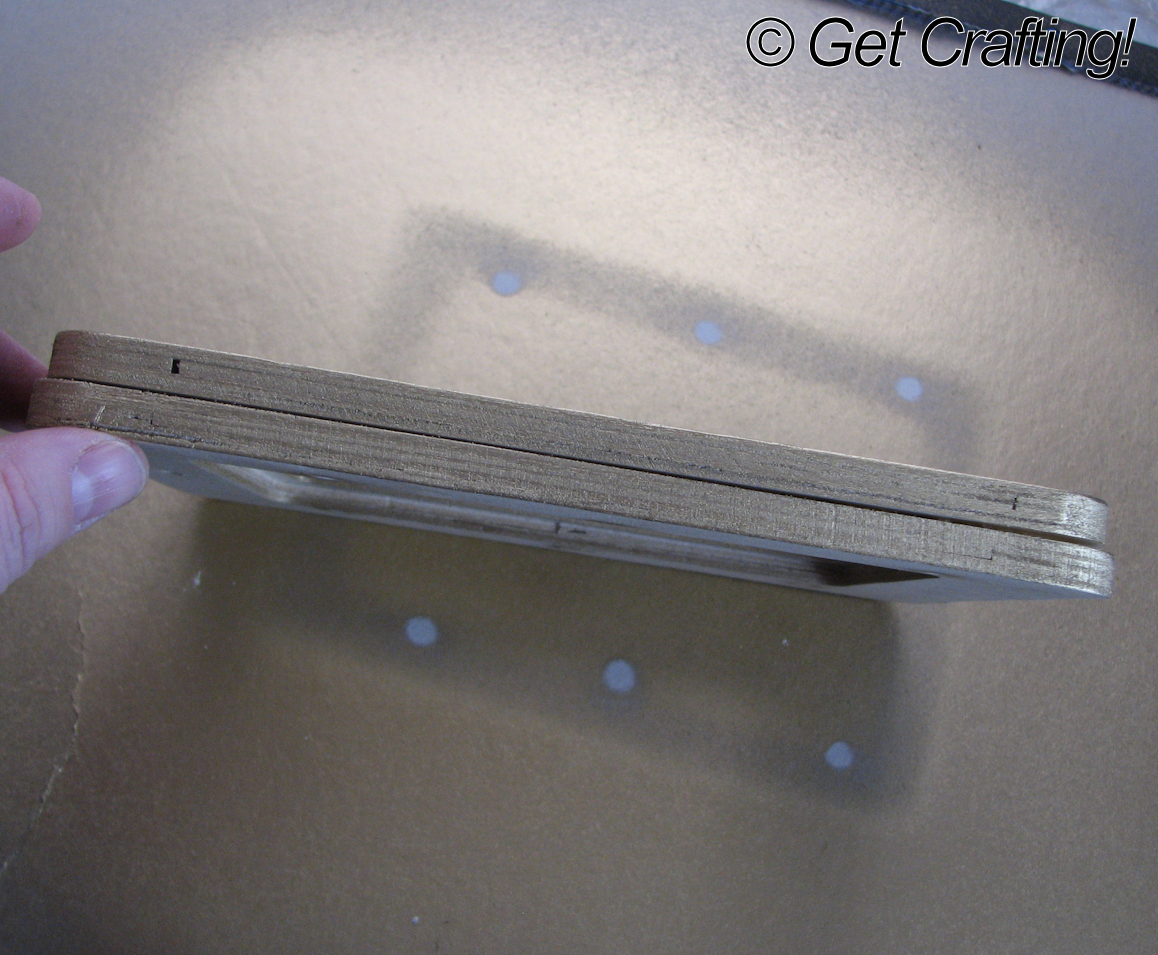
And a view of the edge.
The only real challenge was to spray the edges evenly, without also spraying my wall accidentally.

Here we have the frame after it was left overnight - and again, it takes the flash to really show off that metallic paint!!
Now it's time to put in the hooks.

At this point, I was really happy to have those pilot holes.
If I hadn't had a drill, I would have used a hammer and small nail, which would have really sucked.
To save your fingers when the hook is almost completely screwed in, a pair of pliers to do the the last few twists is very handy. Just be careful not to damage the surface of the hooks, or scuff the surface of the frame.

Here it is! The finished frame, with all 12 hooks in place.

Here's a closer view to show you how the painted screen looks, as well as the inside of the frame.

The finished frame, mounted on the wall.
Though I had intended to use the pre-drilled hanging holes in the frame, I decided to instead made use of the gap behind the screen and set up a pair of hangers, hidden in each inner corner. This way, the weight of anything I hang won't off-balance the frame and cause it to tip.
It works very well!
The frame itself is quite small, so I will be making a larger one, eventually, but for now, I finally have some of my jewelry easily accessible, and also out of the cats' reach.
Including the one I found under the mini-fridge we keep my husband's meds in. I had been wondering what happened to that one...
There you have it!
If you decide to make a frame using these instructions, please do feel free to send me photos, or post them on the Get Crafting! Facebook page.
Happy Crafting!
No comments:
Post a Comment