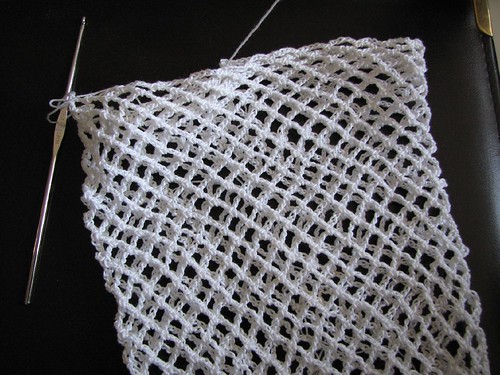
I finished off the rows of 5 ch loops shorter than I'd originally intended, but it was pretty close to what I was aiming for.

To reduce the tube, I repeated rows 5, 4, and 3, in that order, working each row of smaller loops into the loops of the previoius row. I then did a row of 1ch, 1 sc into each 2ch loop, slip stitching to finish the row.
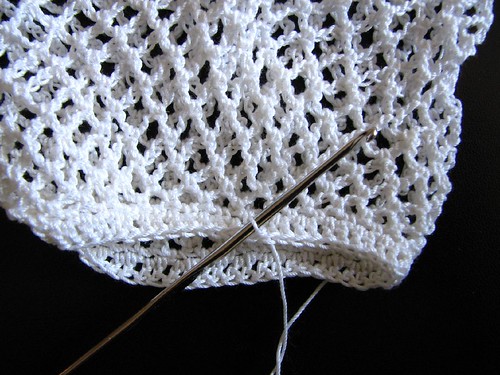
Next, I chained 3, then did 1 dc into each 1sc and 1ch space to the end, slip stitching to finish.
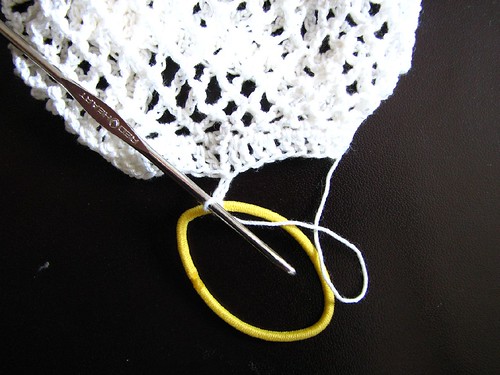
Now the fun part. To work the elastic in, I first put the ball of thread through it, so that the thread ran through the elastic while the hook remained on the outside. Next I chained 2, then did a third ch around the elastic.
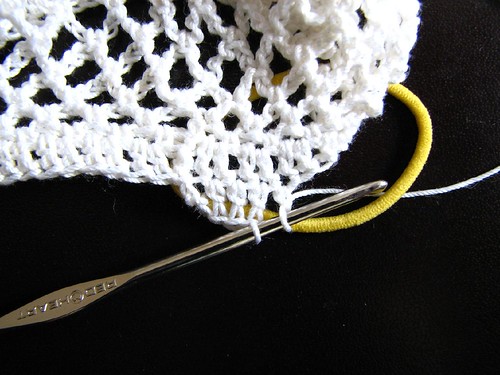
To do the dc, I worked the first half under the elastic first. This is how it looks from the front...
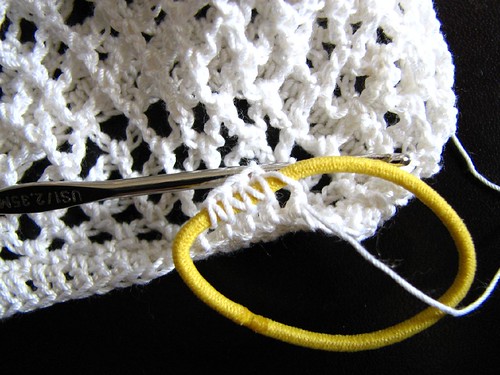
...and from the back.
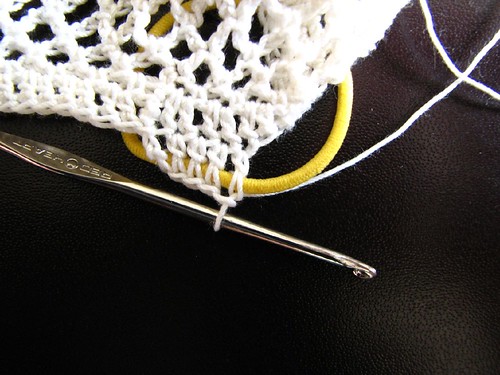
Then the second half of the dc was done above the elastic, encasing it in the top half of the stitch. Here's a front view...
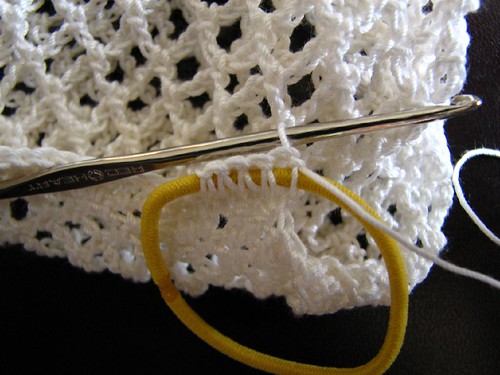
...and the back.

Continue on with one dc in each dc in the previous row, covering the elastic completely and finishing with a slip stitch into the first ch stitch inclosing the elastic. Give the elastic a few stretches to spread the stitches around evenly.

Make a chain long enough to hook over whatever you plan to hang the bag off of, then slip stitch the end to the top of an opposite dc.
Finish off ends at top and bottom.
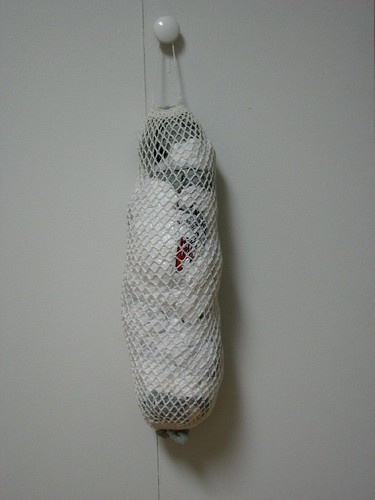
Here it is. The finished bag.
1 comment:
Beautiful and useful, I really like it!!!
Thanks a lot for sharing this.
Catherine from Dominican Republic
Post a Comment