This year, I'm starting far later, but thankfully the project I chose this time is very quick to make up. A crafter friend had shared the instructions, and this is my variation of the design.
First, go visit the site and check out the excellent step-by-step instructions that are already there. I did things differently, but the wrapping instructions are unchanged.
Now, on to the materials.
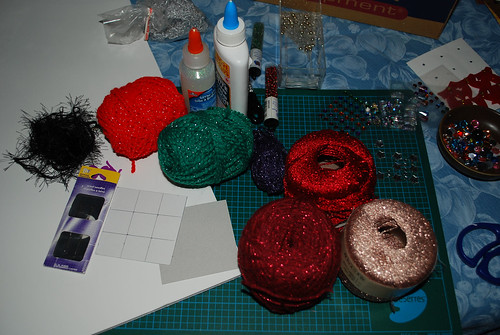
For my version, I decided not to use squares of cardboard glued together. Instead, I found some foam core to use. It's not something I normally buy, as I find the cost per sheet ridiculous, but I happened to catch a sale at Michaels and bought two sheets. I've been using one of them as a backdrop for a lot of my craft photos now. Very handy.
For the template, I cut two 3 inch squares out of some light cardboard I happened to have - they were from packages of 4x5 printer photo paper. I also went through my yarn stash and dug up some Christmas yarns I used to make hats last year, with a silver metallic thread twisted in, some Patons Brilliant left over from the Ballet Neck Sweater I made for my mother, and some shimmery yarns I picked up here and there but never settled on a use for them, as well as whatever odd bits of yarn I thought might be interesting. We ended up using yarns not pictured, but I'll get shots of all of them later.
Also on the materials list is scissors, an Xacto knife, sticker gems for scrapbooking, craft gems, white glue, glitter glue, beads and whatever else I found in my craft cupboard I thought might be useful.
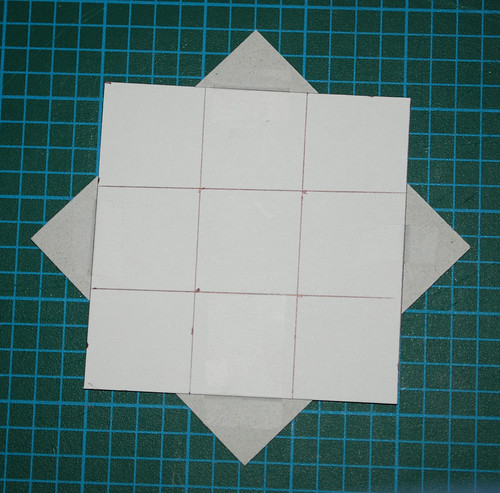
To make the template, I marked a 1 inch grid on a square to have some guidelines, then taped the two together to make an eight pionted star.
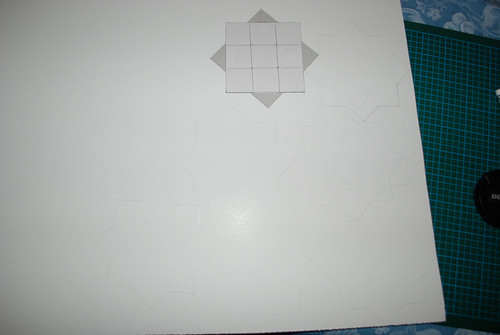
Then I began tracing the shape onto the foam core. I placed them very close together, sometimes right up against each other because... well, I guess I just like making things difficult for myself. ;-) I hate waste, and it seemed to me having too much space in between the stars would leave me throwing out far more pieces of foam core than I wanted. If you're not particularly confident with using an Xacto knife - or just want to make life easier - I'd recommend spacing them out more.
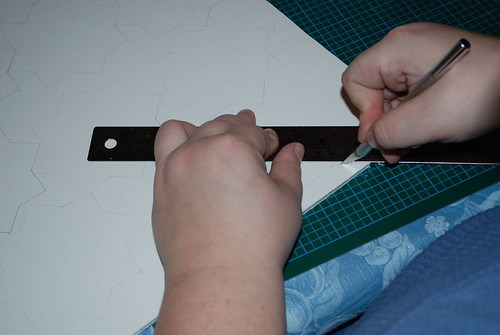
Then I borrowed my daughter's shorter metal ruler (mine's an 18 inch size; way too big for this job) and started cutting out the shapes. Using my right hand.
I'm a lefty.
One thing about crafting is that I'm learning to use both my hands a lot more! The sheet of foam core took up too much space to be able to twist it around as I cut, so I had to use both arms. As I worked farther up the side and the angles got harder to reach, I ended up roughly cutting out the shapes so that I could do the fine cutting without the rest of the sheet in the way.
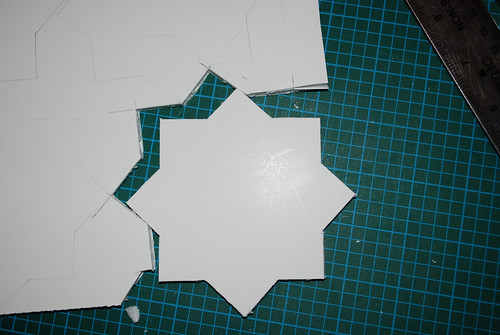
The first star shape. Unfortunately, my blade was a bit dull, so the edges aren't as neat as I'd like, but with this pattern, as long as they're straight, it's okay.
I did end up having to go out and buy more blades, though, as I couldn't find my package of spares. Ah, well.
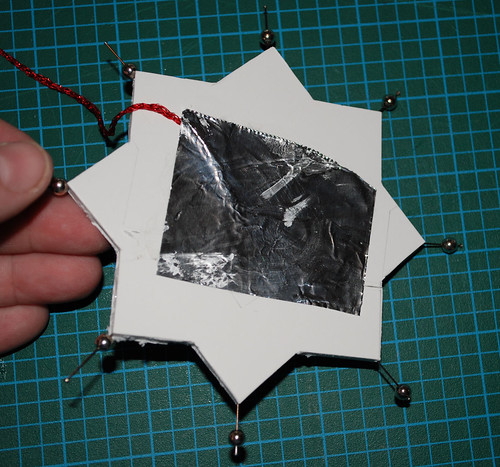
I refer you again to the detailed instructions leading up to this stage.
For my first star, I decided to go with a sparkling yarn that was much thinner than the instructions recommended. The end is glued in place under some regular kitchen foil (making sure to wipe off the glue that got onto the front, once I finished getting this shot), and I chose some silver beads to add to the pins on the points. The beads are optional, but I prefer with over without.
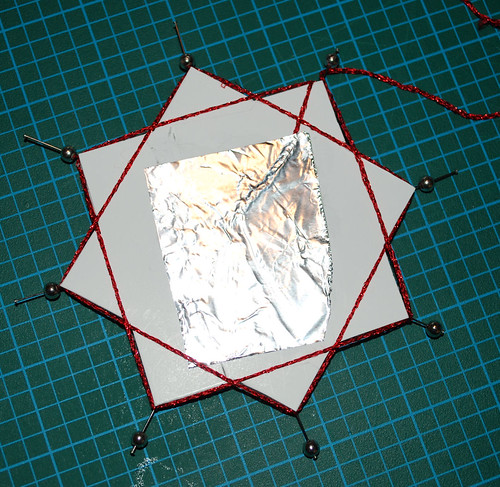
Following the wrapping instructions, this is the first round from the front.
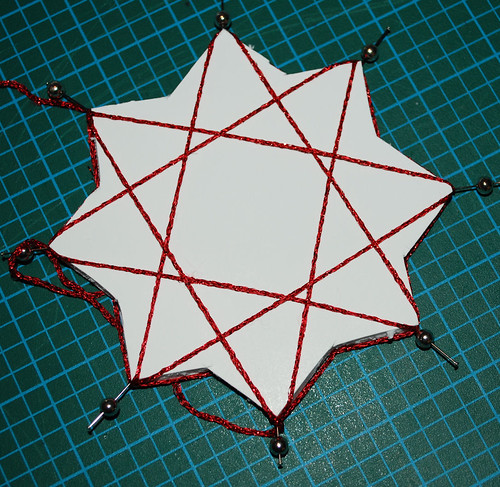
Here's the back view.
I kept wrapping, but after a while it became clear that my yarn choice was really too thin. Too much white was showing in between the strands. Unfortunately, I didn't think to get a photo to show the problem until after I'd undone it, so you'll have to take my word for it. It kinda sucked.

I decided to simply add another yarn and just taped the end beside the first. This yarn is some Bernat Shimmer left over from a skirt I crocheted from my daughter. (Once I've added an elastic to the waste, I'll be doing a post on the skirt, too.)

The combination of yarns worked out much better. As I went around, I loosely twisted the two strands around each other to keep them from separating while I worked. Here's the front after two complete wraps. By the time I started the second wrap, I pushed the pins and their beads snug against the points, rather than wait until the end. I found they tended to get in the way as I wrapped.
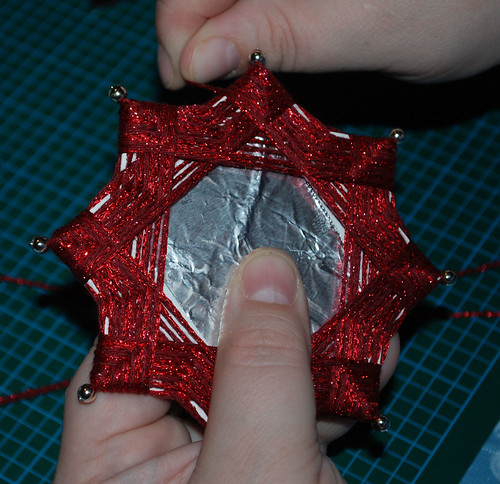
This is after about half a dozen wraps. You can see how nicely the points are starting to form up, which wasn't happening when using just the thin yarn alone. I was able to wrap these quite tightly, as the yarn had very little stretch to it. The emerging pattern reminded me of temari quite a bit.
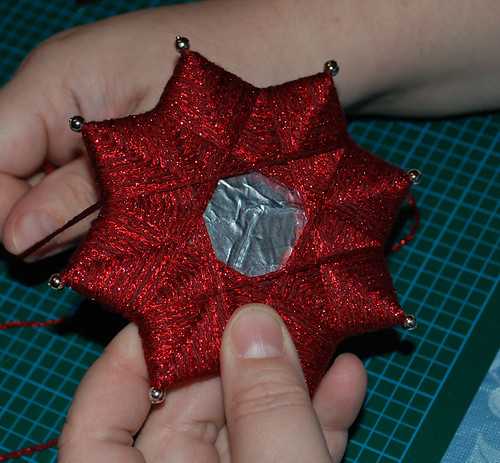
I kept on wrapping until the points were completely covered. This is the very last wrap on the front.
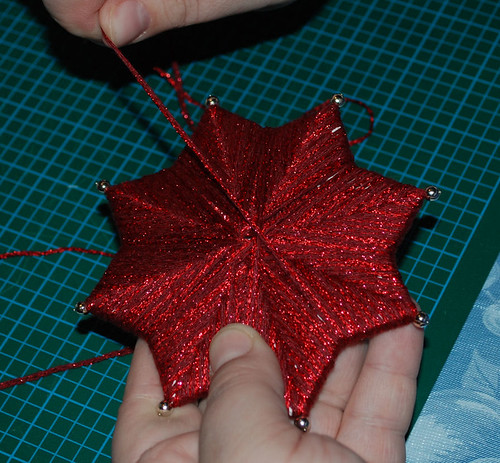
The back builds up fairly thick in the very centre. This actually made it a lot easier to finish the yarn end.
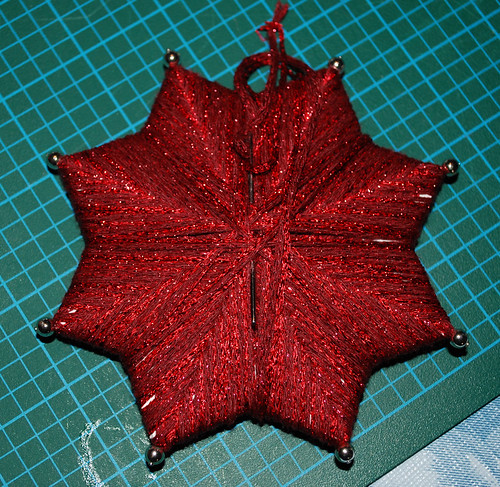
Using a tapestry needle, I sewed the end into the centre of the back, crossing the stitches a few times...
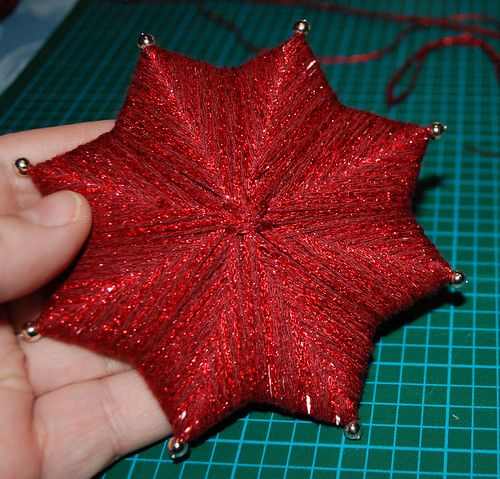
So that it would look nice and neat, like this.
The hanger was stitched into the back last for this one, but with the ones I planned to use glue on, I added the loop at this point.
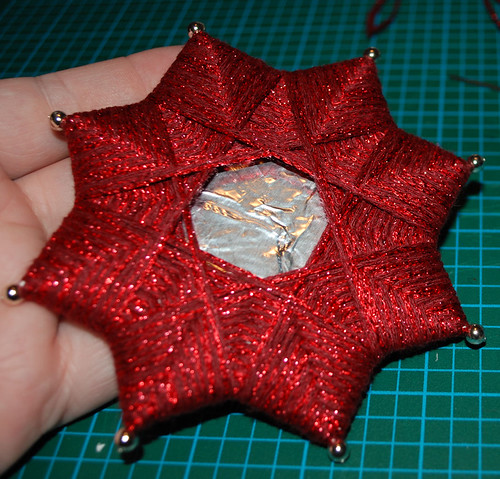
The front, ready and waiting for some final touches.
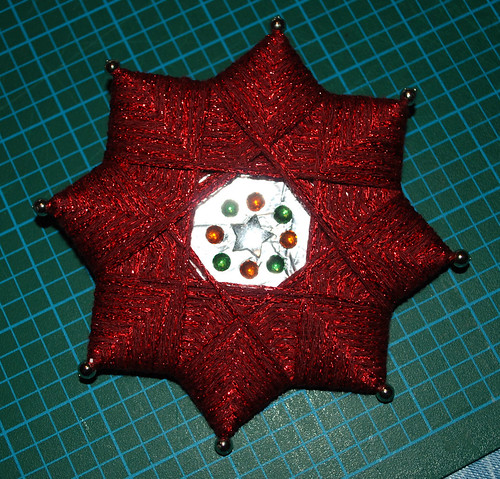
For this one, I used just some adhesive scrapbooking gems. At this point, the ornament is complete, except for the hanger.
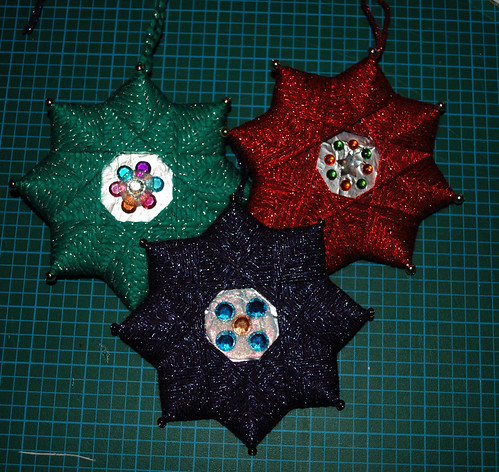
Here are the first three completed ornaments. For the green and purple, I used some glitter glue, which is still wet in this photo, to place the gems.
After these were done I headed out to get my new blades so I could cut out more shapes without tearing the edges too badly. Since then, one of my daughters and I made six more, most using novelty yarns, and using decorative papers in the centres as well as foil. Once the shapes are cut, these are remarkably quick to make. It's almost addictive! When we're done, I post more photos. I'm very pleased with the results.
4 comments:
Now I know what my project will be for next Christmas! They turned out beautiful!
They look so pretty! I think they would be great for a grandparent or teacher gift with a picture of your child in the open space.
Fantastic - you are so very talented! They did turn out so very well!
Thanks, everyone. :-)
Donya, in the original instructions I linked to, they show some that have a photo framed in the middle. It works rather well. :-)
Post a Comment