I've started up a new crafts set on my flickr account that you can visit to view the full size images.
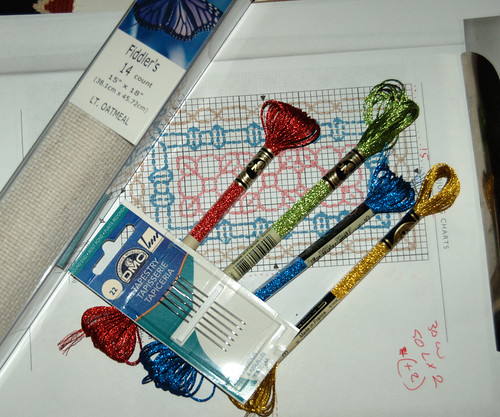
The materials for this project - at least the stitching part of it. Some Aida cloth, Jewel Effects embroidery thread from DMC, and patterns from the book, Creative Backstitch.
I would have preferred to use a different colour of cloth, such as a bright red or a dark green. There wasn't any available, so I went with the off white and chose my thread colours accordingly.
When the stitching is done, the sachets will be filled with cinnamon sticks, which I want to have sticking out the top, some whole cloves, and a bit of fiberfill, which will be scented with vanilla oil.
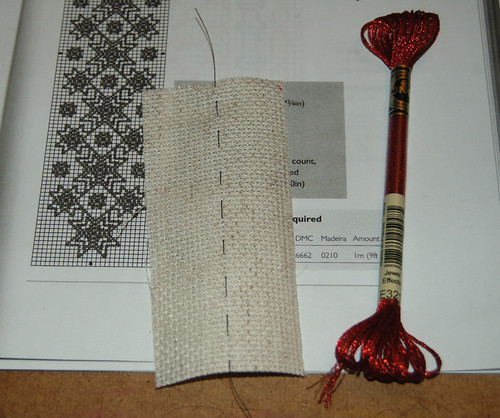
The first pattern I worked on was an adaption of a bookmark. I counted out the number of squares I needed on the Aida cloth, then added a couple extra rows before cutting it out. For these, I only need to mark the centre of the cloth in one direction.
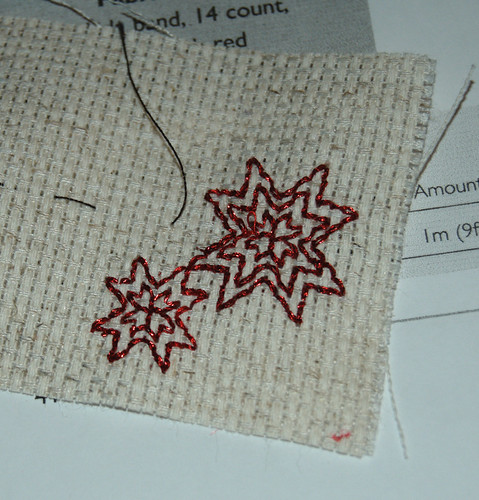
Here's the start of the star pattern. It's been a long time since I've worked on Aida cloth and forgot how easily the edges fray. I should've used some Fraycheck or something. The size of the sachet is a bit on the small size, though, so when I get around to doing the pattern again in a different colour, I'll be cutting out larger pieces of cloth.
I'll be honest - that metallic thread is *horrible* to work with. I'm using 2 strands on the needle, but the strands start to unravel rather quickly, so I find myself with 4 thin strands in no time at all. It also catches (as you can see by the bit of a loop on the larger star) and breaks apart easily. I end up having to use far shorter lengths of thread than I prefer. I dislike having to restart new threads so frequently. Still, the sparkle is beautiful, and that's what I'm after, so it's worth the frustration.

A view of the back of the work in progress (like I mentioned before, I find I learn quite a bit from the back of a piece of embroidery).
That's another area where this thread is irritating. The ends don't like to stay anchored, and when stitching over them on the back to hold the ends in place, little strands tend to catch and get pulled to the front.
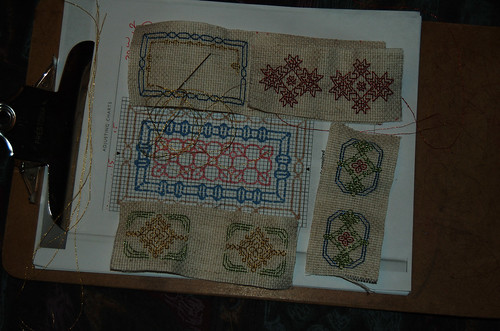
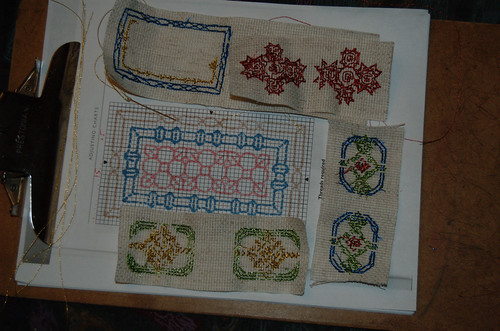
Now we're into photos I took today. This is a view of what I've got done so far. The one on the bottom and the one on the right were both actual sachet patterns from the book, which were stuffed with lavender blossums. I added more rows to the sides than I did for the stars pattern, but I'll be going even bigger for others done in the same patterns.
The piece in progress at the top is a pattern from the book that was modified for a needle case. I still added a couple extra rows, and I'm liking this size.
A quick look at the backs.
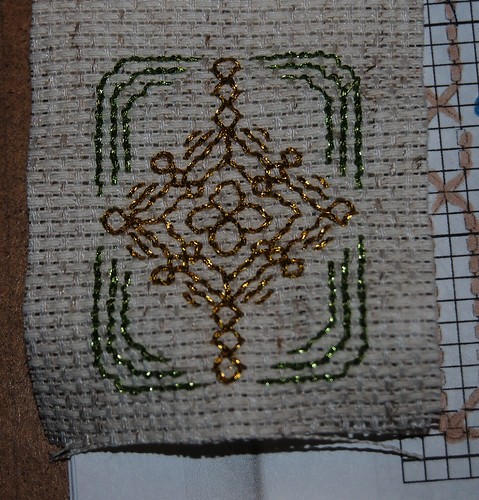
A closer look at the front. In the book, these were done all in one colour in regular embroidery thread. Half the fun is modifying a pattern to suit my own preferences. :-D
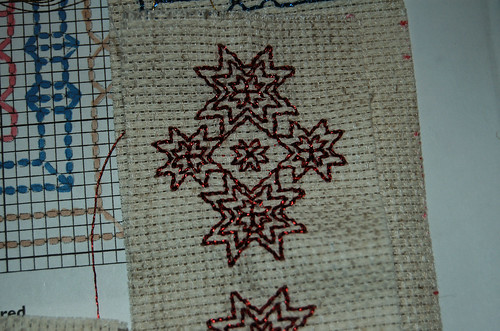
A look at the finished stitching of the modified bookmark pattern.

A closer look at another of the sachet patterns. You can see that the edge on the right, which will be part of the top of the sachet, is fraying quite a bit. Even with the extra rows I've added, it's going to be a bit of a problem when it comes time to finish the top.
I'm going to do all the stitching first, then will do all the assembly, stuffing and finishing at once. I hope to make about a dozen of these, but I'll be happy with 8 or 10, if I start to run out of time.
No comments:
Post a Comment