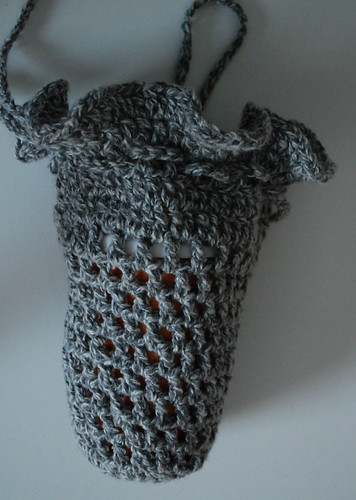
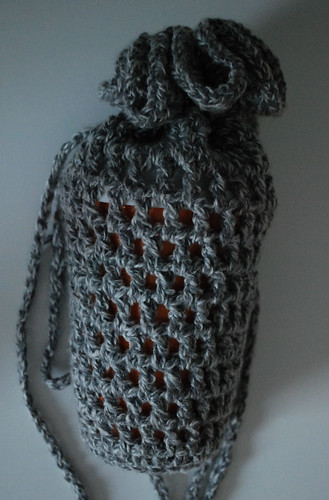
This one is a bit larger and looser than the first one, making it easier to take the cup in and out.
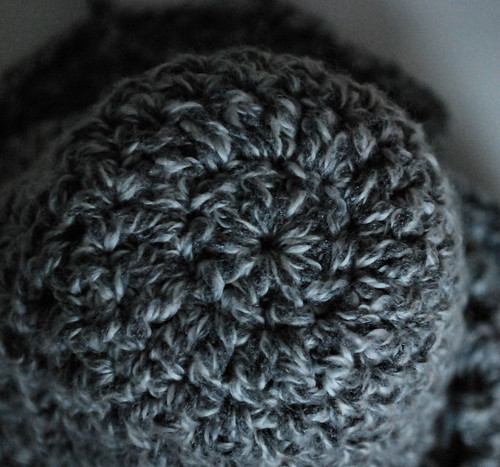
For this one, I started with a ch 5 loop and worked 10 half double crochet stitches into it. The second round is 2 dc into each stitch of the first round. This made a slightly larger base than with the first bag.
To build up the sides, the next round was 1 dc in each dc of the base. With the base being larger, I didn't bother working into the back loop only, as I did for the red bag, but into both loops as usual.
The first mesh round was 1 dc worked into the first dc slip stitched into (I started each round by doing 1 loose chain, then a dc into the same spot), then ch 1, skip one, 1 dc in the second stitch from the start. The pattern was continued around, ending with a ch 1 slip stitched into the top of the first dc.
When working the next few rounds, it's one dc worked into each ch 1 space, ch 1. After several rounds (to about the middle of the height of the cup) I did one increase round by doing [1 dc, ch 1, 1 ch] into two spots opposite each other in a round. Then I continued working rounds without increase until it was about the height of the cup without its lid.

At the top, I switched back to all dc stitches, working 1 dc into each dc and each ch 1 space all the way around. Another round was done with 1 dc into each stitch of the previous round.
The drawstring round was done with 1 dc, ch 1, skip 1, similar to the first round of mesh at the bottom. If I remember correctly, I ended up with an odd number (you can see in the photo that the drawstrings go around pairs of stitches) and I ended up skipping an extra stitch at the end of the round. Or something.
The next round was back to working dc stitches into the stitches and chain spaces all around. I decided to add a ruffled top by doing one more round with 2 dc into each stitch.
The drawstrings are simply two long chains. I weaved them in, then stitched the ends together end-to-end to try and make it as smooth as I could. The drawstrings on this one are long enough that the bag could actually be worn on the shoulder.
There was a bit of yarn left over, so I once again made a little flower.
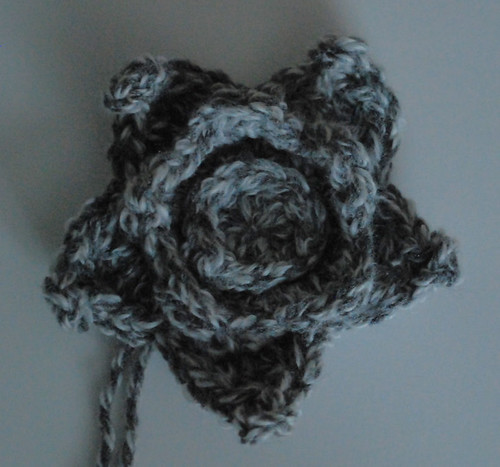
This is another variation of my book cover flower, starting with a centre ring of 10 stitches to get the 5 petals. The pointed petals in the back are done by working a sequence of [sc, hdc, dc, tdc, picot into top of tdc, dc, hdc, sc] into each loop.
My daughter hasn't sewn it onto the bag yet, so I don't know if she'll decide to add any extras to the middle or now.
Between the two of them, my daughter finds the grey bag easier to get the cup in and out, but she finds the straps too thin and doesn't like to use them. I guess I should have gone down the back like I did with the red bag after all! *L* So because of the straps (and because she finds it prettier), she uses the red bag more often, even though it's a bit of a pain to get the cup out.
No comments:
Post a Comment