For this version, I chose to work with a bulky yarn, Phentex Chunky. (I'm not bothering to link to them, since they don't seem to have much of a website.) They're a Canadian company, and the yarn is similar to Bernat Chunky, which would probably be fine as a substitute (in fact, I think they're the same yarn - I've found the same free patterns on the labels of both brands). I found the yarn at a Zellers, and worked with a 6.00mm hook.
I ended up making a couple of false starts with this. Like my prototype, I began with a top panel, but this time I wanted to have the back slightly narrower than the front, instead of just a rectangle.
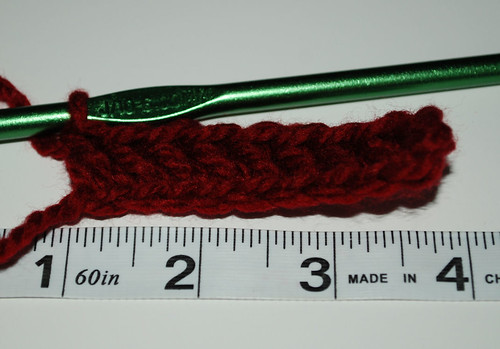
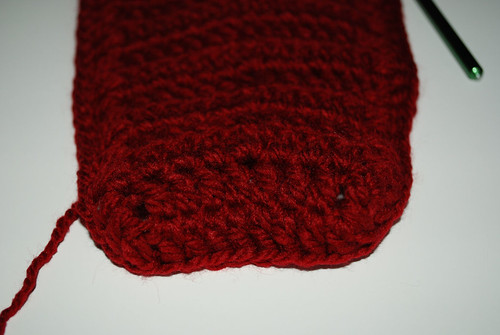
Working into the back bars of the foundation chain, leaving the top loops to work into when the back and sides are done. The first row of this panel is meant to rest at the top of the back of the head.
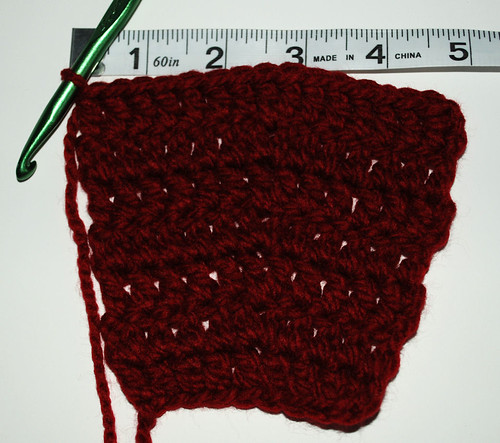
For my first attempt, I tried working increases into the middle of the panel, instead of the sides, until it reached the width I wanted. At this point, I was still okay with how it was turning out, but not sure if I liked the centre increases.
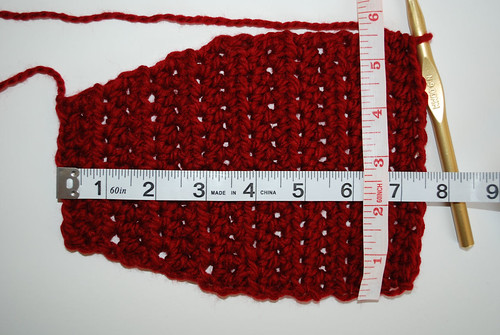
Then I worked straight rows until it reached the length I wanted, which is roughly the distance from the top back of the head to the hairline.
Instead of turning at the end of the row, I just started working along the edge to start building up the side.
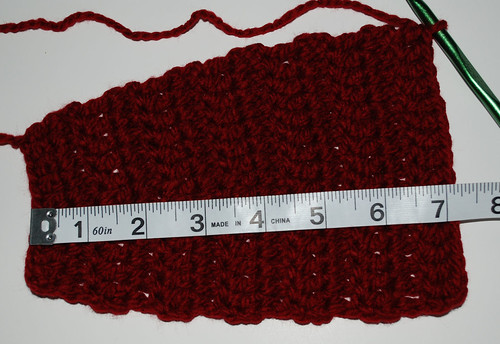
After I worked around three sides, I realized I wasn't happy with this. One of the reasons I went with a narrower back is to avoid the "points" that showed up at the corners. This yarn is a lot less flexible than the Homespun I used before, making the points at the corners a lot more pronounced, instead of less.
I ended up frogging the whole thing and starting over a few times.
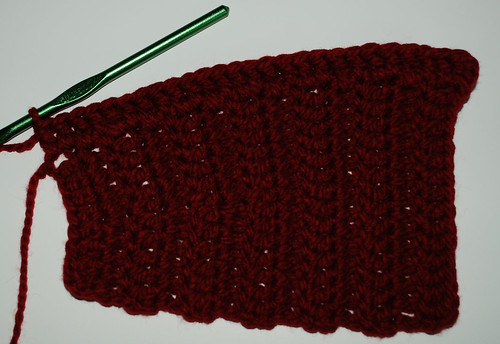
For my next attempt, I did the increases and the start and finish of each row instead of the middle. I also changed stitches from dc to hdc.
Unfortunately, I wasn't able to get any photos of the next steps at all. The details will have to wait until I get the pattern up.
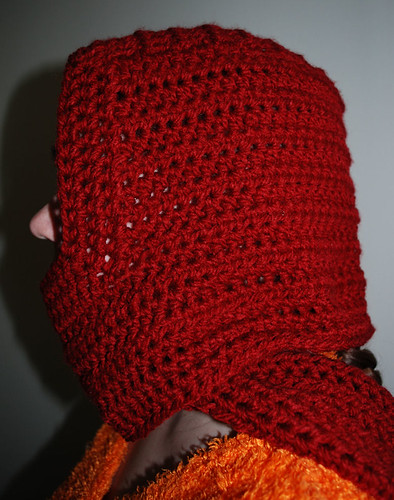
Here is the essentially complete scoodie. I did add to it, but that will be in part two.
In this photo, you can see the different sections fairly clearly. There are no "points" at the back of the head (yay!). I'm happy with how seamless the different areas mesh together.
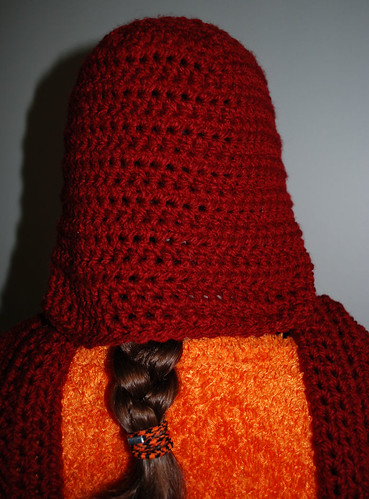
Another change from the prototype is that I did NOT do any decreases at the back. The scarf portion is long enough to wrap around the back and get tied in the front.
Tomorrow I'll have photos of the finished, embellished scoodie, and then I'll put up the pattern itself.
No comments:
Post a Comment