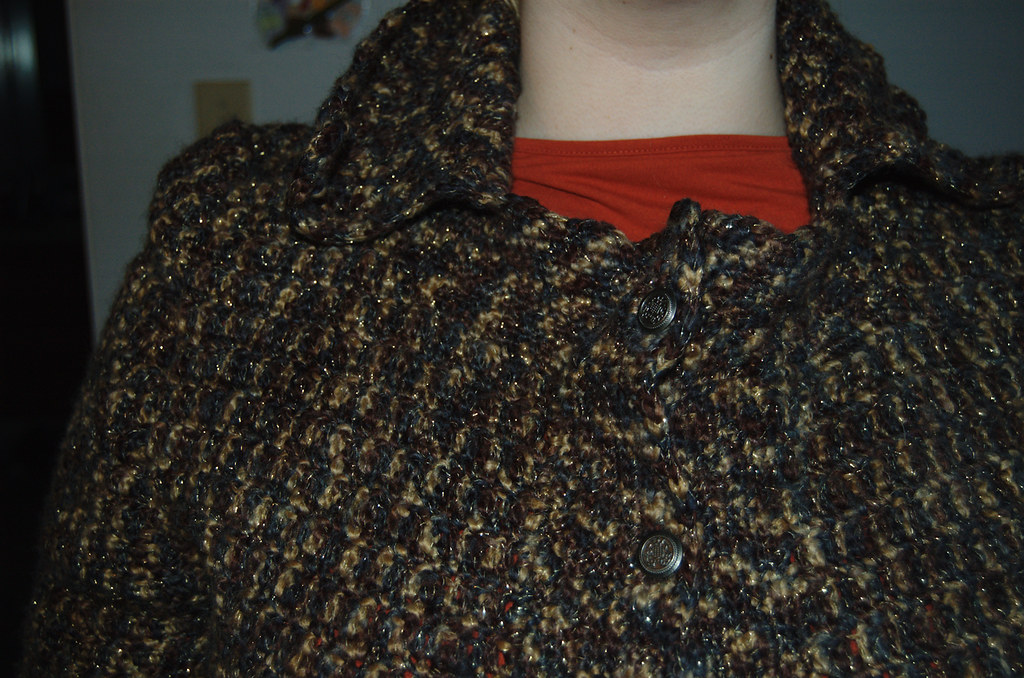
Here, my daughter is wearing the coat with the top button undone. I was a little surprised at how well they folded down into little flaps like that.

Unforunately, they don't looke quite so nice and smooth with the top button done up. The collar has a tendency to curl up a bit. I'm hoping that, as the stitched relax while being worn, this will work itself out.

A longer look at how the buttons look on the front. Although we added 7 buttons in total, my daughter figures she won't actually use the last two a whole lot.

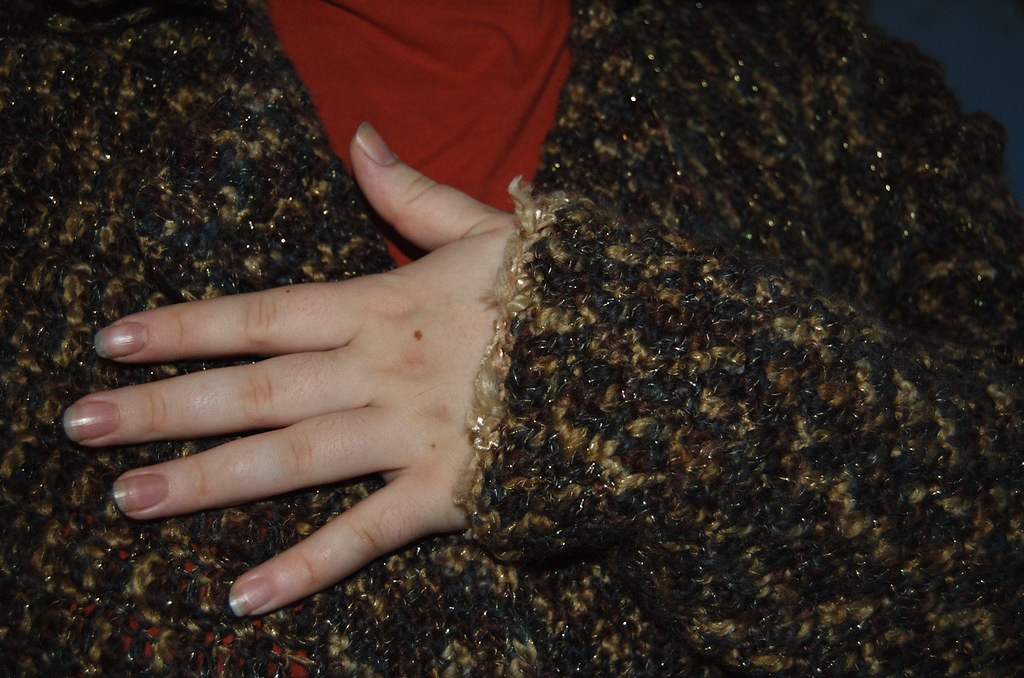
A bit of detail on how the cuff edging looks.

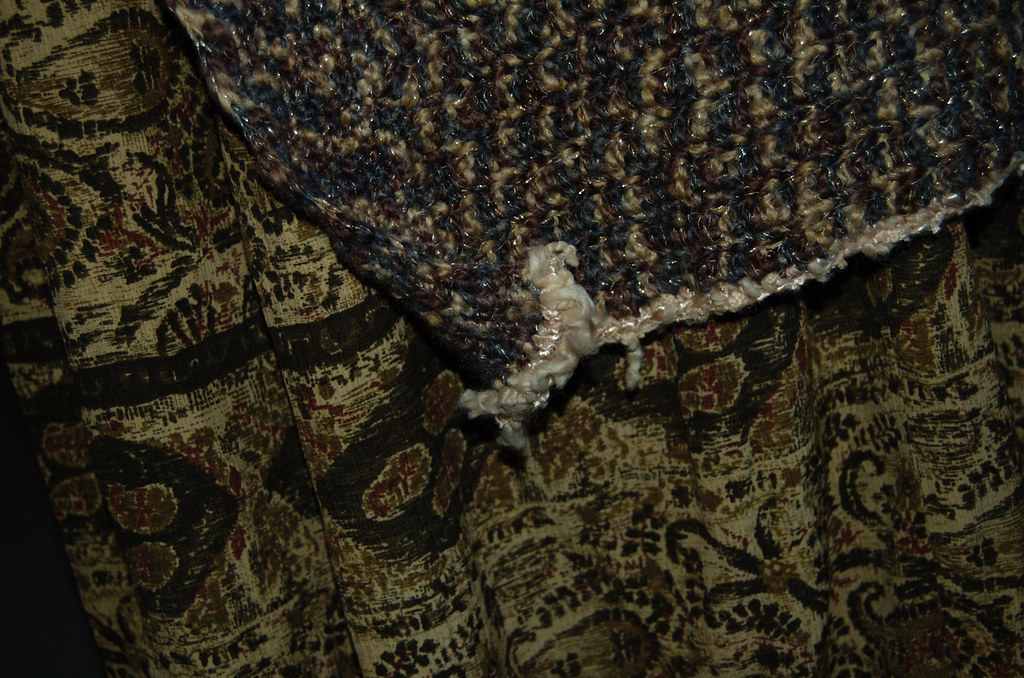
And the edging on the bottom.
Oh, I was wrong on the length. It doesn't reach her knees. It reaches half way down her calves. :-D
The corners here tend to curl up, too. In this case, it's because the edging is worked into each row of the button band, which was worked in the smaller hook and tighter than the panel edges. If I'd thought about it, I would've skipped a stitch or two at the button band areas to prevent this.
There it is! All done!
To recap the project...
What I changed: The basic pattern was a cardigan in Plus Size Crochet. I used it mainly as a guide. The yarn is completely different from what was used in the pattern, and I adjusted the length considerably. I chose to use the 2X size instructions, taking into account the varying width of the yarn I was using. I used the same sizes of hooks as recommended and paid particular attention to the instructions for the arm details, as that was where I was least confidant in what I was doing. The pattern had no collar at all, so that was another change.
What I would do different: I was really surprised by how narrow the front panels worked out to be, even going with the larger size. Adding the extra rows to the button band worked to a certain extent, but I really would've preferred not to have needed to do it. If I were to make this coat over again, I think the easiest thing to do would've been to go another size up. It would've made for a looser back, but I wouldn't have had to add so many extra rows to the button band.
Alternatively, I could have found a way to shape the front panels to conform to my daughter's body shape. Increasing the width to the body area, then decreasing towards the neckline, for example.
In the end, though, I think the unusual yarn with its varying thicknesses played a much bigger part in sizing than I expected it to. Were I to make the same coat using a regular yarn, the result would be *very* different, and I suspect a lot of the sizing issues wouldn't be there. At least not as much.
Final verdict: For a learning experience, this worked out quite well. I was flying by the seat of my pants in a few areas, which made it a fun challenge. For a project like this, I like the simple pattern of alternating sc and dc rows.
There are a few problem areas. The shoulder bunching up when my daughter moves her arms, for example. She's talking about making some "Warcraft shoulders of plus 3 resilience" to work around that. ;-)
More importantly, my daughter likes it. The only thing she doesn't like much is it how it fits around her waist and hips. Overall, though, she's happy with it. She also finds it VERY warm. This might work out to being an actual winter coat for her, rather than a cool weather coat. It won't cut the wind, though.
2 comments:
It turned out beautiful!! It looks so warm and cozy! You did a great job!
Thanks. :-)
Post a Comment