First off, I apologize for the crappy photos. I hate having to use flash! Ah, well. You can click on the photos to see them at a slightly larger size, or you can go to my crafts set on flickr to for larger, easier to see, sizes.
Ever since I started out with embroidery, some 2 decades ago, one of the things that irritated me about instructions for projects is that they'd have photos of the finished projects, and perhaps some of the specialty stitches, but never the nuts and bolts. The first thing I want to see with embroidery is the back of the piece. When it comes to assembling something like this coat, I want to see how the seams and joins look. You can learn so much more about a piece by looking at the back.
 So that's what you'll find here. The very first thing I had to do with the coat is join the front and back panels at the shoulder seams. With right sides facing together, I matched the stitches and sewed them together. Because both sides were the tops of the individual panels, each ending in a row of single crochet (sc), I used a stitch that would let them lay flat against each other. I don't know how well you can see it in the photo, but I've got the needle joining the far sides of the individual loops, so that the sewing yarn runs through the middle of each stitch. Mattress stitch, I think it's called. The idea was that, once done, the tops of the sc stitches would face each other.
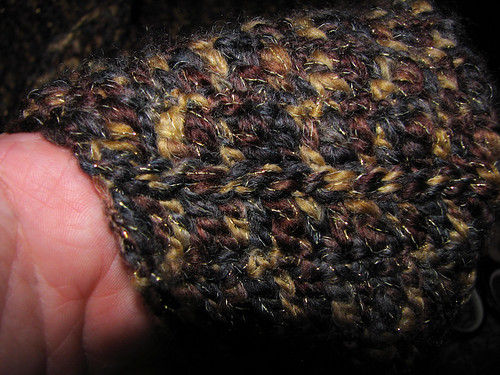
This is the finished shoulder seem from the inside of the coat.
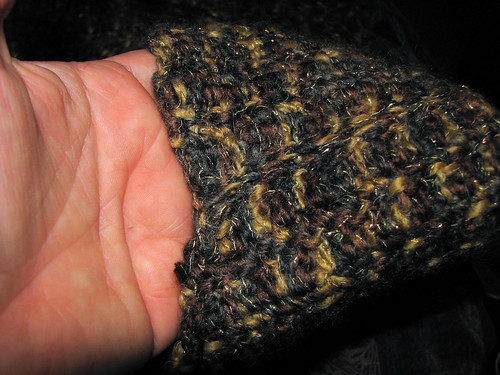
And here's the seam as it looks from the outside, as it would sit while being worn.
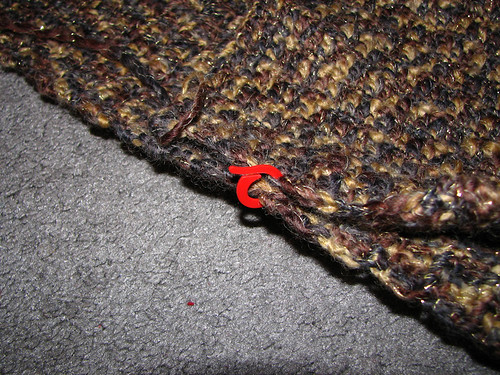 The next step was to take a sleeve panel and find the top centre, then match the centre to the shoulder seam. In this photo, again with right sides together, the top of the sleeve is lying across the front and back panels at the shoulder.
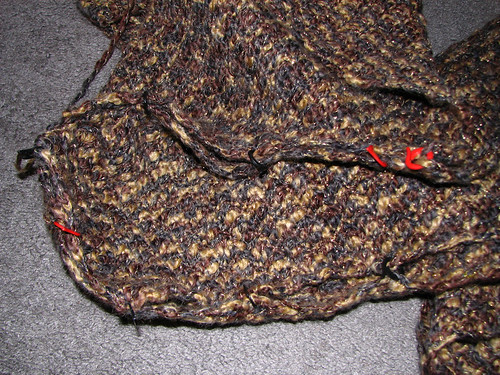 After matching the centre, I then had to line up the armpit edges (where you see two red stitch markers close together), then ease the rest of the edges together to fit.
I used stitch markers to hold the pieces together because I find pins just fall right out. The markers allow the panels to move more than is good, but at least they stay where I put them.
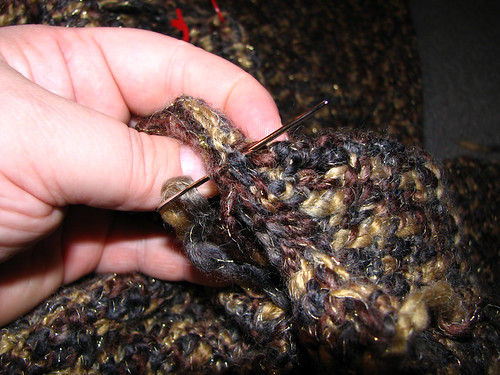 Since most of the edges that needed to be joined were the ends of rows, I just used a back and forth running stitch to sew them together, lining up the rows as much as possible on the curves.
Note that the arm panel is still wide open when joined to the front and back panels, leaving the sides open from wrist to the bottom of the coast.
 Here is the finished arm seam from the inside of the coat. I immediately wondered about how much of a point had formed where the corner of the sleeve top joined with the body panels. There should've been more of a curve to the sleeve top.
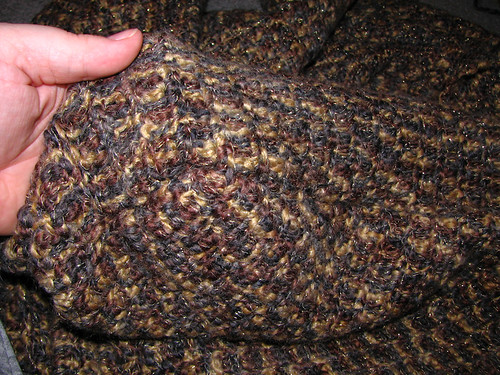
Here's the arm seam from the outside. The shoulder seam is in my hand, and you can see how there's a sort of squared off top to the sleeve cap.
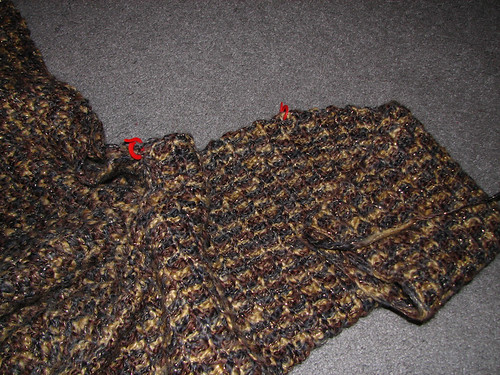
Once the sleeves were attached, it was time to do up the sides. I used stitch markers only to hold things together at the armpit, and to line up where the increase in the arm ended, and the rest of the panel continued in rows the same length. I sewed these together the same way as for the arm seams, throwing a few extra stitches into high stress areas, such as the arm pit and the edge of the cuff.

I managed to finish with 10 minutes to spare before I had to get ready for work. LOL I got my daughter to try it on to see what needed adjusting.
I'm really not sure of what to make of how it fits. Those "corners" at the shoulder really want to bunch up and stick out. The sleeves turned out longer than I expected - I think the shoulder is meant to sit higher up but, like me, my daughter has sloping shoulders. It was also clear that I'd have to add a few extra rows in the button band than the original pattern specified. It'll have to be done in pairs, so I'll add 2 extra rows before the button hole row, get her to try it on again and see if I need to make another extra pair or not. Better a bit loose than too snug.
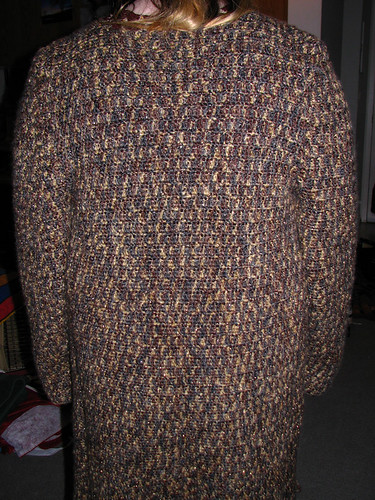 And finally, the view from the back, where it seems to fit rather well. The coat reaches to the backs of her knees. Nice and long, just like she wanted.
As for the collar she wanted, I had though about making and adding it first, but seeing how the neckline sits, I'll do the button band first, as it edges the neckline, too.
No comments:
Post a Comment