First, the buttons.

Once the collar was done, I got my daughter to put on the coat and placed markers approximately where we wanted the button holes. We decided on 7 buttons total.
Afterward, I adjusted the buttons so that they were evenly spaced - each button hole is 2 stitches wide, and I made them 15 stitches apart.

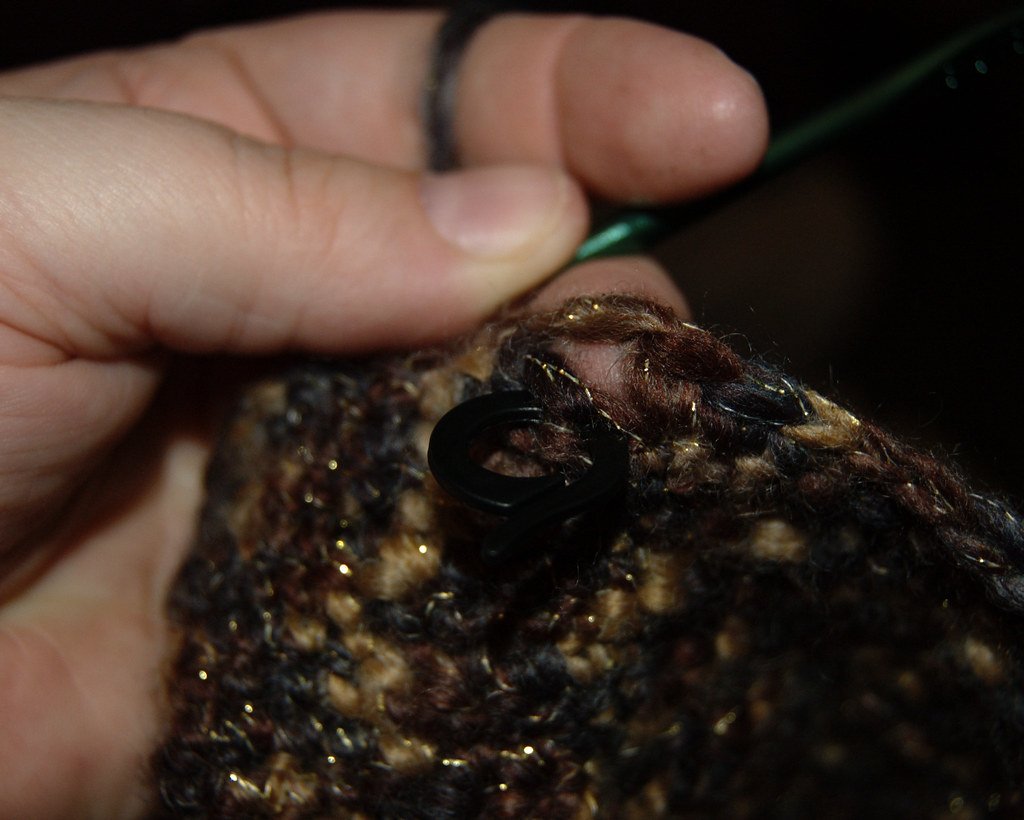
Here, I'm working on the button hole row. Once I reached the stitch marker, I chained 2, skipped 2, then kept on going to the next marker.

This is a finished button hole. There are two rows after the button hole row. In the first of them, 2 sc were worked into each 2 ch space.

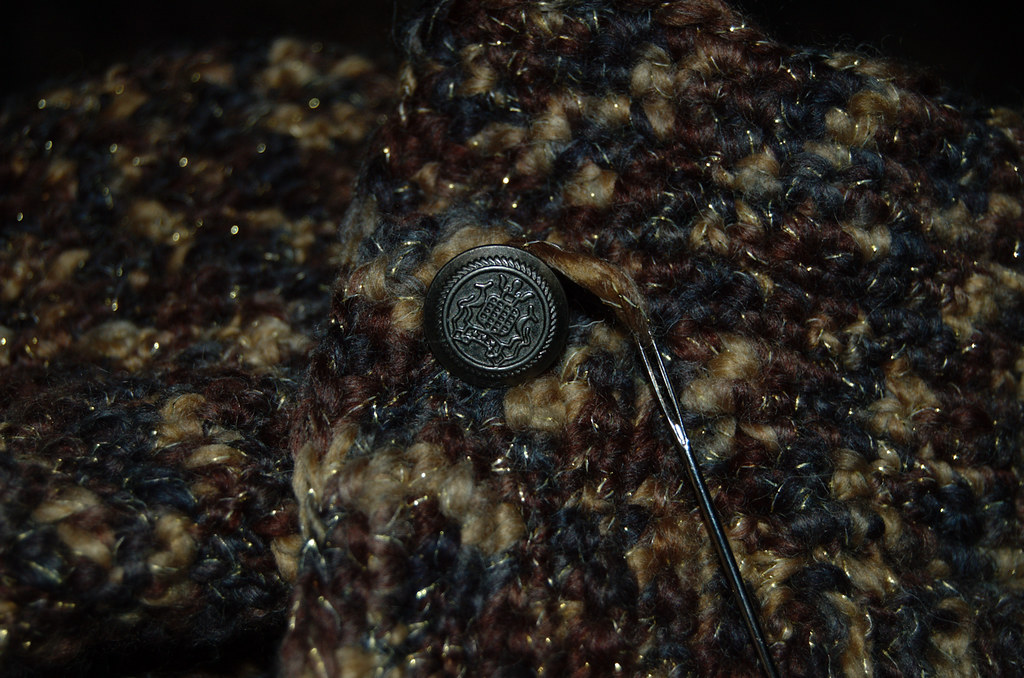
Once the button hole band was complete, I lined up the two sides and matched the button placement to the button holes, ensuring that they were evenly spaced. Once I had a button placed, I used a tapestry needle to sew it in place, using a double thickness of yarn.

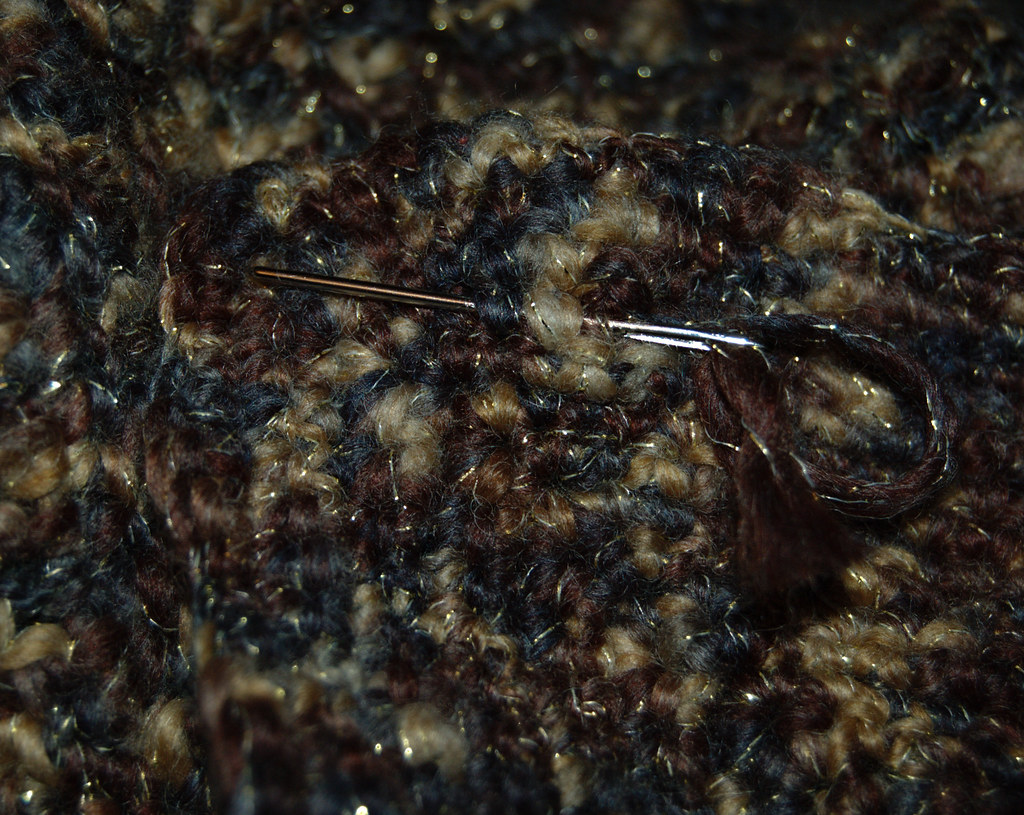
At the back, I tied the ends just into a single knot, in case I found I needed to move it, then cut the yarn leaving long ends.

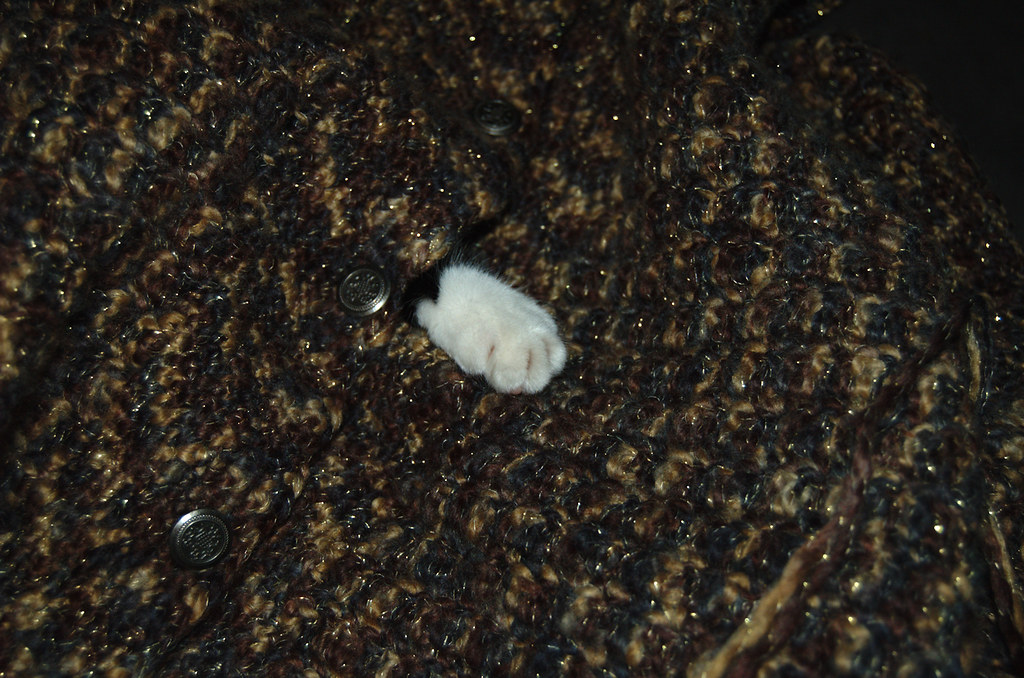
I closed up the buttons as I worked, making sure the fabric lay flat in between the buttons as I worked it.
The kitten helped. She LOVED being inside the coat!

Once I was satisfied with the placement of the buttons, I removed the kitten and opened the coat back up. I double knotted the buttons, then wove the loose ends into the stitches to hide them and make sure the knot couldn't work itself loose.
At this point, the coat was done. The only thing left was the edging in a contrasting wool my daughter chose, which is purely decorative.
On to the next post...
No comments:
Post a Comment