Some of the photos might be a bit disturbing, so I will just post links to them rather than have the actual photo here. If you want to see all the photos, visit the set I have up on my flickr account.
Last week I featured some completed gore that my older daughter used for her costume. First, I will post some step-by-step photos on how she made it, as well as a cheek prosthetic she made for her friend.
First, the materials.

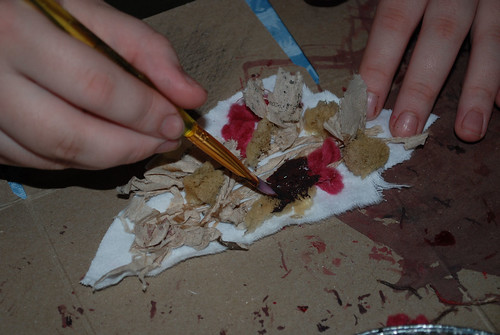
These pieces were made to be held in place with white medical gauze, so the foundation is a plain piece of white flannel we happened to have. Other materials are white and clear glue, red, brown and black paint, food colouring (red is shown, but yellow was also used), and materials to create the gore texture; paper napkin, yarn and sponge pieces. Cheap brushes that can be tossed later on are recommended. Also, a couple of small pie plates to mix paints and glues will be needed, and be sure to have something to work on, like the cut open box used here, to protect the work surface.
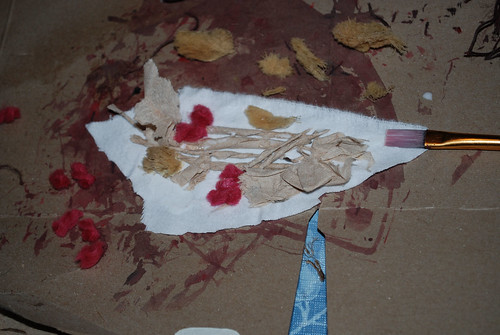
Using white glue, pieces of paper napkin, bits of sponge and fuzzy yarn bits are attached to the base.
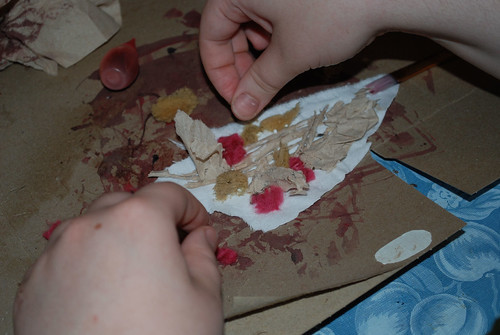
More glue is added and spread with the paintbrush to add more bits in layers.
For this, an edge was left for the guaze that will be used to hold it in place to catch. Once the bits and pieces are layers on to personal satisfaction, the piece is set asside to dry completely.
While the glue dried on the flannel backed gore, my daughter touched up the paint on a cheek prosthetic for her friend, which was to be adhered directly to the face. The base of this piece was some burlap with paper napkin glued on for the texture. The base was cut loosely to shape around the side of the mouth.
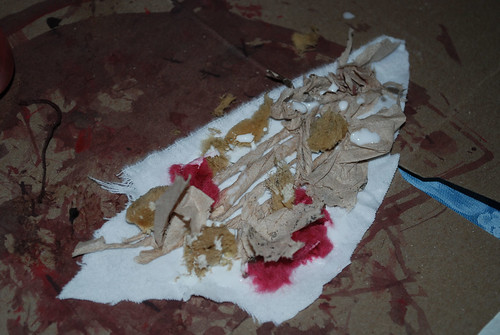
Once dry, the pieces are very matte, which is not the desired effect. To make the finished pieces look damp, while also strengthening them and preventing the paint from getting wet and smearing later on, they were given a final coat of clear glue mixed with red food colouring.
The coloured glue is painted on thoroughly, being sure to go into various crevices.
Once dry, the glue remains shiny and damp looking.
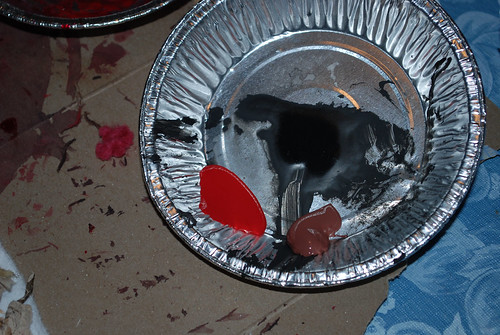
Once the gore base was dry, red, brown and black paints were readied in a mini-pie plate.

The colours don't get mixed thoroughly, though, leaving varied shades of the paints visible.
With all three colours on the brush, the paint is spread onto the surface and worked into any dips and crevices.
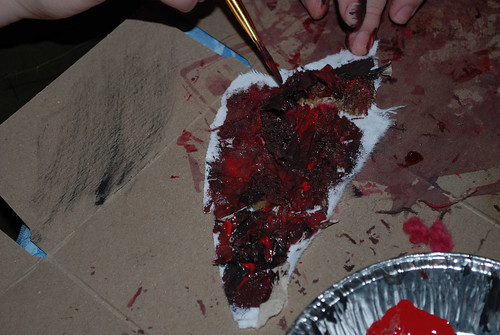
The paint is almost completely finished in this photo.
Once the paint has dried, another layer may be added, if needed. Otherwise, it gets a layer of glue, as above, to finish it.
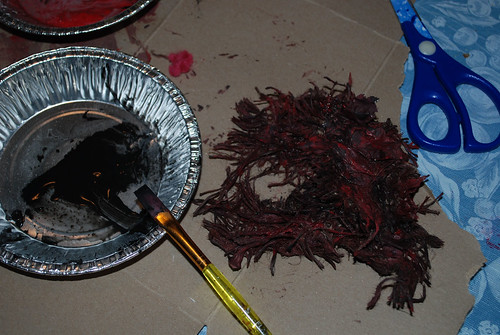
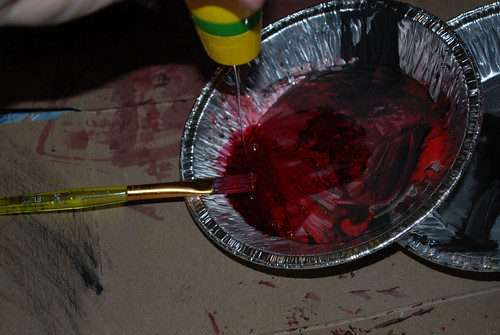
Now it's time to make some blood.
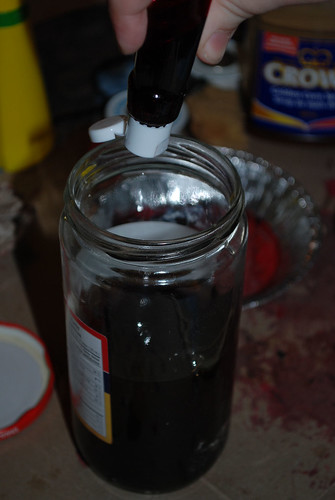
For this, a decent sized jar with tight fitting lid, some dark corn syrup, red and yellow food colouring, toilet paper and black paint are needed.
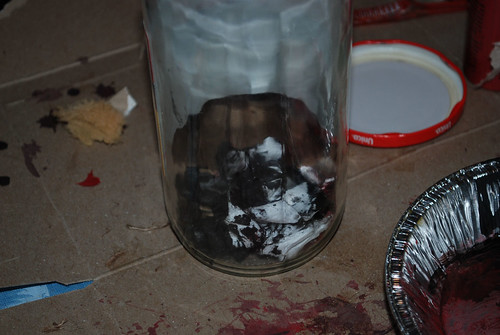
Bunched up pieces of toilet paper, some painted black are placed into the jar first.
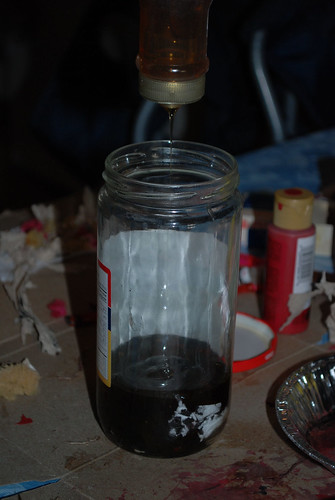
Then the dark corn syrup is poured in. Lots of it. Most of a squeeze bottle was used for this.
Next, the red food colouring is added. Again, quite a lot was used, but start with less first. You can always add more. You can't take it out.
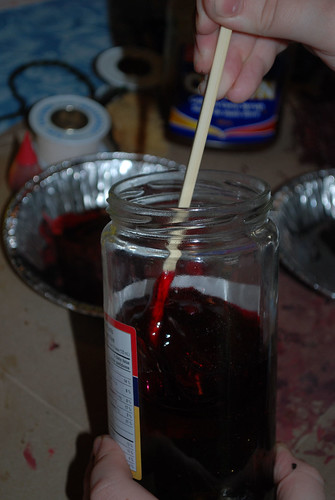
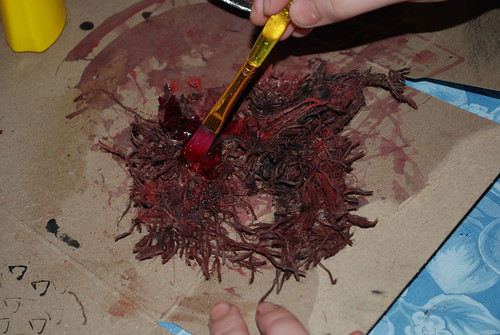
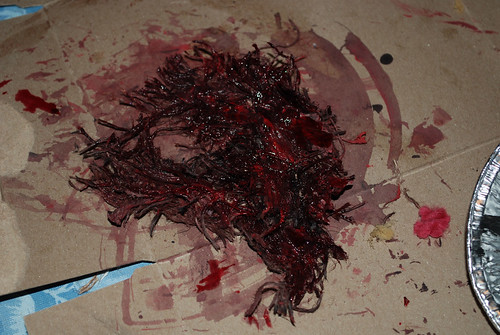
A wooden chopstick was used to stir the colour in and break up the pieces of toilet paper, which forms the "clots" in the fake blood.

The colour is then tested out on some paper towel. Here, it was decided that the colour was off. Some yellow dye was added and tested out again.
Then it was tested again on skin, where it passed inspection.
Time to put it all together.
For this walk, being themed on clowns, a lot of people put together clown clothing, wigs, masks, etc. Generally, zombies are just regular folk, so any clothing will do - so long as you're willing to tear it up and get it stained with fake blood! My older daughter tore up an old button-up shirt, while her friend used an old t-shirt. My younger daughter, who used only make up and fake blood and no attached gore, had an old pair of jeans cut short at the knees with brightly coloured socks, an old t-shirt, bright arm warmers made from an old pair of socks, and her long hair in messy, uneven ponytails.
For my daughter's friend, he first had to prepare his face for the cheek prosthetic.
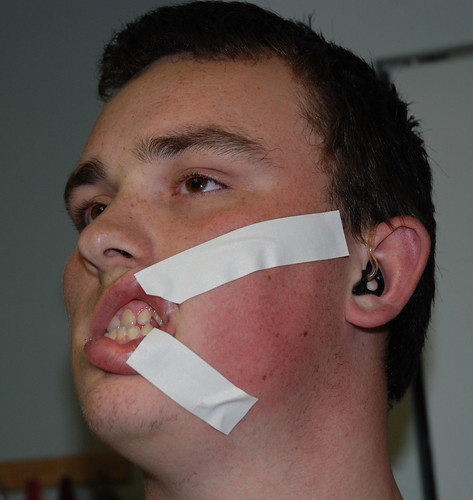
First, some medical tape was used to pull back his lips and expose his teeth.
(This shot was taken from a mirror.)
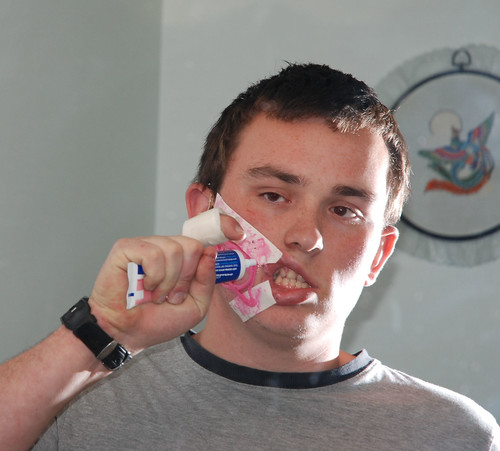
We were in a bit of a quandary, as he'd intended to use spirit gum to attach the cheek prosthetic, but we couldn't find any. We finally picked up some Polydent and hoped it would work.
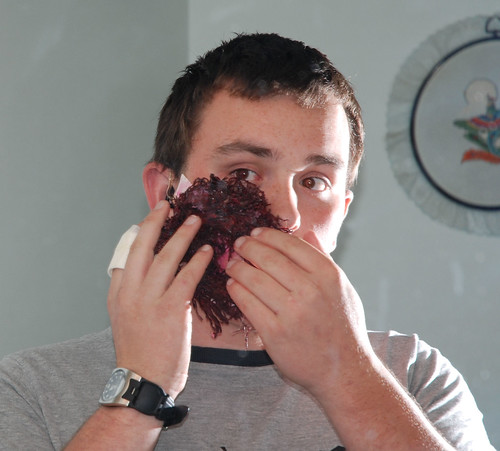
(Another mirror shot.)
The Polydent was added to the back of the prosthetic, too.
It almost worked. Later on, they ended up using medical tape as a "bandage" to hold the piece in place.
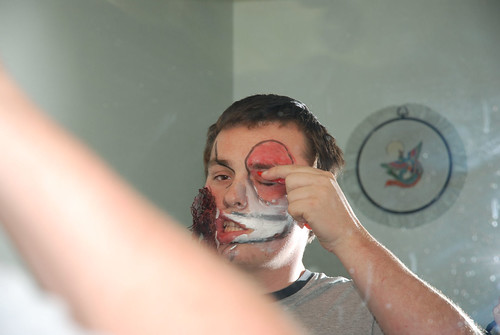
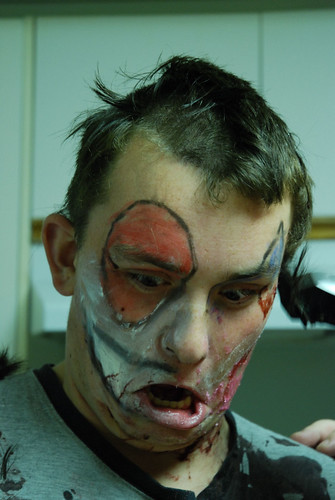
Then it was time for the clown make up. We only had the cheap face paints, so it was a bit difficult to put on.
The face blood wasn't added until they were on site. They spattered it on with a tooth brush. Then shared it with other zombies.
To see my daughter's finished costume using the gore she made, here are a couple of photos. Do NOT click on them if you are disturbed by blood and gore.
One
Two
I think she pulled it off rather well!
The kids had a blast with the zombie walk. The route was about 5 km long, with a stop in front of the legislature for a break before continuing on down Jasper Ave. and finishing at Churchill Square in front of Edmonton's City Hall. There had been a Movies At The Square earlier, and it was packed with people watching Marmaduke, but they were long gone by the time the zombies arrived. Sadly, the folks selling mini-donuts, hotdogs and drinks were no longer attending their booths, either. Too bad. I think they would have done some brisk zombie business!
There were about 150 zombies in total, with some really amazing costumes. After the walk broke up at Churchill Square, many of the zombies went on to a couple of bars, where some great bands were playing. Alas, my kids are too young to go to a bar to see the Dreadnaughts and had to go home.
Of course, at the end, we're left with the clean up. By the time the walk was done, everyone was eager to wash off the syrup blood.
There was a slight problem, though. Remember that I mentioned the cheek prosthetic needed to be taped in place later on?
Well, part of the tape went up and over his hair.
It's a good thing he wanted a hair cut, anyhow!

Hair and medical tape don't mix.
There we are! Now you, too, can make your own zombie gore and blood for Halloween.
2 comments:
Fantastic - looks like everyone had a BLAST!
LUV WK
Thanks. They sure did! They were practically giddy with excitement and can't wait for the next walk. :-D
Post a Comment