It's also a great excuse to try out new things and work out the kinks in old ones.
For this hat, I went back to doing Tunisian in the round, working from the top down, in Tunisian simple stitch. I wanted to see how close to the beginning I could begin the Tunisian.
For the yarn, I went with Bernat Alpaca in Stone and Fern colourways. My Tunisian hook is a 6.00mm, which is the size recommended for this yarn.
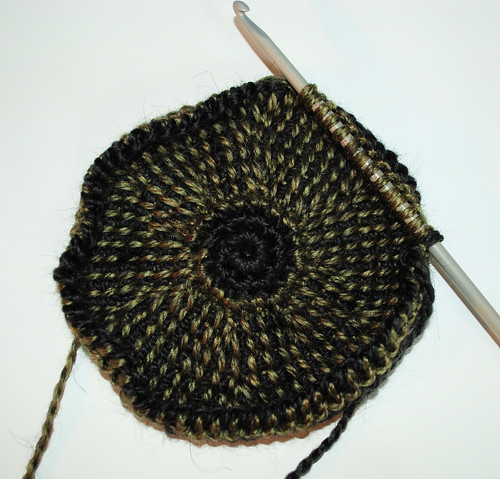
I'm rather happy with how close to the middle I was able to start the Tunisian stitch. I started with a base 8 ring in sc. For the first while, I could only pull up about 3 loops on the hook at a time before I had to switch ends, which made things a bit tight, but I much prefered this to having a larger disc in sc.
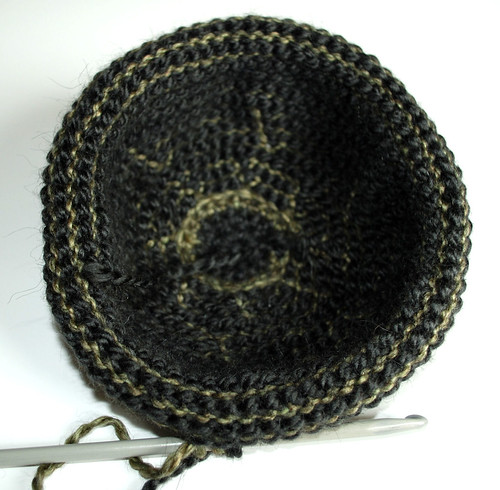
In this photo, you can better see the increases, and how much the work curls in on itself.
I played around with the increases a bit, starting with 8 increases per round until there were 48 stitches in around, then did a single round with no increases before switching to 6 increases per round until I worked it up to 60 stitches per round.
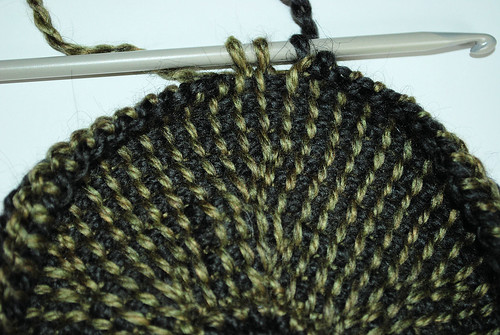
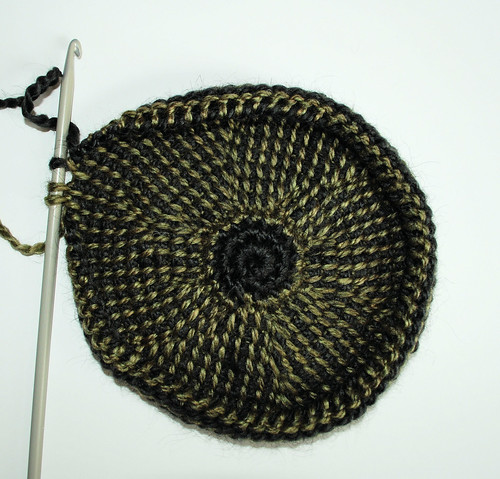
Here's a closer view showing the increases in different places.
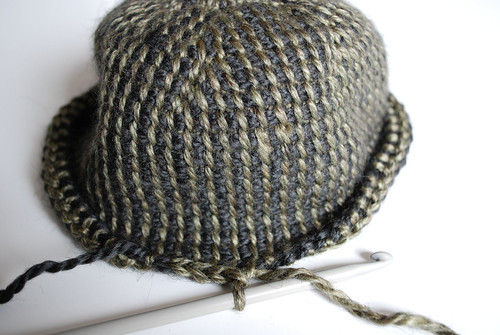
Working the sides at 60 stitches per round. The gauge using Tunisian made for a size suitable for an older child or small adult. For an larger adult sized hat, I'd have increased to anywhere from 5-10 more stitches per round.
That tuft you see on the left side is a flaw in the yarn. I pulled it to the inside with a hook later on, so it wasn't so obvious.
An inside view. At this point, the sides of the hat were built up as far as I wanted and I was ready to start on the brim.
I decided to take advantage of the hat's natural curling tendency and work up a brim in slip stitch, which would then be worn rolled up. I started by dropping the dark yarn completely and doing a round in the lighter colour, sc into each vertical bar. You can see a closer view here.

Then I dropped the light yarn, picked up the dark and began slip stitching into the sc round. I worked in a spiral, alternating colours with each round, for several rounds, then tried it on.
It didn't work.
The slip stitched rounds were significantly tighter than the Tunisian stitches. There was no way it was wearable. Away they went!
I still wanted to do a slip stitched brim, though, so I broke out my 9.00mm hook.
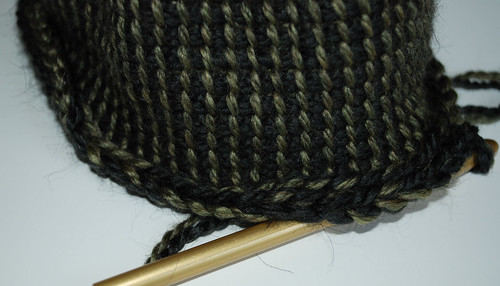
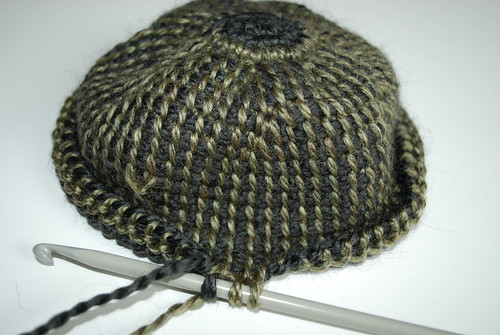
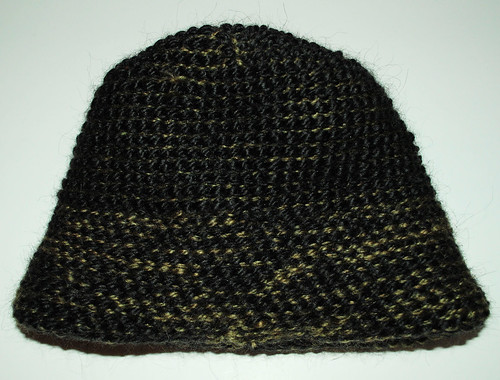
Using both yarns on the hook, I worked a round of sc into the vertical bars, then began slip stitching. In this photo, the first round of sc is done and the slip stitch round is just begun.
The larger hook and doubled yarn worked out much better.
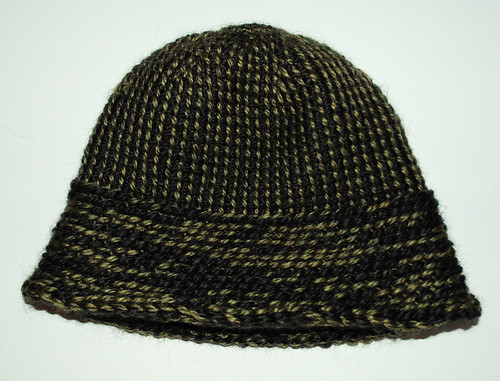
Here is the finished hat. (Well, almost finished.) The two yarns together made for a random pattern in the slip stitched portion that I rather liked.
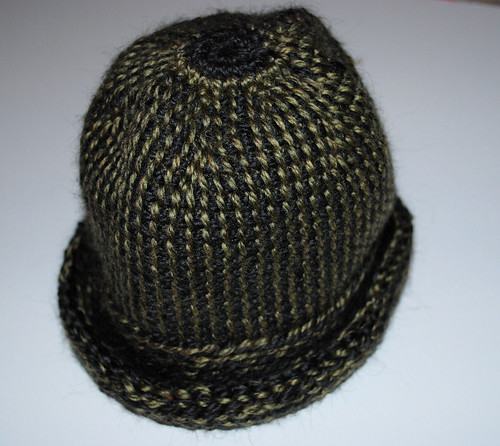
When worn, the brim is meant to be rolled up like this.
Here's an inside view, showing where the yarn was finished off.
I decided that it needed more, though. Using the left over yarn, I worked up several spirals.

I did pairs in each colour of varying lengths, working with foundations of 10, 12 and 15 chains, leaving long tails at the start and finish for attaching to the hat. At this point, I hadn't decided on how many I would end up using. To attach them, I tied the start and finishing tails together in an overhand knot as close to the crochet stitches as I could, threaded both ends into my yarn needle, pulled them through the hole at the very top, then stitched them into the inside. I just kept adding them, alternating colours, and ended up using all six.
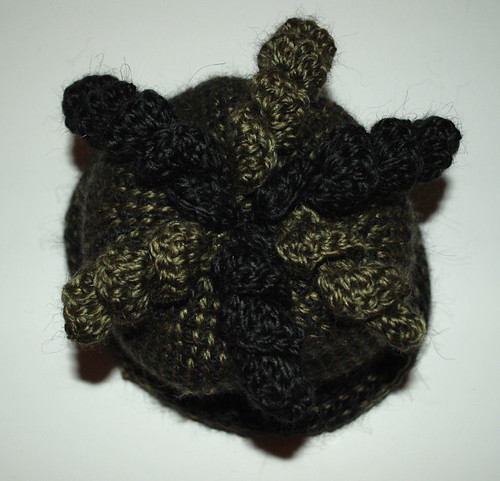
I think it looks rather cute. :-)
No comments:
Post a Comment