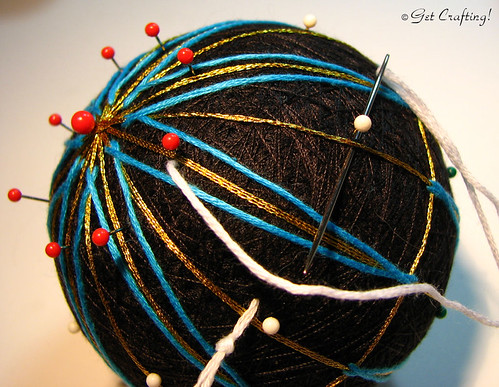
For the overlapping star, I chose to use white and a pale beige. The needle is brought up next to one of the pins in the inner ring, to the left of the guideline, then brought down to the next guideline's pin in the outer ring.
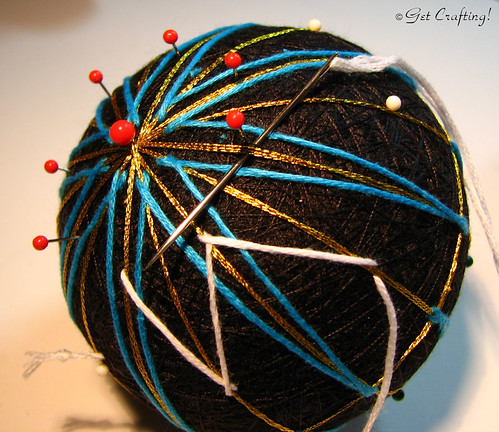
Continue working around the mari, removing the pins as you go.
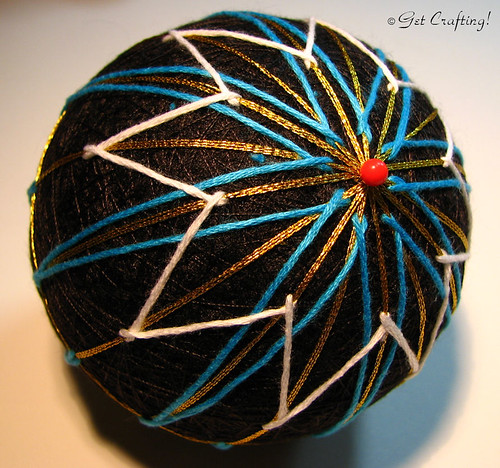
After working 1 round, finish off the thread. Repeat on the other side of the mari.
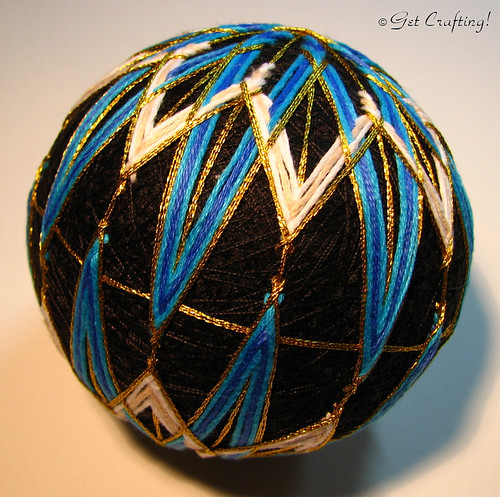
Go back to the first, elongated star and add a round in the next colour; in this case a darker blue. After one round, finish off the thread and repeat on the other side.
Work a second round of colour in the shorter overlapping star.
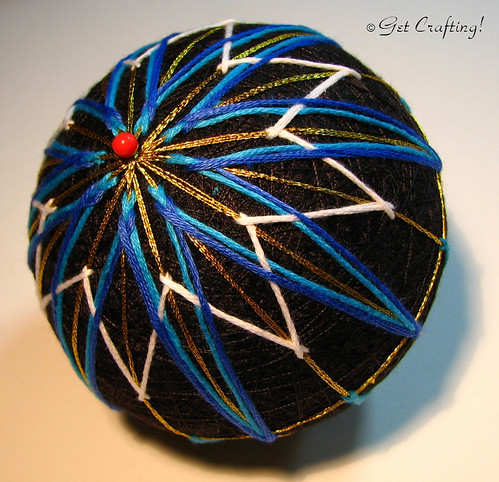
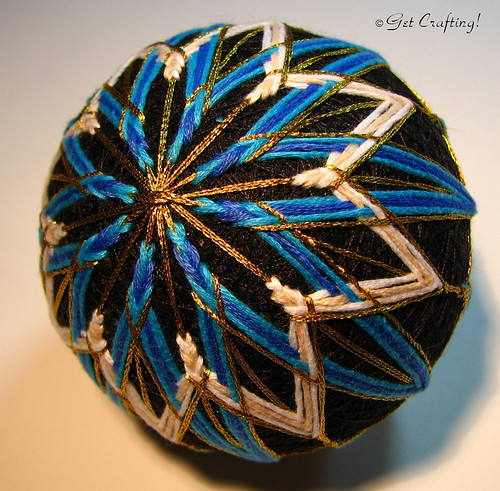
Continue working the pattern by adding another round of floss in the light blue to the elongated star, then another round in white in the overlapping star. Complete these rounds on both hemispheres.
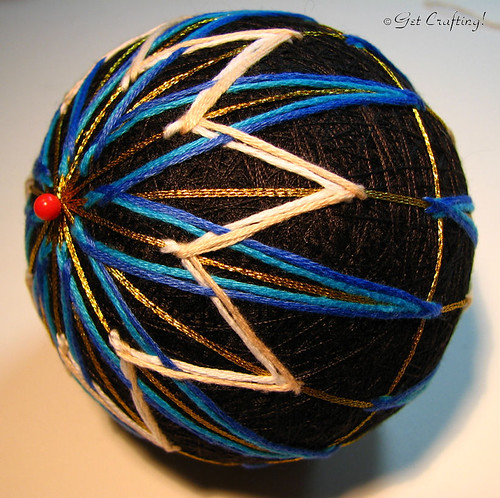
Switch to the metallic thread (3 strands on the needle) and work around all 16 points in both hemispheres to finish the temari.
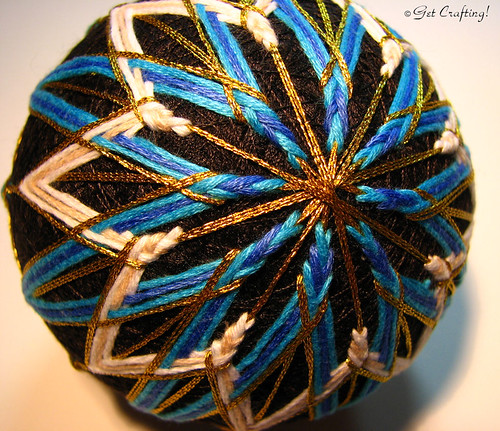
Here's a look at the point overlapping at the equator.
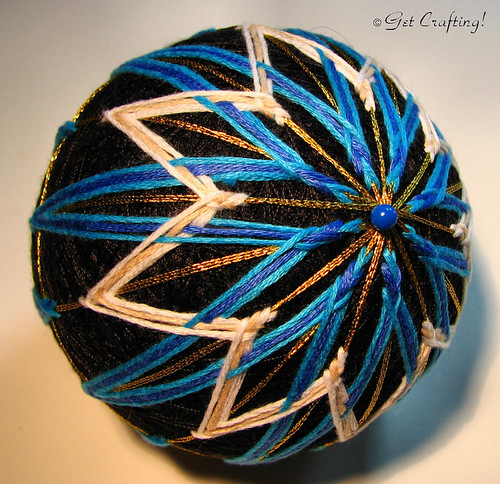
Another view of the finished temari.
This one got a hanger as well. I chose to braid lengths of the dark blue, white and cold threads to make a cord to tie into a loop.
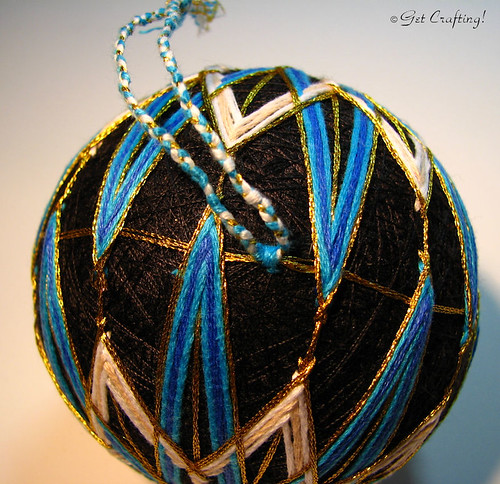
The loop got sewn in place at the equator, between a pair of points.
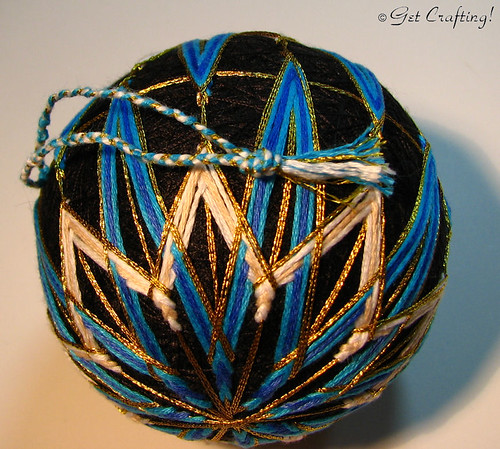
With the knotted end trimmed and fringed.
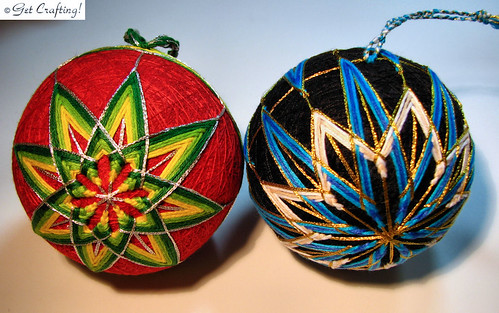
The two finished temari.
The interesting thing about temari is that it doesn't take much to get completely different looks. These two patterns are basically the same thing; a pair of overlapping stars. Changes in colour and the location of the inner and outer points can change the finished result dramatically, even though they are essentially worked the same way.
I hope these photos will be useful for you to make your own temari. Later on, I will be doing versions with more centres.
No comments:
Post a Comment