Measuring for guidelines
Placing the guidelines
Starting and 8 point star (kiku)
Finishing the 8 point star (kiku)
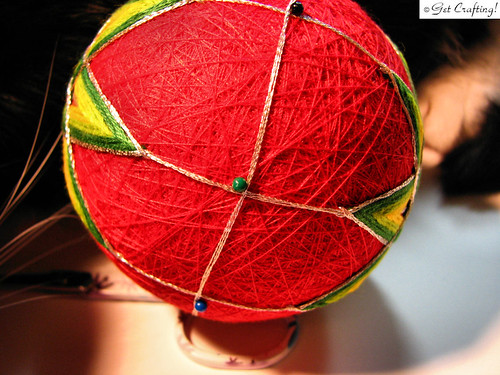
Now that we are done working two kiku at the poles of your temari, it's time to turn our attention to the equator. This is where the obi - named for the wide sash worn with kimonos - will be worked.
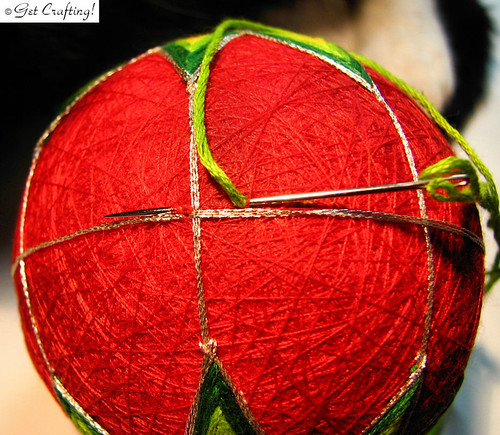
For this, I chose to start with the pale green instead of the yellow, as I had with the kiku. As previously, I worked with all 6 strands of floss. To start, I anchored the floss without tying a knot, first by drawing the end into the padding (you can just barely see the pale green showing through the sewing thread under the needle), then making a small back stitch into the end so that there would be no chance of it pulling through by accident. I also worked close to the metallic guideline, so that it will be hidden by the strands.
Draw your needle up on the left and close to any longitudinal guideline, above the equator guideline.
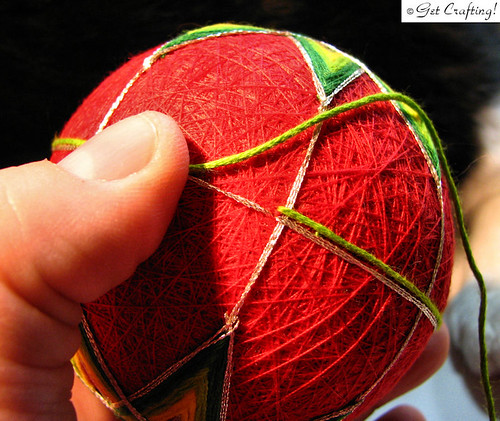
Wrap the strand to the right, closely following alongside the metallic guideline.
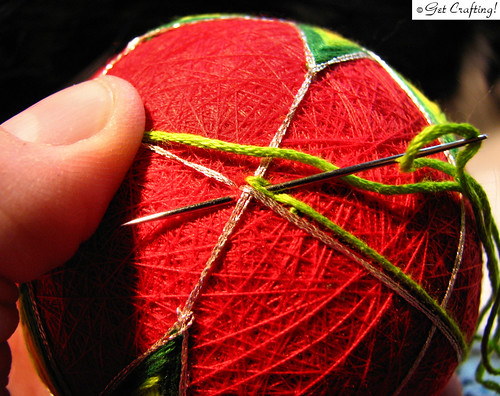
Maintaining the tension with your thumb, slip the strand of floss on the right of the guideline and bring it up again below the equator guideline, to the left of the longitudinal guideline. Draw the thread through and pull it snug.
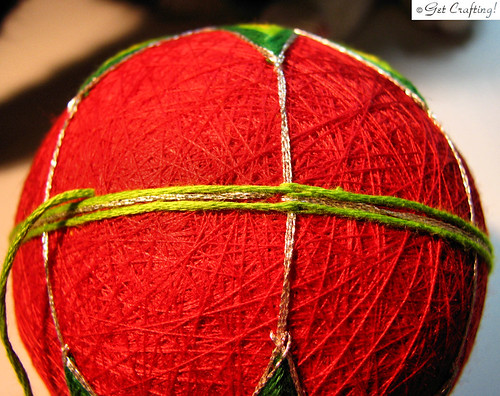
Wrap the strand around the equator again, closely aligned under the metallic strand. Again maintaining tension, finish the strand by splitting the floss to the right of the longitudinal guideline. Draw your needle out some distance away to bury the end in the padding. Trim the excess thread closely.
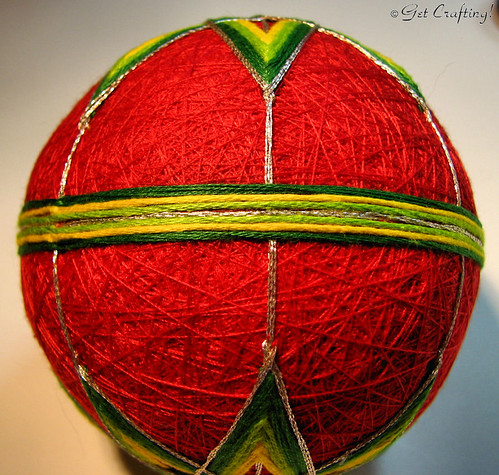
Repeat with the remaining colours, starting all the colours in the same location (which you can see on the left of the above photo) and working your way outwards.
The obi now needs to be anchored.
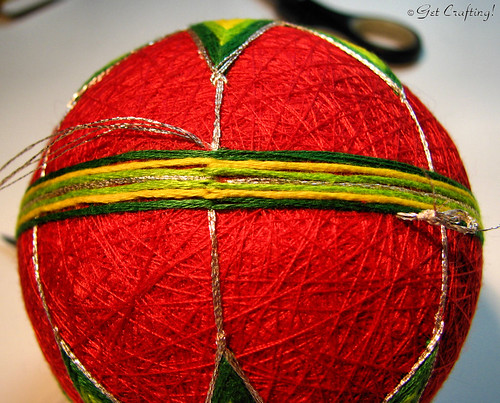
Switching to the metallic thread with three strands on the needle, this time tie a knot to anchor your thread. Insert the needle some distance from your star, slightly under the previous strands so that it will be hidden after the knot is trimmed. As with the embroidery floss, bring your needle up to the left of the longitudinal guideline, above the obi.
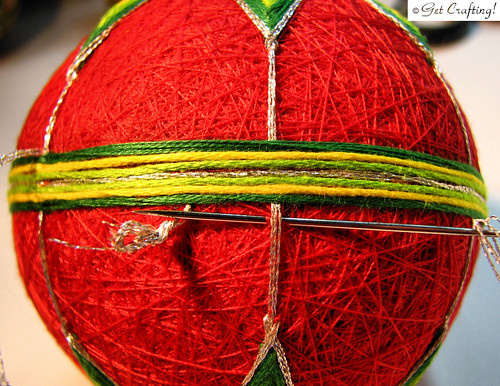
Rotating the temari slightly clockwise, work a stitch from right to left around the next longitudinal guideline, below the obi.

Continue rotating clockwise, alternating stitches at the guidelines above and below the obi.
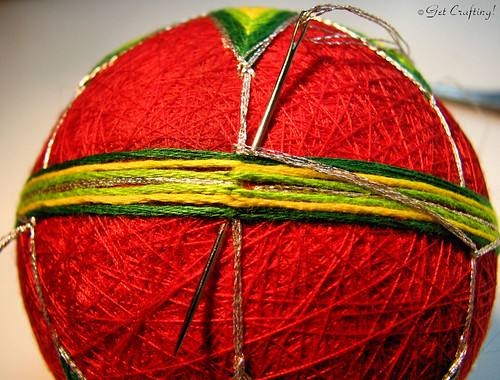
On reaching the beginning, insert the needle to the right of the beginning guideline, working under the strands, exiting below the obi and to the left of the guideline.
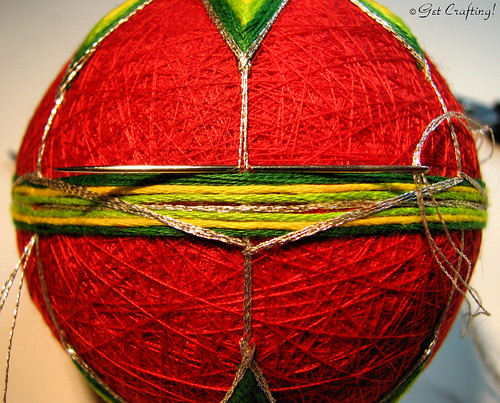
Continue working stitches around the guidelines to form a crossed pattern (note that I've trimmed the knot away by this point). After working completely around the equator, pass the needle through the padding to anchor the end. Trim excess thread.
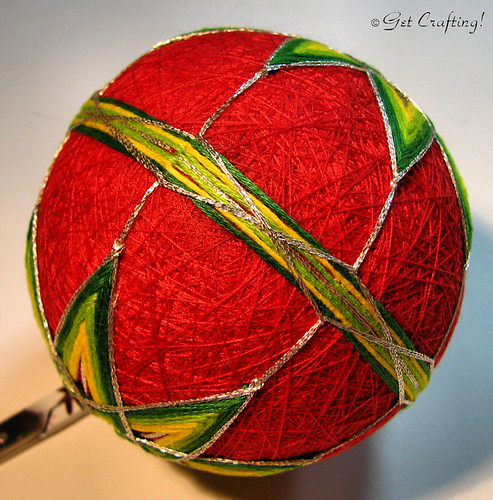
Here is the finished obi.
At this point, the temari is finished!
These temari, however, were being made to hang on a Christmas tree, so there's still one more step. Making and attaching a hanger, coming up next!
No comments:
Post a Comment