Because it was an experiment, I really didn't care too much about the yarn. I was more interested in durability and quantity.
After digging around in my yarn basket, I found this variegated yarn from a Walmart bargain bin. Good enough. ;-)
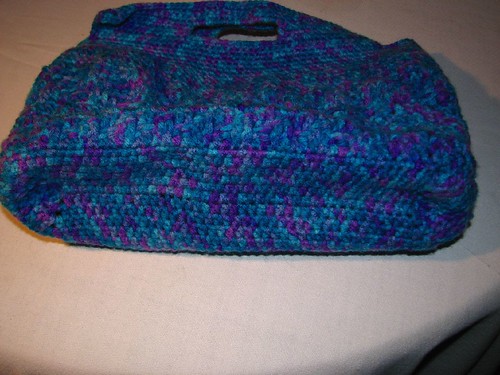 I wanted the bag to have a flat bottom. Using a size H/8 - 5.00mm hook, I made a rectangle, working in the round, using half double crochet until it was the size I thought would be useful. I then did a row of sc, decreasing by doing 2sctog at the "corners" to tighten up the shape I wanted before switching to dc for the body. (If I make this again, I think I won't bother doing the base in the round, but just back and forth rows, then build up the sides from there.)
 For the body, all I wanted was a fabric dense enough that things like my hooks and pens wouldn't fall through - and I wouldn't discover the point of my embroidery scissors poking through again, either! Still working in the round, I stuck to using dc, but experimented with front and back post stitches to give it a bit of texture - and kill the monotony of working in just one stitch for so long.
When I got it high enough, I switched to sc. I did a few rounds of sc before switching to a G/6 - 4.25mm hook. I kept doing rows of sc for a few more rounds, then worked up the handles. Until this point, I hadn't really counted anything, so I was pleasantly surprised to find that the wide sides were divisible by three, making it easy to split up for the hand opening. Once both handles were done, I finished with a row of sc around the entire edge.
One of the biggest issues I had with the various bags I'd been using before is that I'd have to dig around the bottom for my tools, which would sometimes get caught on any yarns, threads or fabrics I had for whatever project I was working on. That and I disliked discovering sharp things with my fingers. So I made pockets inside.
 Here is the bag inside out.
First, I made long, narrow pockets for the sides. These are not only handy to carry pens, gauge rulers and hooks, but they helped give shape to the bag.
On one side, I added a shaped pocket for my scissors, then a plain pocket for things like needle cases, tape measure, etc. I ran out of the variegated yarn while making this pocket, so I got my younger daughter to go through her yarn stash to find me the same type of yarn in a decent colour to finish with. The alternative was hot pink "camo" yarn. *L*
After attaching the pocket, I chained in some loops to hold stitch markers.
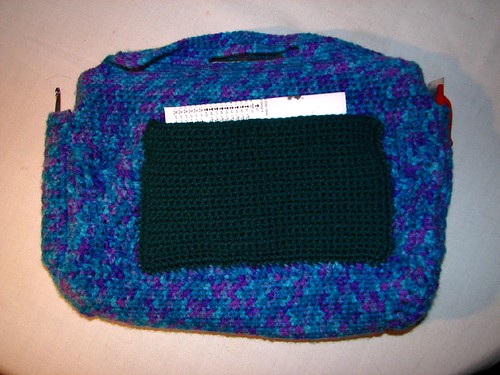
On the other side, I made a larger pocket to hold my photo-copied patterns, instructions or notes.
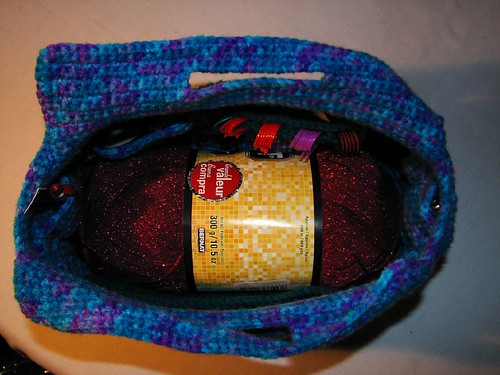 The bag can hold a surprising amount of stuff. Here, I've stuck in a huge skein of Bernat Shimmer yarn I happen to have. It could probably hold at least six of the regular balls of the same type of yarn.
 The only thing I have to figure out now is my pin cushion. I've got one of those tomatoes with the aluminum oxide strawberry for cleaning needles. It would catch like crazy. I'll probably just stick it into a plastic bag or something before putting it into here.
I haven't had the chance to use this yet, but I think it will work out just fine. :-D
2 comments:
I am very impressed! Not only do I really like the look and function of the bag, but you just started without a pattern and made your own design! Very talented!
Thanks. :-)
I'm thinking of making another one, using a solid colored yarn. I've finally had a chance to use it, and I'm thinking the design would actually make a really handy purse!
Post a Comment