Now, this was just a learning experience - early on, I figured I probably won't be making the second sock. I just don't like working from cuff to toe, and I certainly don't like working a sock in the flat instead of the round.
You can click on the photos for larger sizes, or visit my flickr set here, where the largest size images are available. Also, I apologize for the crappy photos. I had to use a flash, and it really changed the colour of the yarn. It's a deep red, but not as deep as some of these photos are!
First, the construction of the sock.
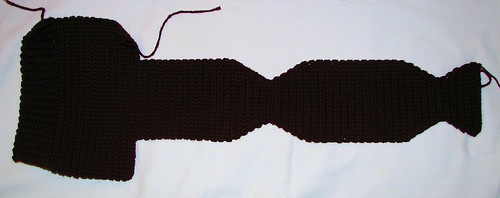
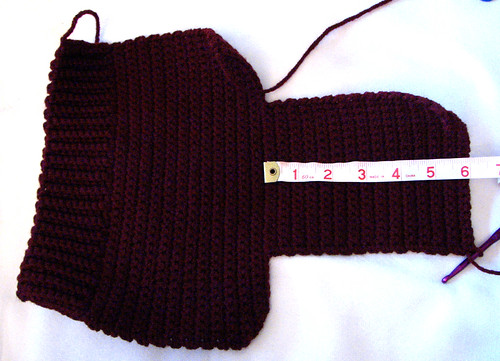 Here is the cuff, leg and top of foot portions of the sock. The cuff and leg portion was finished at 7" of length, with the yarn finished off (I left a long end for sewing seams later), then restarted 1/4 of the way in for the top foot portion, which is 1/2 the width of the leg portion. In this case. 20 sc wide at the foot.
 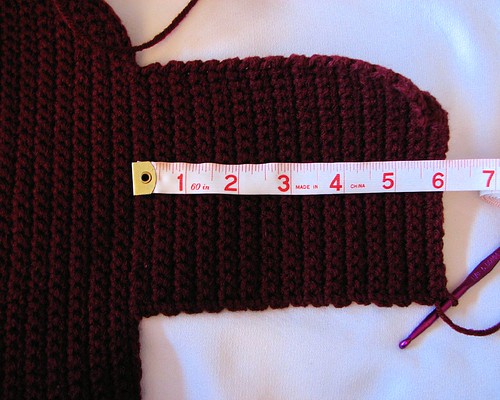 Following the instructions, I made this portion 6" long with the last row on the wrong side, which worked out to 29 rows. It seemed a bit long to me, but I wasn't going to bother changing things around for this experiment.
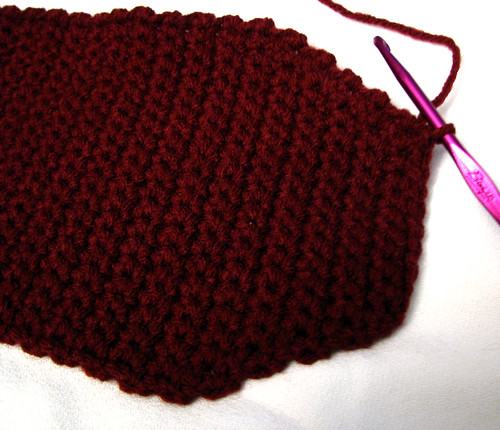 Here's the decrease for the toe cap. The first row has a decrease at each end, then the second row has no decreases. This pattern was continued (decrease at every odd row, no change on the even rows) until it was 10 sc long, which is where you see it at here.
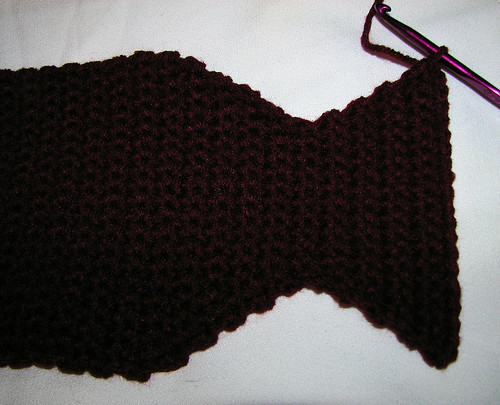
The increase reversed the process, increasing at the first row, then a straight row, until it was back at 20 sc wide.
This photo shows the completed toe cap. After this, the foot portion was repeated, with another 6" length for the bottom of the foot, and the exact same decrease/increase shape for the heel.
And there you have it. The completed construction of the sock, laid out flat and ready for assembly.
No comments:
Post a Comment