My first thought had been to do a flat display featuring the stitches taught in the classes. It occurred to me, however, that while these will be framed, they aren't going to have any glass. Which meant I could go with something three dimensional.
I decided to go with a "still life" idea, using stitches and techniques that students will learn if they've taken all four classes.
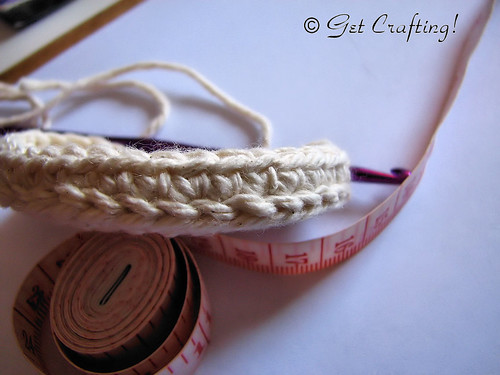
I started off with a general idea of colours and textures, then spent some time in the yarn section. This is what I came home with.
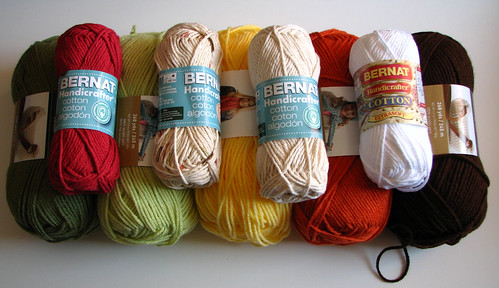
The skeins on the bottom are all Loops & Threads, Impeccable, Worsted. For the Bernat Handicrafter Cotton, I ended up going with just two colours, but I will be using all of the Impeccable colours.
Next, it was time to do some sketching.
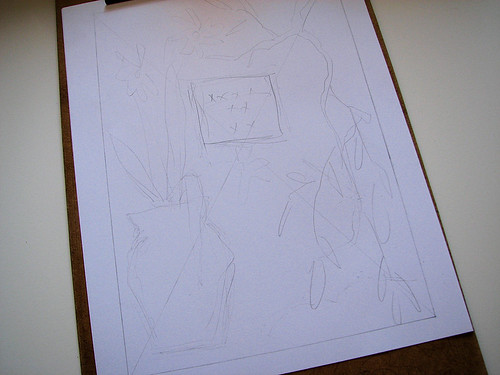
The pencil is a little hard to see here. The big X was to find the centre, while the box just above the centre is where the information would be. I figured a vase done in the Handicrafter Cotton would be good to show off how structural crochet can be, as well as show off some of the textured stitches covered in one of the classes. From the vase would be some flowers and long leaves, using the light green for the leaves and stems, burnt orange for the flower centres and pale yellow for the petals. On the other side, hanging down, will be a branch in brown with leaves in the darker green, though I am considering using the yellow and burnt orange as well to make fall foliage.

Next, I wanted to work out more details for the vase and flowers. I changed the flower petal shapes from what's in my sketch, as that would have used techniques not covered in the classes. Since all of this is going to be pinned onto a backing, I wanted to have the vase flat on one side, which meant I would actually be making half a vase, vertically.
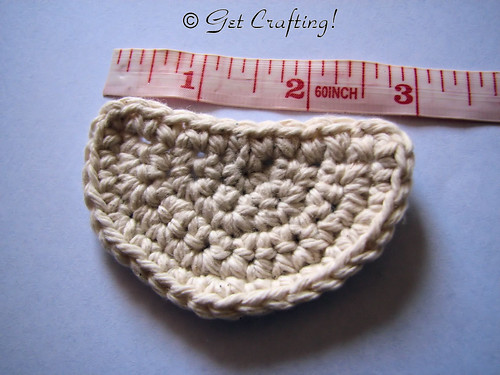
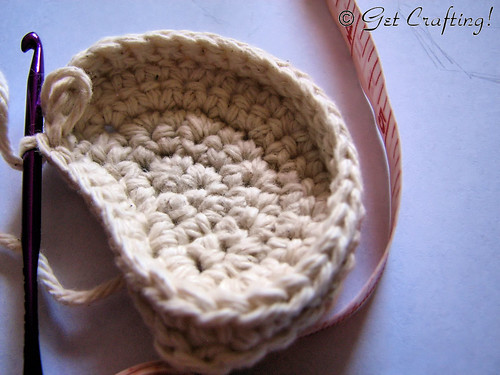
I started with the vase base by making a semi-circle in single crochet, then finishing the flat side with single crochet to tidy it up. The "right side" of the semi-circle would be facing down, where it will be visible. The rest of the vase is worked from the "wrong side" of this piece.
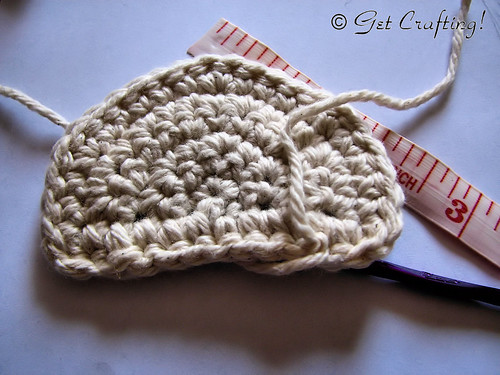
To keep a sharp turn between the vase and the sides, I made a foundation of slip stitches on the wrong side of the semi-circle, worked under the single crochet loops. This photo is of the right side of the base, and you can see where the yarn is wrapped around each single crochet. For some reason, I never got a photo fo the wrong side, showing the slip stitches. Oops.
The first round of the vase's sides was worked through the loops of the slip stitches, leaving a crisp edge of single crochet loops facing out from the base.
Here's the inside view of that first round.
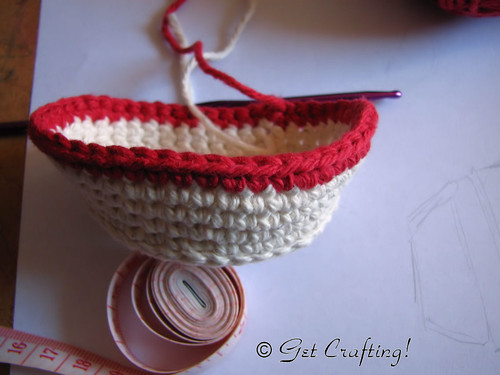
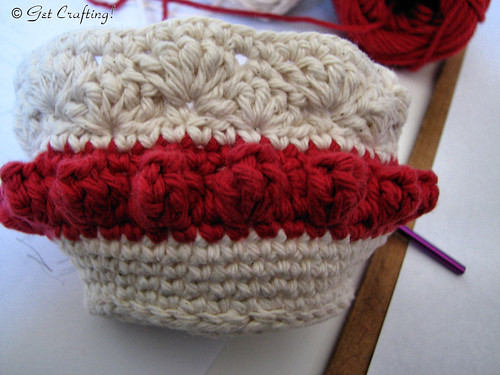
As I built up the sides in single crochet, I worked increases on the curved side, spacing them in different places in each round so that I would not have increases worked one above the other. I still kept the increases closer to the flat back, where possible, so that they would be less visible. I changed colours after about 2 inches, dropping the first colour without finishing off the yarn. I did not do any increases in the new colour.
After the 1 round of single crochet in the new colour, I worked a round doing double crochet in the back, then popcorn stitches separated by two double crochet around the front. I did one more round of single crochet before changing back to the first colour, again just dropping the second colour without finishing it.
I hadn't made much effort to count stitches when I was doing the increases, so it wasn't until I switched back to the first colour and did a single round of single crochet that I stopped to count. I found I had 32 stitches, which is perfect for this shell pattern using 5 double crochet shells separated by a single crochet. I did two rounds of shell stitch, then another round of single crochet, then changed colours again.
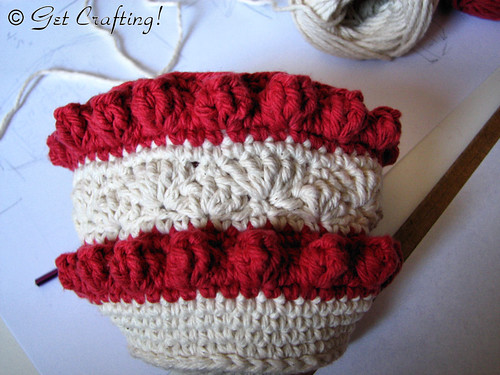
Then it was another group of 1 round in single crochet, 1 round with popcorn stitch and 1 last round of single crochet. This time, when I changed colours, I did finish off the yarn in the second colour and hid the yarn end under the next round in the first colour.

Here's an inside view before continuing on. None of this will be visible in the display. The rest of the vase was done in single crochet only.
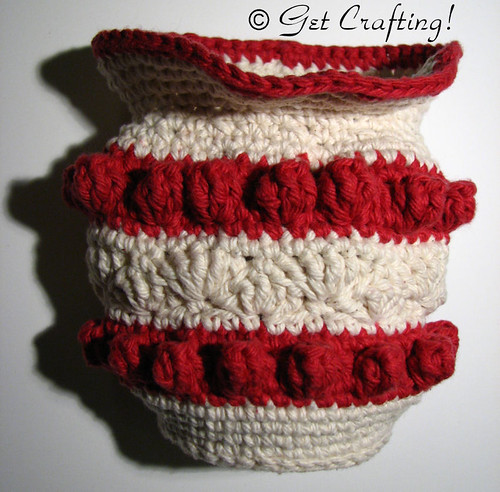
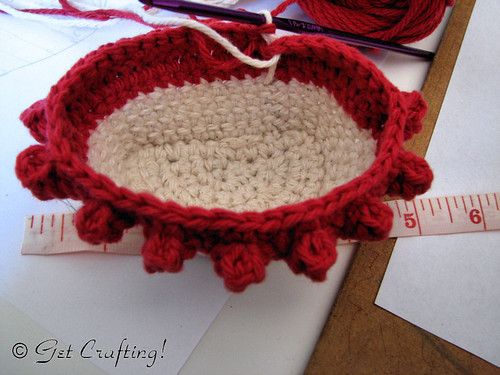
Using the first colour, the next few rounds had evenly spaced decreases added to the curved front of the vase to close it up until it was about the same size as the base. One round was done without any increases or decreases, then I started adding increases again to create the flare. Finally, one last round was done in the second colour.
The shape is a bit wonky from handling, but it seems to have worked out rather well! When it comes time to mount the vase, the flowers stems and leaves will be filling it, along with enough fibre fill to maintain its shape. The smaller hook size (I used a 3.75mm hook) makes for a stronger structure, but it'll still need a bit of help to keep it from getting squished.
Next up, the flowers.
No comments:
Post a Comment