After finishing the vase for my display, it was time to make some flowers to fill it.
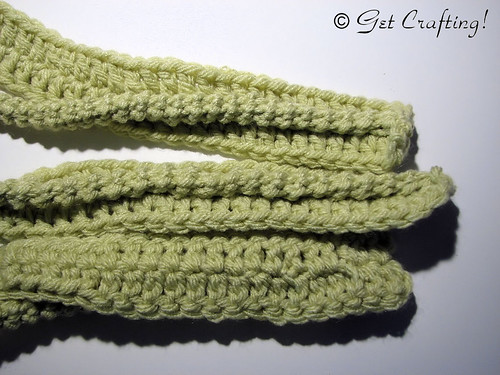
First up were the leaves. I wanted a long tapered shape, and these are about as simple as it gets. I used the Impeccable yarn with a 5.00mm hook.
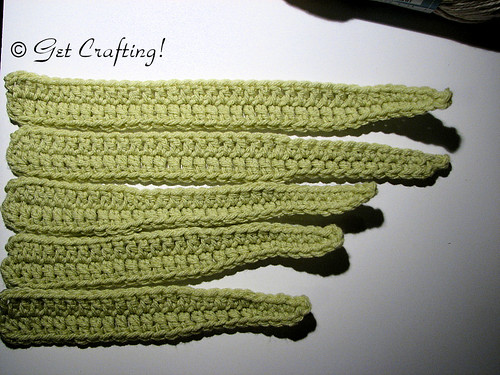
These are started with chains of varying lengths for the foundation, worked on both sides. The start of the foundation chain is in the tips of each leaf. To get the tapered shape I started with double crochet stitches, then half-double, then single. In the final stitch (the first chain of the foundation) I did [1 slip stitch, 1 single crochet with a picot, 1 slip stitch]. The stitches on the other side of the leaf mirrored the first side.
Next up, the stems. These were a bit of a pain!
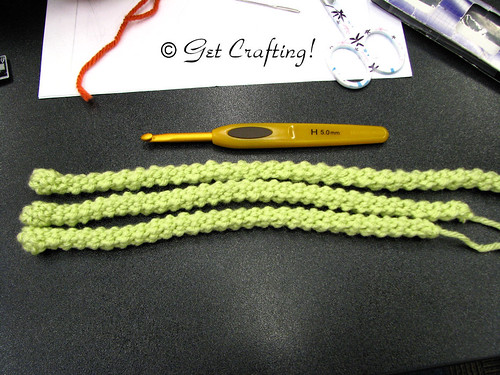
These were done in the round to make long tubes, but they're only 5 stitches around. I started them by working 2 single crochet, then working 5 single crochet into the second stitch from the hook. From there, I worked in a spiral in the front loops only. The first couple of rounds are rather awkward to do, but once past that first bit, the rest went rather smoothly.
Next up, the centres.
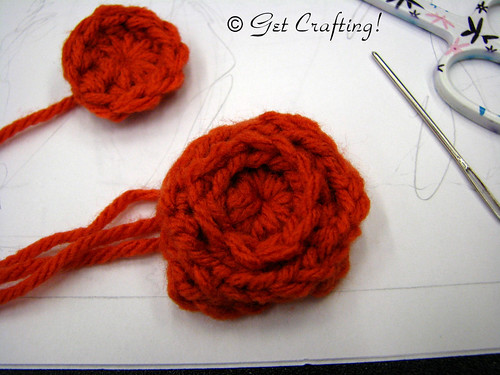
Here you can see the two stages of the centres. I started with a ring of 5 ch and worked 10 double crochet around it, making sure to catch the tail end in the stitches. After slip stitching the round of dc closed, I pulled on the beginning tail to close up the ring. I sewed in the end of the yarn, but left the beginning tail in case I needed it for later.
To make the two rounds of foundation loops for the petals, rejoin the yarn around the post of one of the dc stitches, from the back, then a sc around the same post (back post single crochet - bpsc). Chain 3 for the loop, skip the next dc, then work a bpsc around the second dc from the start. I kept working that pattern to make five 3 chain loops, finishing by slip stitching into the first bpsc. Chain 1, then bpsc around the first skipped dc. Chain 4 for the loop, then bpsc into the next skipped dc. Continue around, finishing with five 4 chain loops, slip stitching into the first bpsc. After cutting the yarn, I secured the ends but left them long for later sewing.
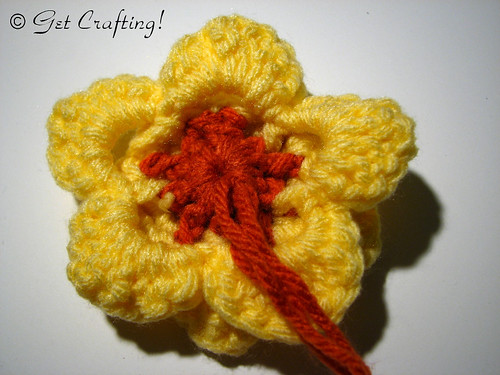
I wasn't able to get photos of the in between stages of working the petals. I had originally intended to make the petals the same was as in the thread crochet flowers I'd made for a friend. I changed my mind because those used a technique not covered in the classes. Instead, I made shells for each petal.
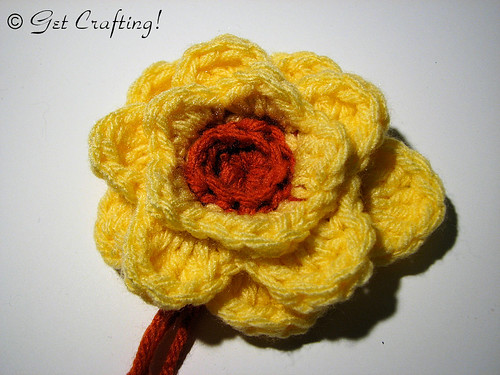
As you can see in the photo, I also added a third later of petals in the back.
To start, the new colour was joined around a chain 3 loop. Each petal in the front layer is made up of [1sc, 1hdc, 1dc, 1 hdc, 1sc] around each 3 chain loop, finishing with a slip stitch into the first sc. Two chains were made to reach the next layer of loops. Those were made with [1 sc, 1 hdc, 3 dc, 1 hdc, 1 sc] around each 4 chain loop, finishing with a slip stitch into the first sc.
The next step was to make a new round of foundation loops for the third later of petals. After chaining 2 to reach, a bpsc was worked around the same dc post as the first layer of foundation loops. Ch 5 for the loop, then bpsc around the next dc that was worked in the first round. This pattern was continued until 5 loops were made, then finished with a slip stitch into the first bpsc, making sure the chain 2 was tucked under to hide it.
You can see where the stitches were worked somewhat better from behind.
For the petals, each loop had [1 sc, 1 hdc, 2 dc, 2 tdc, 2 dc, 1 hdc, 1 sc] worked around the 5 chain loop, slip stitching to finish, then the yarn ends were sewn in to finish. Adding this third layer of petals made the flower size much more proportionate to the stems.
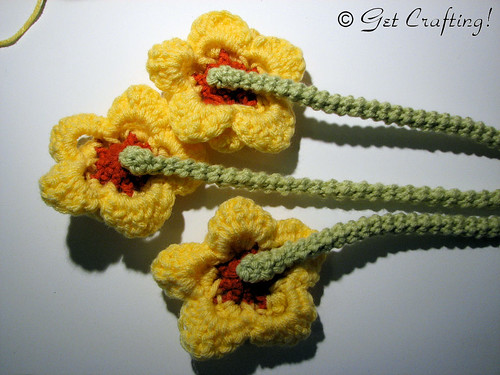
Using the tail ends from the flower centres, the stems were sewn into place. I made sure to sew into loops on the underside of the stems, so that the stitches would be hidden. The yarn ends were then finished by sewing them into the flower centres.
Next step, adding some leaves.
Using the yarn ends from the stems, I sewed a leaf to each stem, catching loops on the underside of the stem to hide the stitches. I only attached the leaves for 2-3 inches, allowing most of the leaves to hang free. In this photo you can see the front, side and back views of the stitched areas.
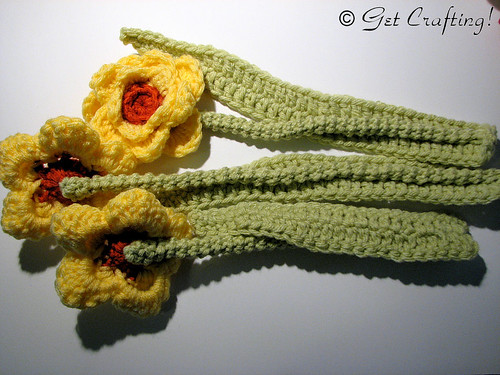
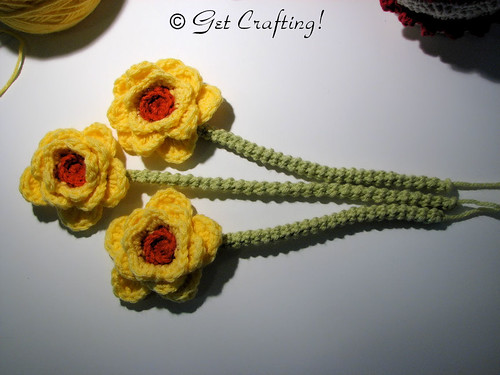
The finished flowers!
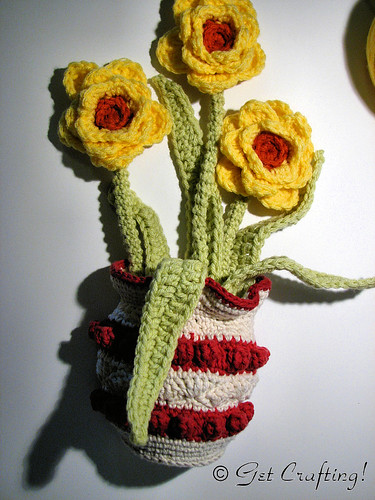
Here, I'm just checking out how they fit in the vase, along with the remaining leaves. Fibre fill will be stuffed into the vase to help it hold its shape, as well as keeping the flowers and leaf ends in place.
Next section: a branch with leaves.
No comments:
Post a Comment