So I made one. 'cause I'm like that.
I used some Bernat Handicrafter Cotton and a 5.00mm hook to make this. I didn't take photos of each step, but there's some details of the finished box.
First, the base. I started by making a sc square 20 stitches wide and 20 rows high. I worked the first row into the back bar of the foundation chain. When done, I worked one round of single crochet around all sides, working 3 sc together to turn the corners.
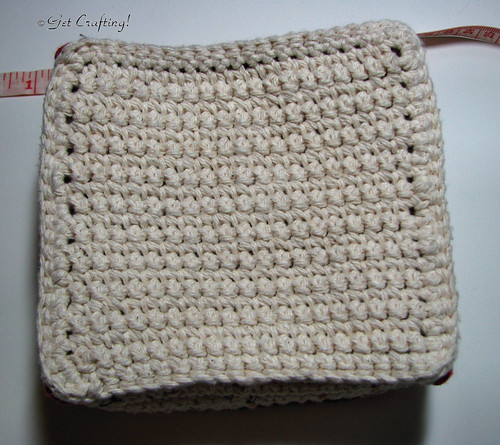
After the round of sc was done, I worked a round of slip stitch around the sc posts. If you click on the photo to see the larger size, you can make out the back loops of this round.
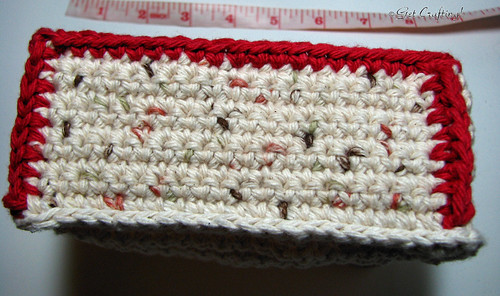
Each side panel was worked attached to the base, with the first row of sc worked into the slip stitched round. Each side is 9 rows of 20 sc. This left a single slip stitch unworked in each corner. After all four side panels were worked, I joined the sides.
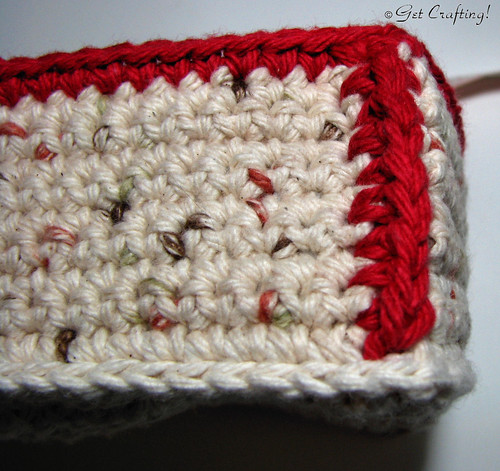
The contrasting colour was attached in the unworked slip stitch. The panels were joined by inserting the hook through the edge stitch on the right hand panel, front to back. Yarn over then pull the yarn through (two loops on the hook), then inserting the hook front to back through the matching edge stitch on the left hand panel. Yarn over, pull the yarn through (three loops on the hook), then one last yarn over in between the panels, pulling the yarn through all three loops on the hook. This join was repeated up the side, then the yarn was finished off, leaving the tail loose. After all 4 corners were done, I worked the edge in sc, making sure to catch the all the tail ends from the panels as well as the contrasting yarn.
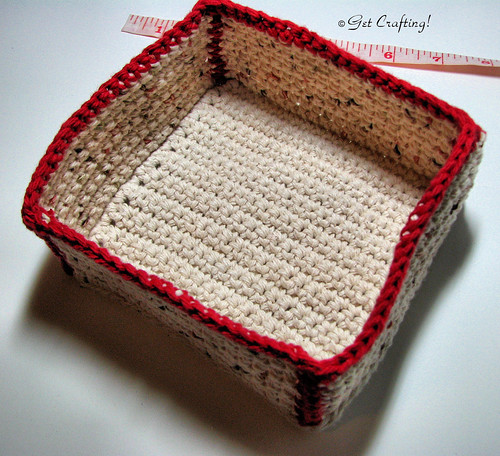
The remaining tail ends in each corner where I joined the contrasting yarn were then sewn in, and that's it. Done.
I like the technique of working the sides of something into a round of slip stitch in the base. It makes for a nice, clean edge, and I prefer it to sewing or joining finished pieces together. Working into the slip stitch is a pain, but worth it.
No comments:
Post a Comment