Finally, I've got some photos processed for a temari step-by-step. I still have a batch of photos to finish up, but I can at least get you started. :-)
First, a bit of background.
Temari is the name for Japanese embroidered thread balls (not to be mistaken with tamari, which you eat). The word literally means hand (te) ball (mari), and have been made and given as gifts for a thousand years!
Needless to say, the materials used to make modern temari have changed a bit, though they certainly can still be made in the traditional manner.
I am by no means an expert in making temari, but you don't have to be. Even a simple temari is a thing of beauty.
The temari I am making in these photos are meant to be hung on a Christmas tree, so there will be the extra step of adding hangers onto them at the end.
So let's get started!
The first step is preparing the core. Here's what you'll need.

Foam ball: recommended size, 3 inches. You can go with smaller (my first ones were only 2 inches), but this size is a lot easier to hang on to and work with.
Quilt batting: This can be optional, but it does add padding, which makes stitching easier, and makes them easier to wrap. Making them easier to wrap is a good thing. You won't need much. For a 3 inch ball, a piece about 6 x 9 inches should be enough.
Yarn and sewing thread in matching colours: again, the yarn can be optional. The first temari I made did not have any. It does make covering the core faster and adds padding that makes stitching easier. You won't need a lot of yarn - 1 skein will be enough to cover several balls - but you will need a lot of sewing thread. Recommend three spools of sewing thread. For the yarn, choose something that is fairly soft and pliable, but not too bulky. I'm using Bernat Satin for this one. I used a Red Heart Super Saver for another, which I found left things a bit bumpy after being wrapped in sewing thread.
Also needed; a blunt, large eyed needle, a sharp, large eyed needle and scissors.
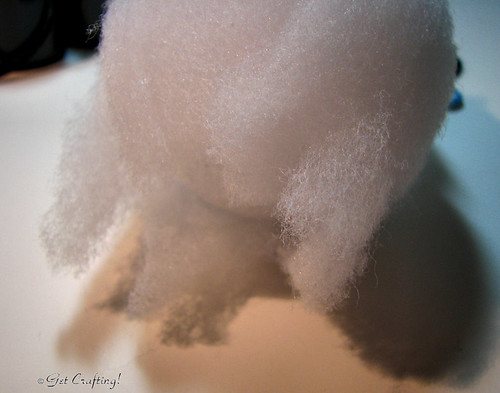
Begin by wrapping the foam core ball with the quilt batting. First wrap around and trim off any excess length. Trim off any excess from the ends, snipping out little V's in the process, so that the ends can be covered without excess bulk or lumps and bumps.
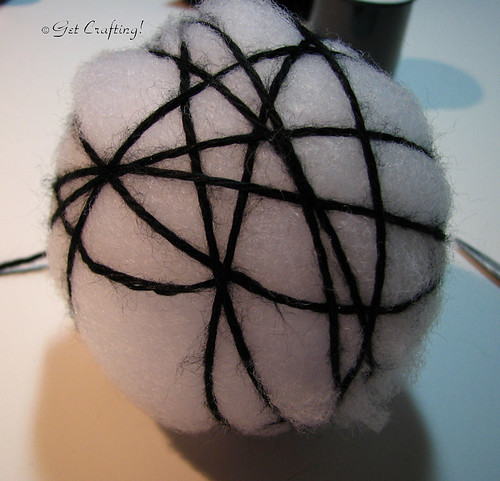
Begin covering the batting covered core with the yarn. It's important to wrap as randomly as possible. Avoid having strands close together that are running in the same direction. Wrap the yarn quite snug, but not tightly. That will come later. Keep wrapping until the core is completely covered. You should have a good, thick layer of yarn at this point. Snip the yarn with about a foot or two for a tail.

Thread the end onto a blunt needle. Finish the end by catching the tail end around a few strands of yarn in random directions. Use this as an opportunity to anchor any strands that look like they might slight out of place. When near the end of the tail, draw your needle deeper into the layers of yarn and batting to anchor it and bury the end inside. Snip off any tail remaining.

Begin covering the yarn with sewing thread. If you've bought your thread in a large cone, you'll be working with just one strand, but if you picked up a bunch of spools, start by working with 3 strands together. It'll cover quite a bit faster this way.
Just to let you know, this is the part that seems to always take me the longest. The ball also has a tendancy to slip out of the hands and go bouncing and rolling across the room. Very frustrating! *L*
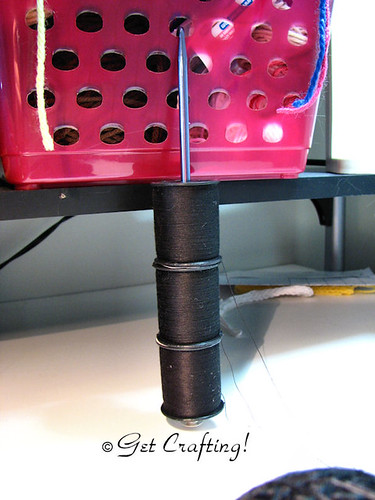
To make it easier to wrap the ball with sewing thread, I set this up so that the three spools could unwind smoothly. I've got them threaded onto an afghan hook, which I hung from my odds and ends basket. It didn't quite reach my work surface below, so it did swing a bit while I was wrapping, but this worked MUCH better than having them bouncing around on the desk.
Again, wrap snugly, but you don't have to go very tight yet.
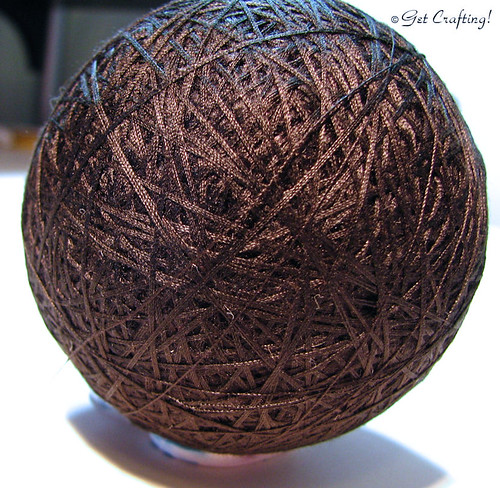
Once the yarn is completely covered with thread, cut two of the threads and continue wrapping with just a single thread. Again, it's very important to wrap as randomly as you can. With the single thread, start wrapping tightly. Just watch not to wrap so tight the thread breaks. That's a pain in the butt. Just keep on wrapping until you can no longer see the three threads together, and the entire ball is smoothly covered.
When covered, cut your thread with a 1-2 foot tail.
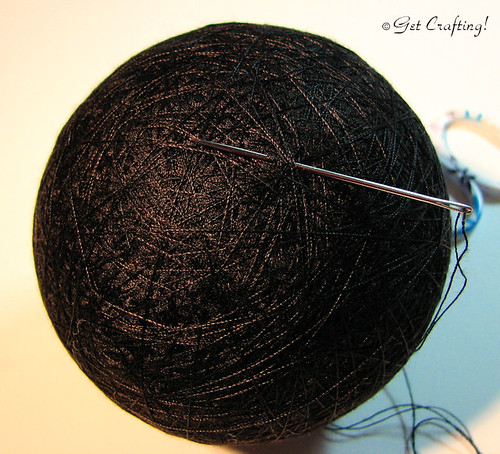
This time, thread your sharp needle onto your thread, then sew the tail through a few strands at a time, back and forth all over the ball, so tack down any strands that might slip around while working, and to anchor the tail of your thread. Once again, finish by burying the end inside the padded layer of the ball.
There you go! You now have the core of your temari ready for the next step.
No comments:
Post a Comment