So how do we manage this?
With a simple strip of paper and coloured pins.
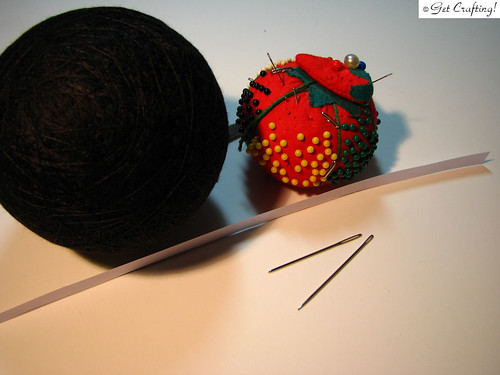
For this part of making temari, you will need a narrow strip of paper long enough to go around your mari, plus about an inch. You will also need pins in several colours. While it doesn't matter as much with a 3 inch core, I recommend getting the shorter pins. When I first made these using 2 inch cores, I only had the longer pins. When pushing them into the core, they actually started to hit each other and cause problems!
The main points on your mari will be the north and south poles, and the equator.
Note that for these temari, I am making a polystar pattern from two centres. One will be an 8 pointed star and the other will be a 16 pointed star.
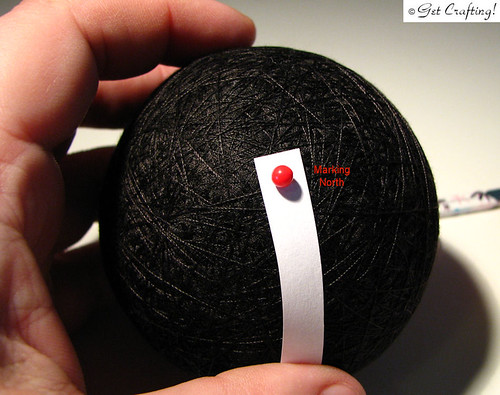
Take a pin and your strip of paper and place them anywhere on your mari. This will be your North pole.
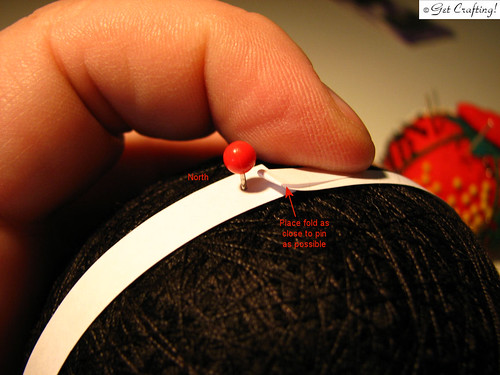
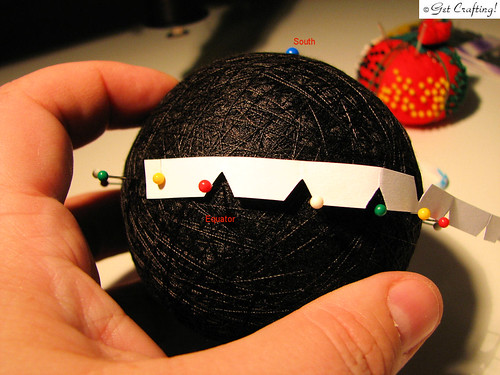
Gently and smoothly wrap the strip of paper around the ball until you're back at the North pole. Carefully fold back the end of the paper so that the fold is snug against the North pin. From the pin to the fold is the circumference of your mari.
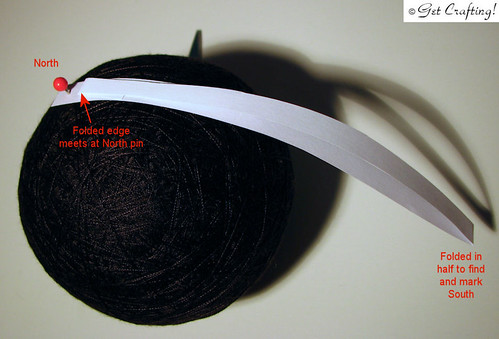
Carefully fold the paper strip back on itself, so that the folded edge meets the pin again. Find and crease the strip at the centre. This will be used to mark the South pole of your mari. Snip a small V off at the fold, so that the point of the V is in the middle of the fold.
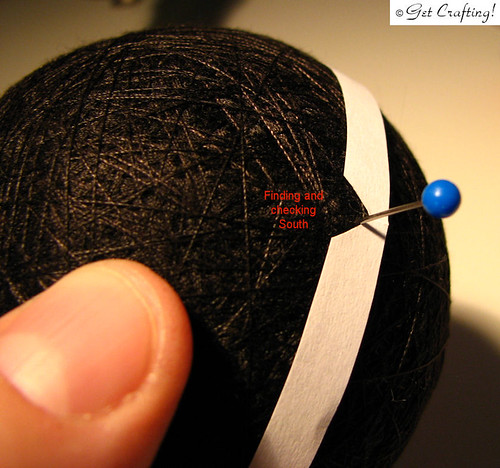
Gently open the strip and wrap it around the ball again, so that the folded end is again touching the North pin. Place another pin in the notch you cut out to mark the South pole.
Rotate the strip of paper around the North pin several times to measure out the South pole. You will likely have to adjust the location of the South pin a few times before you'll be able to match the pin with the V notch from any direction you take the strip from the North pin.
Once the South pin is in place, carefully fold the strip back on itself at the notch, so that the fold at the end is again at the North pin. Carefully fold the strip in half again, so that the centre with its V notch is also snug against the North pin. Crease the new fold. This crease marks the centre point between your North and South pins, and will be used to mark the equator of your mari.
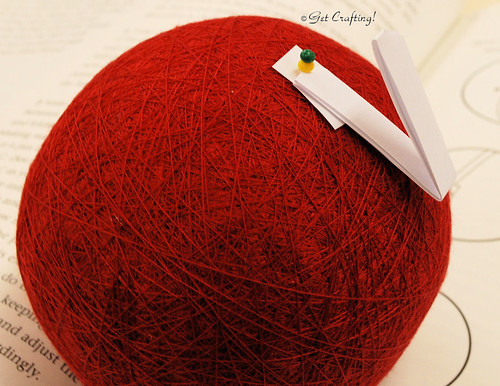
For an 8 pointed star, fold the strip one more time, which will look like this.

For a 16 pointed star, add one more fold.

Gently undo the folds and remove the strip of paper from the North pin by cutting the paper so it can be slid off without removing the pin.

Carefully re-crease the folds to make them sharper, cutting out V notches at each fold. The point of the notches should be at the centre of your strip of paper (or as close as you can get it). To help me keep track of things, I cut the notches for the equator fold on the same side of the strip as the South fold, while the other folds were notched on the other side.
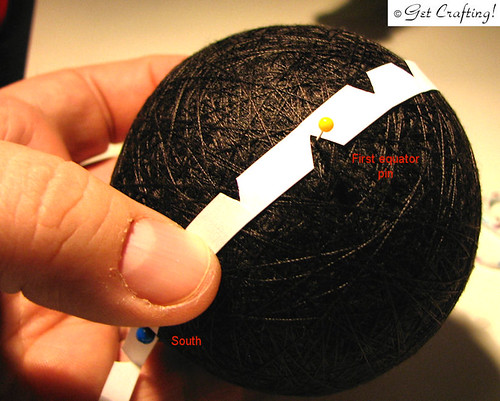
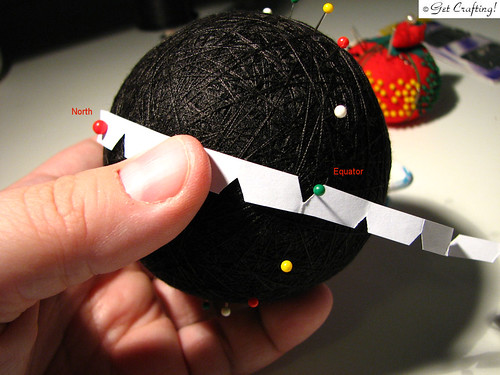
Replace the strip of paper at the North pin and gently wrap the strip around to the South pin so that the paper is smooth against the ball. Place a pin in the notch in between the two to mark the equator.
Carefully rotate the paper around the North pin, placing more pins around the equator. For this mari, I placed 16 pins, while for the red mari I placed 8 pins. At this point, don't worry too much about how evenly spaced they are.
For this part, I like to use different colours in sequence to help keep track of my guidelines later. For this mari with 16 divisions, I used 4 different colours, while the one with 8 divisions only needed 2 different colours.
Now it's time to adjust the equator pins to make them evenly spaced.
Remove the strip from the North pin and attach it to any pin in the equator. Slowly wrap the strip around the equator, adjusting pins so that they are in the notches as you go along.
After the equator pins have been adjusted, return the strip to the North pole and check each pin again, adjusting as necessary to ensure they are still the right distance from the North pin.
Feel free to check and recheck the pins, adjusting as necessary, as many times as you need to. The equator pins should line up the same, whether you measure from the North or South pins, and you should be able to place the strip on any pin in the equator and wrap it around with all the pins lining up with the notches. Take the extra time to line them up to prevent problems later.
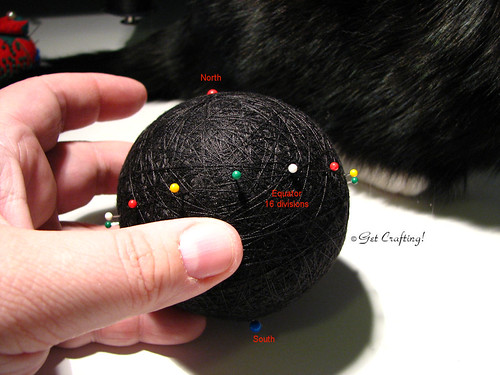
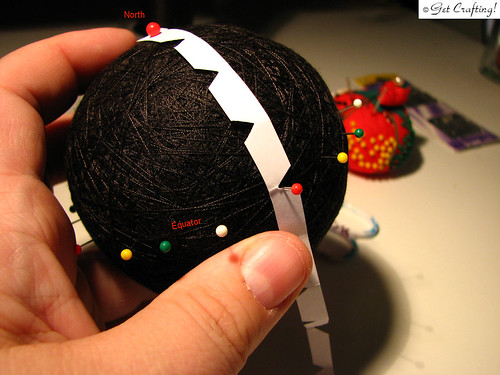
After everything is measure off, this is how your mari (with 16 divisions) should look.
Cat is optional.
After this, the guidelines will be added.
No comments:
Post a Comment