My parents, however, don't have a computer. Every year, my mother sends us Christmas and Easter cards, and I never send any back. Phone calls don't quite cut it.
I decided to change that this year.
I've looked at commercial cards, and am not too taken by any of them. So I'm making one. It's going to involve a number of different techniques, starting with papercutting, and I started working on it today.
I planned the card out a while ago, with the help of one of my daughters, while we were out spending some quality time together. ;-) We scrawled the basic ideas out on a napkin, which I did keep, but it seems to have been thrown out. That's okay. I remember it well enough. :-D
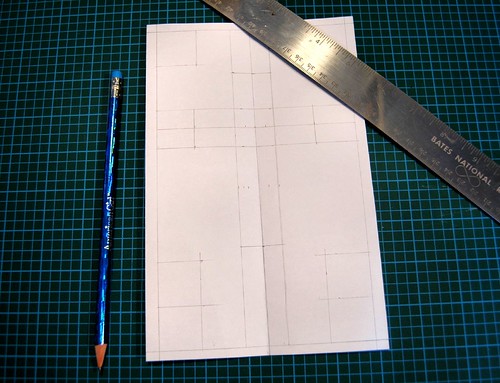
Here, I've got a very basic layout marked out with guidelines on some ordinary printer paper folded in half.
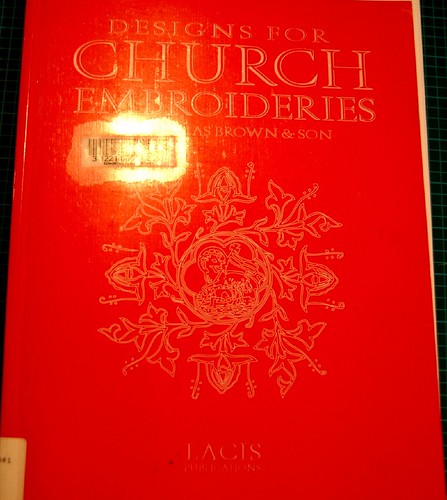
Since this is a religiously theme card, I turned to this book I found in the library for inspiration.
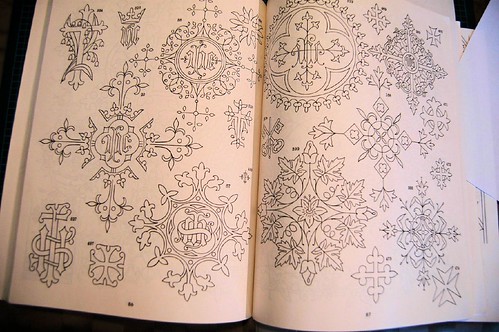
The pages are filled with simple line drawings of embroidery patterns for vestments, alter cloths, banners, etc. I ended up choosing the pattern in the top left corner of these pages.
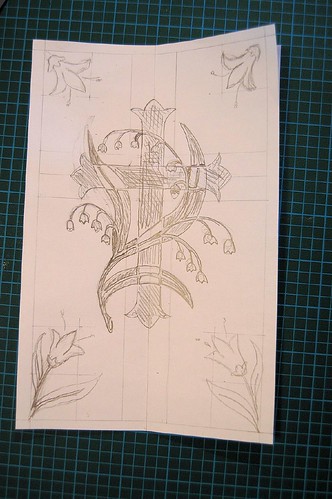
Then it was time to start sketching. After a simple outline sketch of all the elements, I spent more time working out what areas where the flower and cross overlap would be cut out, and which would be cut around, shading in the areas that would be cut out I didn't bother going that far with the corner designs, as I could work those out while cutting.
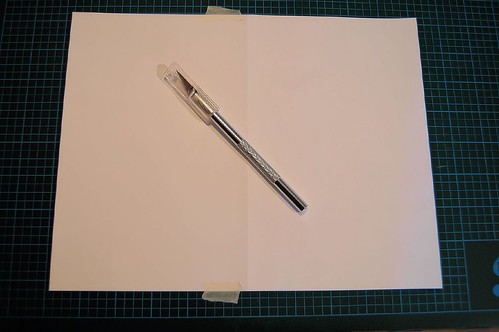
The card paper I'm using is actually designed for use in a printer - 8 1/2" x 11" card stock paper, pre-scored to fold in half, with matching envelopes. Here, I've taken a sheet and taped it directly to my self-healing cutting mat. Normally, I would never do this, as I would need to be able to move the paper around while cutting. Since I'm not sketching the design directly onto the card paper itself, I'll have to make do with moving the entire mat around. I was also careful to place the tape just off the area I'll be cutting in, and just enough to hold it in place, so as not to risk damaging the paper's surface.
As an aside, if you're thinking of trying paper cutting, a self healing mat is a necessity. Yes, you can get away with using something else for a while. When I first started paper cutting, I used cardboard as a cutting surface. It sucks. The mats are available in crafts stores, but most of them are ridiculously expensive. I found mine at DeSerres, which has them at excellent prices. Office supply stores carry them, too, at very reasonable prices.
Also necessary is an Xacto type cutting knife. With scapbooking such a popular craft right now, there are lots of styles of cutting knives available, but there's no need to get fancy and expensive. As long as it's got a fine tip and it's sharp, it's good enough.
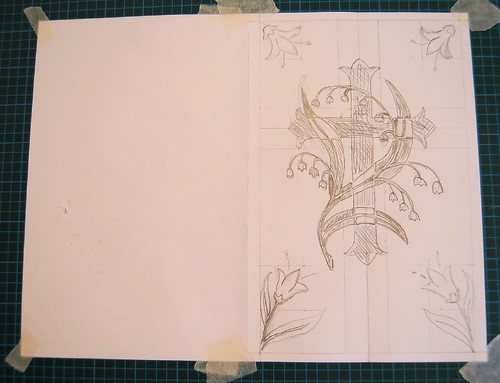
For the last step I'll be showing in this post, I've opened up the paper I drew the design on, then carefully taped it on top of the card paper, making sure all the edges lined up. Here, I've taped it down much more thoroughly, so there'd be no chance of the two pages mis-aligning.
Next post, time to start cutting!
No comments:
Post a Comment