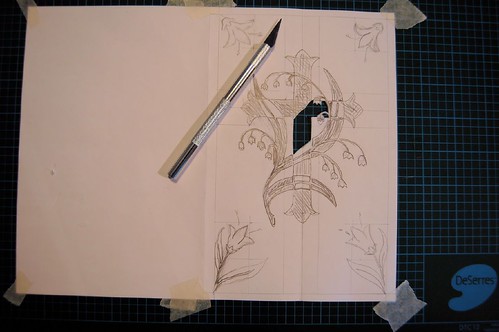
When cutting designs out, it helps to start from the middle and work outwards. It also helps to do the finer details first. Here, I'm doing both.
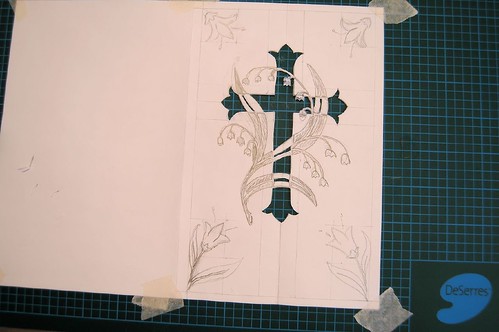
The cross is now completely cut out, leaving behind the overlapping portions of the flower parts.
The areas where stems and leaves overlapped tended to leave sections of the design rather fragile. There's going to be a backing used, though, so I'm not too worried about it. I'll just have to be careful until the backing is attached permanently.

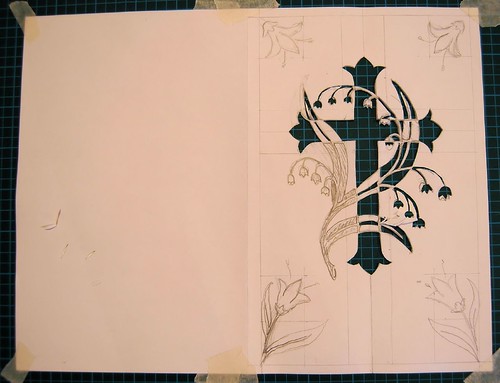
Here, all the cutting is done, and the sketched paper is still in place. With a less intricate design, I would have lightly drawn directly onto my cutting paper, then carefully erased the pencil when I was done. This design has just too many little pieces that would have been damaged by any attempt to erase.
In the past, I've taken advantage of some of the great fonts available by printung out text I wanted to cut into my design, then taping the printed paper over the cutting paper, just as I did here. It saved a lot of time and hassle.
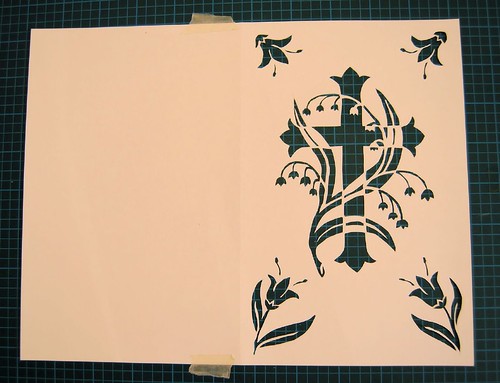
Time to remove the sketched paper, and there's my design, nice and clean. :-D
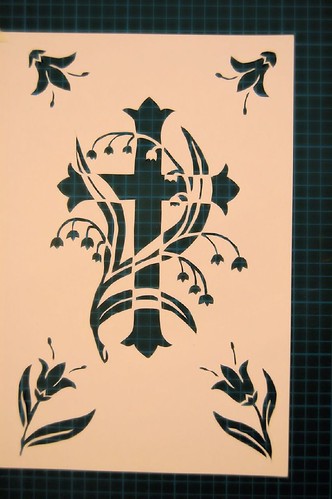
A closer view of the finished cutting. If you want to see the detail better, click on any of the images to get to my flickr page, where you can view larger images.
That's as far as I'm doing today. For now, the card has been carefully folded closed and placed into an envelope until I can get to the decorative details.
No comments:
Post a Comment